介绍
通过集成人工智能,现代网络应用程序可以提升到一个新的水平。本课程重点讲解如何高级开发功能强大的聊天机器人,这些机器人运用自然语言处理、图像生成和语音识别技术。这些机器人能够提供独特的用户体验,并通过多种交互方式吸引用户。.
本教程使用 Django Big Language Model 和 OpenAI 的对话式 AI、Whisper 的精准语音转录以及 DALL-E 的图像生成功能,开发了一个多功能聊天机器人。教程介绍了如何构建一个能够生成带有配图故事的 Web 应用程序。用户可以通过语音或文本指定故事主题,应用程序会生成一个配有精美图片的互动故事作为响应。.
在本教程结束时,您将创建一个能够理解并响应用户以各种形式输入(包括文本、音频和图像)的应用程序。这将显著增强用户与应用程序的交互,使其更加直观易用。.
先决条件
- 具备 Python 和 Django 的基础知识
- OpenAI API 密钥:本教程需要您与 OpenAI 的 GPT-4 和 DALL-E 模型进行交互,这需要 OpenAI 的 API 密钥。.
- 耳语
- OpenAI Python 包
环境激活后,运行以下命令安装 OpenAI Python 包:
(env)sammy@ubuntu:$ pip install openai第一步——集成 OpenAI Whisper 进行语音识别
在此步骤中,您将在 Django 应用中配置 OpenAI Whisper,使其能够将语音转录为文本。Whisper 是一款强大的语音识别模型,可以提供准确的转录结果,这对于我们功能丰富的聊天机器人来说至关重要。通过集成 Whisper,我们的应用将能够理解用户通过语音输入的内容。.
首先,请确保您在 Django 项目目录中工作。完成预备教程后,您需要为本次集成准备一个 Django 项目。打开终端,导航到 Django 项目目录,并确保您的虚拟环境已激活:
sammy@ubuntu:$ cd path_to_your_django_project
sammy@ubuntu:$ source env/bin/activate
在 Django 应用中设置 Whisper
现在需要做的是创建一个使用 Whisper 将音频文件转录成文本的函数。创建一个名为 whisper_transcribe.py 的新 Python 文件。.
(env)sammy@ubuntu:$ touch whisper_transcribe.py在文本编辑器中打开 whisper_transcribe.py 文件,并输入 Whisper。接下来,我们定义一个函数,该函数以音频文件的路径作为输入,使用 Whisper 处理该文件,然后返回转录结果:
import whisper
model = whisper.load_model("base")


def transcribe_audio(audio_path):
result = model.transcribe(audio_path)
return result["text"]
在这段代码片段中,您使用的是“基础”转录模型。Whisper 提供多种模型,以满足不同的准确率和性能需求。您可以根据自身需求轻松尝试其他模型。.
转录测试
要测试转录功能,请将音频文件保存到您的 Django 项目目录中。确保文件格式为 Whisper 支持的格式(例如 MP3、WAV)。然后,修改 whisper_transcribe.py 文件,在文件末尾添加以下代码:
# For testing purposes
if __name__ == "__main__":
print(transcribe_audio("path_to_your_audio_file"))
使用 Python 运行 whisper_transcribe.py,即可在终端中查看音频文件的转录文本:
(env)sammy@ubuntu:$ python whisper_transcribe.py如果一切设置正确,您应该会在终端看到转录文本输出。此功能是我们机器人语音交互的基础。.
步骤 2 – 使用 GPT-4 创建文本回复
在此步骤中,您将使用 GPT-4 LLM 根据用户输入或上一步获得的语音转录生成文本回复。GPT-4 拥有庞大的语言模型,能够生成连贯且与上下文相关的回复,使其成为我们多模态机器人应用的理想选择。.
在继续操作之前,请确保已按照先决条件中的说明,在您的虚拟环境中安装了 OpenAI Python 包。GPT-4 模型需要 API 密钥才能访问,因此请确保您已准备好该密钥。您可以将 OpenAI API 密钥添加到环境变量中,而不是直接添加到 Python 文件中:
(env)sammy@ubuntu:$ export OPENAI_KEY="your-api-key"设置聊天完成
进入你的 Django 应用目录,创建一个名为 chat_completion.py 的新 Python 文件。该脚本将与 GPT-4 模型通信,根据输入的文本生成回复。.
import os
from openai import OpenAI
client = OpenAI(api_key=os.environ["OPENAI_KEY"])

def generate_story(input_text):
# Call the OpenAI API to generate the story
response = get_story(input_text)
# Format and return the response
return format_response(response)
这段代码首先设置了使用 OpenAI 服务进行身份验证所需的 API 密钥。然后,它调用另一个函数 get_story 来调用 OpenAI 的 API 获取故事,最后调用另一个函数 format_response 来格式化 API 响应。.
现在我们来看一下 get_story 函数。请在 chat_completion.py 文件的末尾添加以下代码:
def get_story(input_text):
# Construct the system prompt. Feel free to experiment with different prompts.
system_prompt = f"""You are a story generator.
You will be provided with a description of the story the user wants.
Write a story using the description provided."""
# Make the API call
response = client.chat.completions.create(
model="gpt-4",
messages=[
{"role": "system", "content": system_prompt},
{"role": "user", "content": input_text},
],
temperature=0.8
)

# Return the API response
return response
在这个函数中,你首先设置系统命令,该命令会告知模型它需要执行的任务,然后你请求 ChatCompletion API 使用用户的输入文本生成故事。.
最后,您可以实现 format_response 函数。将以下代码添加到 chat_completion.py 文件的末尾:
def format_response(response):
# Extract the generated story from the response
story = response.choices[0].message.content
# Remove any unwanted text or formatting
story = story.strip()
# Return the formatted story
return story
测试生成的响应
要测试文本生成功能,请在 chat_completion.py 文件末尾添加几行代码:
# For testing purposes
if __name__ == "__main__":
user_input = "Tell me a story about a dragon"
print(generate_story(user_input))
要在终端中查看生成的回复,请使用 Python 运行 chat_completion.py:
(env)sammy@ubuntu:$ python chat_completion.py根据提示,你应该会看到 GPT-4 的创意回复。尝试不同的输入内容,看看会得到哪些不同的回复。.
下一步,您需要向生成的故事中添加图片。.
步骤 3 – 使用 DALL-E 生成图像
DALL-E 旨在根据文本信息创建精确的图像,使您的多功能机器人能够通过视觉创意增强故事内容。.
在你的 Django 应用中创建一个名为 image_generation.py 的新 Python 文件。该脚本使用 DALL-E 模型生成图像:
(env)sammy@ubuntu:$ touch image_generation.py让我们在 image_generation.py 中创建一个函数,该函数向 DALL-E 发送通知并检索生成的图像:
import os
from openai import OpenAI
client = OpenAI(api_key=os.environ["OPENAI_KEY"])

def generate_image(text_prompt):
response = client.images.generate(
model="dall-e-3",
prompt=text_prompt,
size="1024x1024",
quality="standard",
n=1,
)
image_url = response.data[0].url
return image_url
该函数向 DALL-E 模型发送请求,指定文本命令、要生成的图像数量 (n=1) 以及图像大小。然后,它提取并返回生成图像的 URL。.
脚本测试
为了演示如何在 Django 项目中使用此函数,您可以将以下示例添加到 image_generation.py 文件的末尾:
# For testing purposes
if __name__ == "__main__":
prompt = "Generate an image of a pet and a child playing in a yard."
print(generate_image(prompt))
使用 Python 运行 image_generation.py,根据给定的命令创建图像:
(env)sammy@ubuntu:$ python image_generation.py如果脚本运行成功,您将在终端中看到生成的图像 URL。然后,您可以通过在 Web 浏览器中访问此 URL 来查看图像。.
下一步,您将把语音识别与文本和图像生成结合起来,以实现无缝的用户体验。.
第四步——结合多种方法,打造无缝体验
在这个阶段,您将整合前几个阶段开发的功能,以提供无缝的用户体验。.
您的 Web 应用程序将能够处理用户的文本和语音输入,生成故事,并用相关的图像进行补充。.
创建统一视图
首先,请确保您的 Django 项目结构清晰,并且在 Django 应用目录中包含 whisper_transcribe.py、chat_completion.py 和 image_generation.py 这三个文件。接下来,您将创建一个视图来整合这些组件。.
打开 views.py 文件并导入必要的模块和函数。然后创建一个名为 get_story_from_description 的新视图:
import uuid
from django.core.files.storage import FileSystemStorage
from django.shortcuts import render
from .whisper_transcribe import transcribe_audio
from .chat_completion import generate_story
from .image_generation import generate_image

# other views

def get_story_from_description(request):
context = {}
user_input = ""
if request.method == "GET":
return render(request, "story_template.html")
else:
if "text_input" in request.POST:
user_input += request.POST.get("text_input") + "\n"
if "voice_input" in request.FILES:
audio_file = request.FILES["voice_input"]
file_name = str(uuid.uuid4()) + (audio_file.name or "")
FileSystemStorage(location="/tmp").save(file_name, audio_file)
user_input += transcribe_audio(f"/tmp/{file_name}")

generated_story = generate_story(user_input)
image_prompt = (
f"Generate an image that visually illustrates the essence of the following story: {generated_story}"
)
image_url = generate_image(image_prompt)

context = {
"user_input": user_input,
"generated_story": generated_story.replace("\n", "<br/>"),
"image_url": image_url,
}

return render(request, "story_template.html", context)
此视图从用户处获取文本和/或音频输入。如果存在音频文件,它会使用唯一的名称(使用 uuid 库)保存该文件,并使用 transcribe_audio 函数将语音转换为文本。然后,它使用 gene_story 函数生成文本响应,并使用 gene_image 函数生成关联的图像。这些输出被发送到文本字典,然后使用 story_template.html 进行渲染。.
创建模板
然后创建一个名为 story_template.html 的文件,并添加以下内容:
<div style="padding:3em; font-size:14pt;">
<form method="post" enctype="multipart/form-data">
{% csrf_token %}
<textarea name="text_input" placeholder=" Describe the story you would like" style="width:30em;"></textarea>
<br/><br/>
<input type="file" name="voice_input" accept="audio/*" style="width:30em;">
<br/><br/>
<input type="submit" value="Submit" style="width:8em; height:3em;">
</form>

<p>
<strong>{{ user_input }}</strong>
</p>
{% if image_url %}
<p>
<img src="{{ image_url }}" alt="Generated Image" style="max-width:80vw; width:30em; height:30em;">
</p>
{% endif %}
{% if generated_story %}
<p>{{ generated_story | safe }}</p>
{% endif %}
</div>
这个简单的表单允许用户通过文本或上传音频文件提交请求。然后,它会显示应用程序生成的文本和图像。.
创建视图的 URL
现在您已经准备好了 get_story_from_description 视图,接下来需要通过创建 URL 配置来使其可用。.
打开 Django 应用程序中的 urls.py 文件,并为 get_story_from_description 视图添加一个模板:
from django.urls import path
from . import views

urlpatterns = [
# other patterns
path('generate-story/', views.get_story_from_description, name='get_story_from_description'),
]
统一体验测试
现在您可以在浏览器中访问 http://your_domain/generate-story/。您应该会看到 story_template.html 中定义的表单。尝试通过文本输入框提交文本请求,或使用文件输入框上传音频文件。提交后,系统将处理您的输入,生成一个故事和一张配套图片,并将它们显示在页面上。.
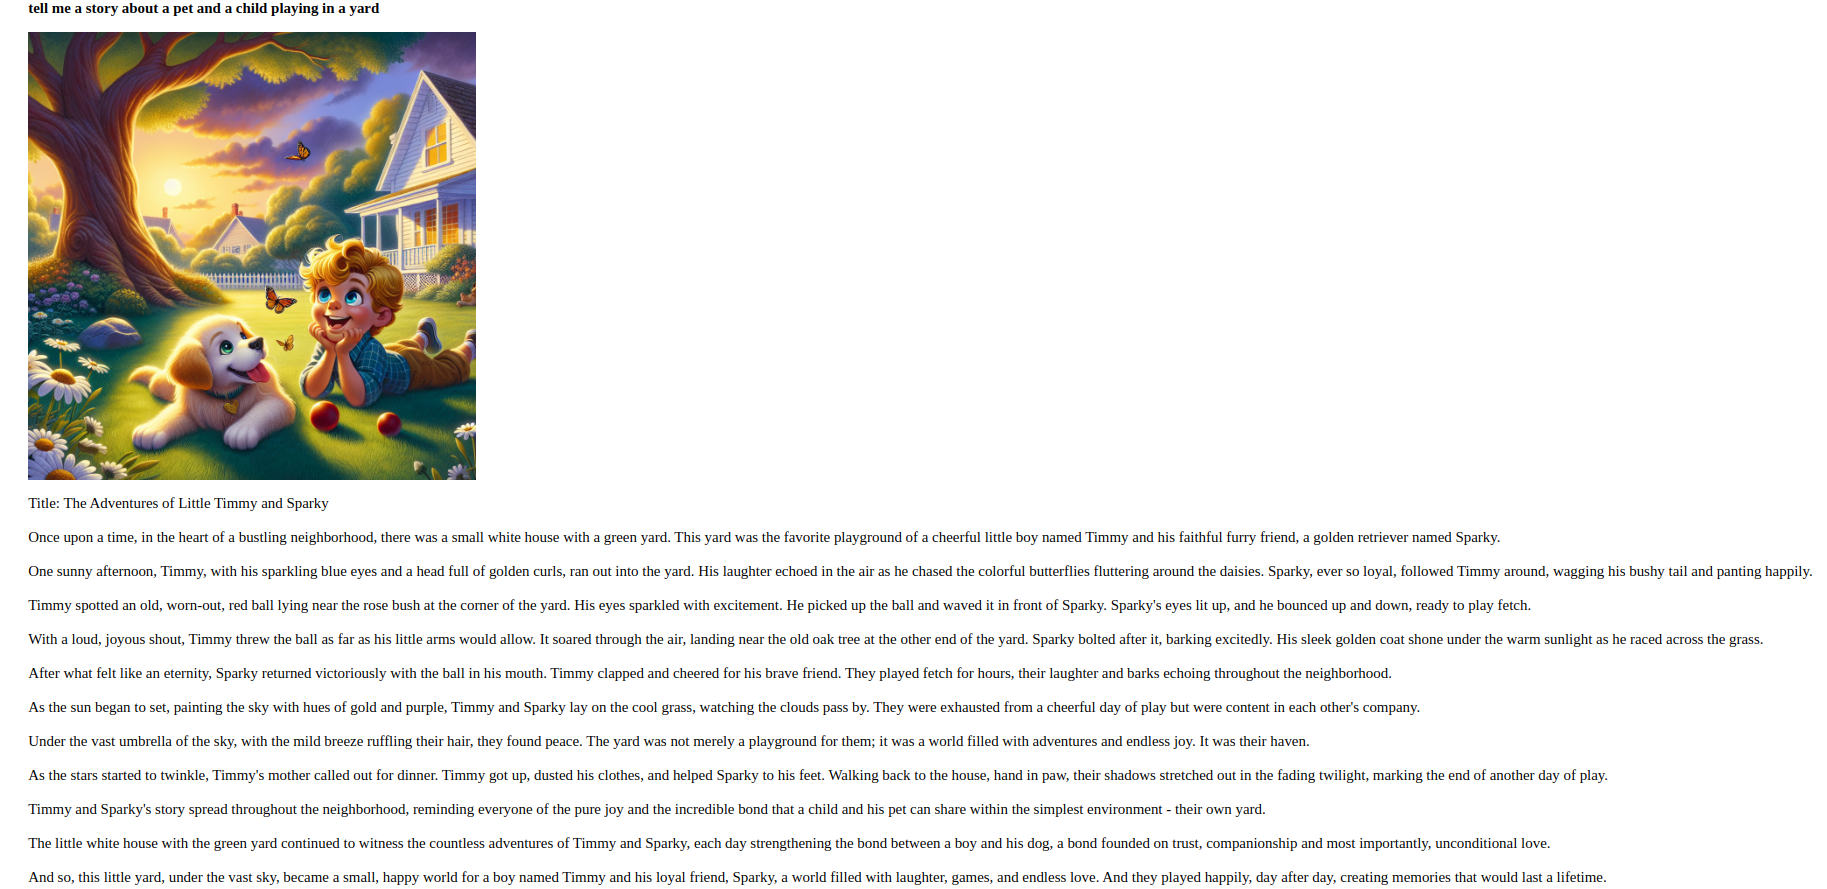
例如,以下是一个故事提示示例:“给我讲一个关于宠物和孩子在院子里玩耍的故事。”
完成此步骤后,您就创建了一个可以处理和响应各种形式用户输入的应用程序。.
结果
在本教程中,您已成功使用 Django 开发了一个多功能聊天机器人,并集成了 Whisper 的语音识别、GPT-4 的文本生成和 DALL-E 的图像生成功能。您的程序现在可以理解并响应各种格式的用户输入。.
为了进一步发展,建议探索 Whisper、GPT 和 DALL-E 模型的替代版本,改进应用程序的 UI/UX 设计,或扩展机器人的功能以包含其他交互功能。.