









How to create an account on Cloudflare and add a website
CloudFlare service It is a reverse proxy, which is actually a type of proxy that, like other proxies, sits between the server and the visitor and manages external access and visits to the local or private network or server.
This service is provided in the form of a CDN in different parts of the world and will be responded to from the nearest server depending on the visitor's geographical area.
This prevents attackers from directly accessing your site and server from a security perspective. As a result, if an attack is underway on the server, CloudFlare servers will first detect the attack and prevent unauthorized bandwidth from entering the server, and normal users will be able to access the site and server without any problems.
Signing up for Cloudflare takes less than a few minutes. Join us in this article to learn how to sign up and add your site with just a few simple clicks!
First, log in to the Cloudflare site and click on the Sign up option as shown in the image below to open the registration page for you, then enter your email and desired password:
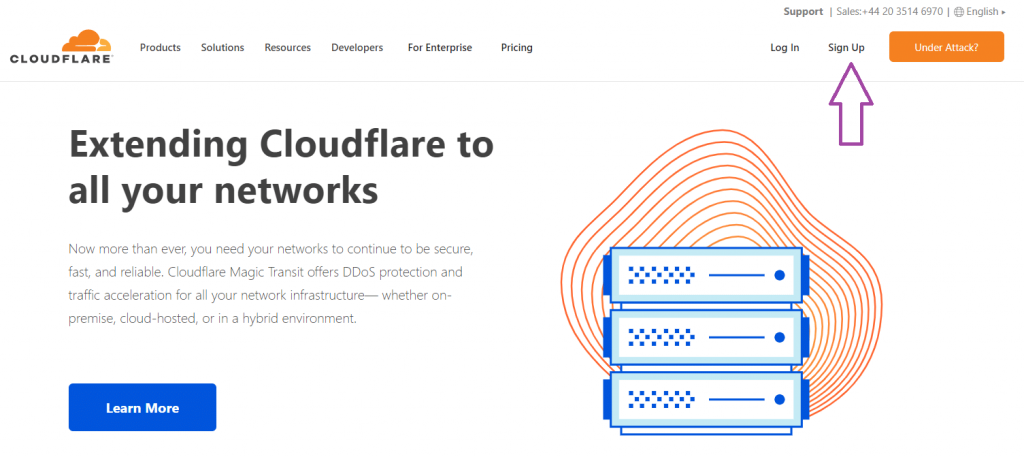
- First, log in to the Cloudflare website and click on the Sign up option as shown in the image below to open the registration page for you, then enter your email and desired password.
- On the new page that opens, you will need to enter your site domain.
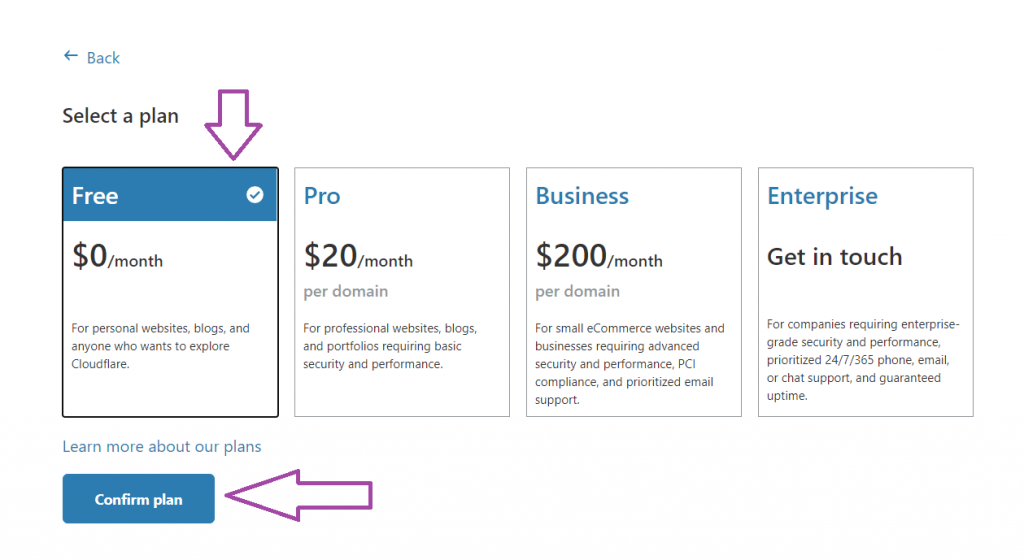
- At this stage, you need to choose the plan you want. Fortunately, Cloudflare's free account offers many of the features we need, so you can choose the first plan, which is free.
If your domain has been active for more than this long, Cloudflare will automatically detect its default records and you can manage them. However, if the domain was not previously available, you will need to create your domain's default records (including nameserver and primary domain records) after adding the site.
On this page you can modify the records. Cloudflare name servers are also displayed on this page for you to set on your domain.
Note that if the IP records are the default Cloudflare IP, you need to change it to your server IP.
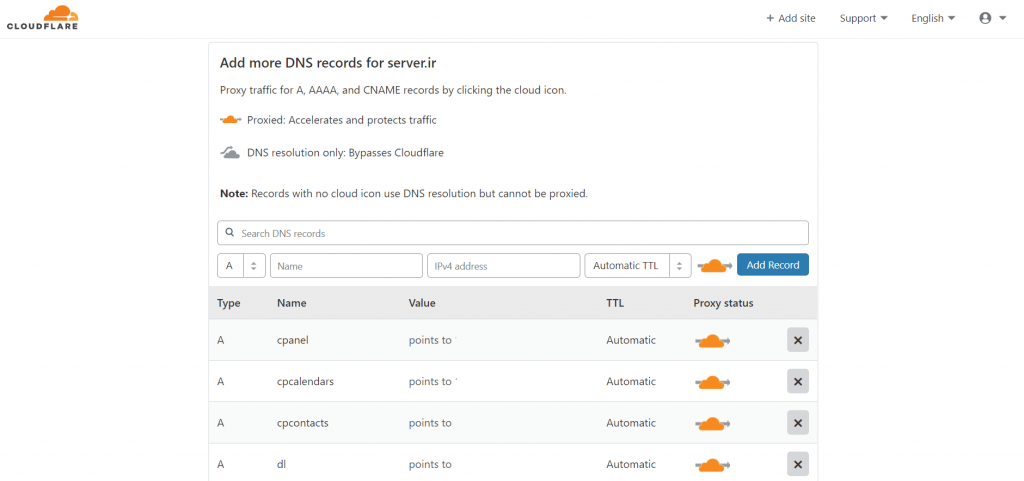
The Proxy status option displays the proxy status. If the orange clouds of each record are on, that record is connecting to your host server from the Cloudflare web server and if you ping that record, your server IP will not be displayed. (This is generally used for greater security and to prevent the host server IP from being displayed)
If you disable it, you will still be using Cloudflare, but the ping record will point directly to your server IP.
Click on the continue option at the bottom of the page to display Cloudflare's nameservers, and then click Done, check nameservers to complete the process.