
How to install and run XAMPP
1•Download XAMPP
Step one
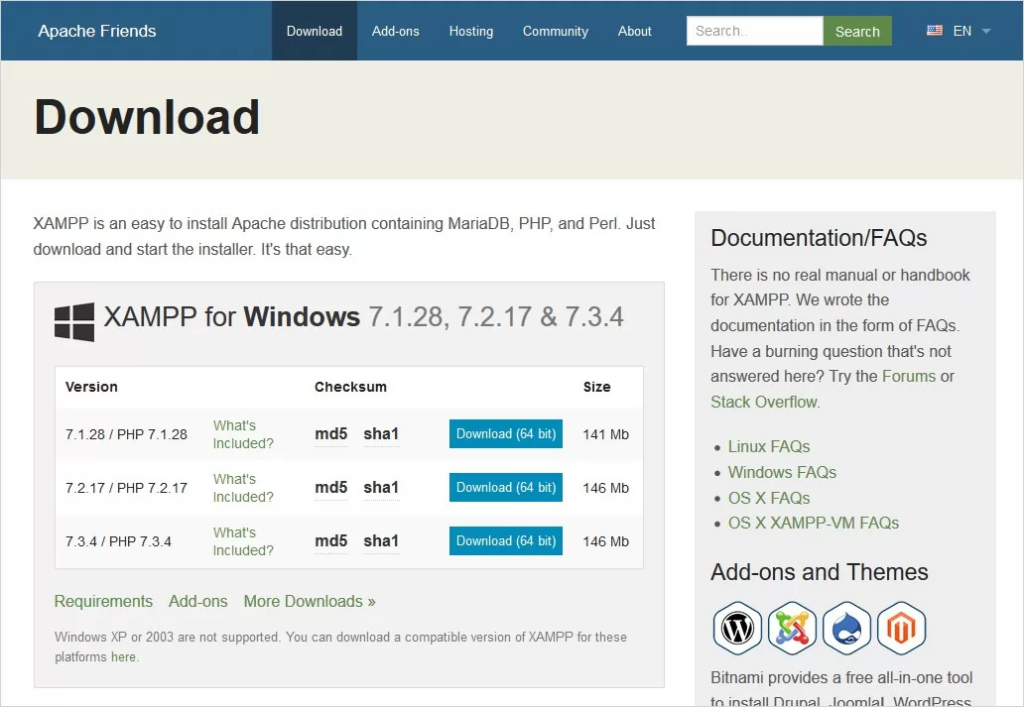
Site XAMPP Open it through your computer's browser, go to the link below, and download the 32-bit or 64-bit version according to your needs.
2•Install XAMPP
Step two
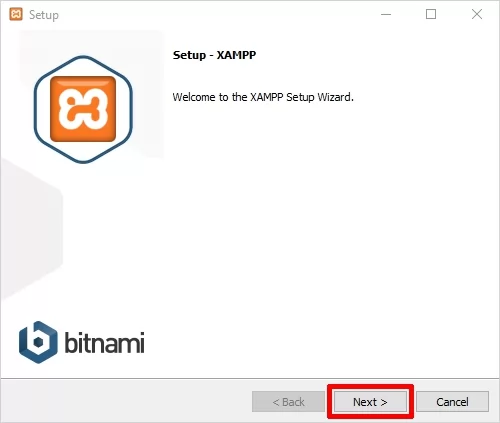
Double click on the downloaded .exe file and run the downloaded file. During the installation process, you may encounter pop-ups and warnings. Click on «Yes» to start the installation process. .
You will soon see that after clicking on the downloaded file, the XAMPP installation process will start. Now click on the “Next” button to continue.
Step three
Click the < Next button to proceed to the next step. .
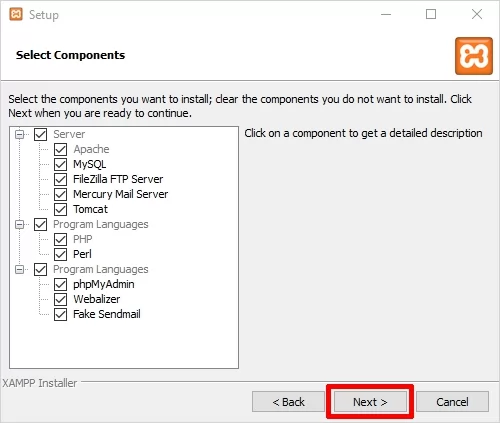
In this step, we will install the required features of XAMPP. There is a list on the left side of the software that displays all the features of the XAMPP software. .
If you don't need an item, you can uncheck it. .
- The software installs all features by default.
- Features that are grayed out and cannot be unchecked are required to be installed.
Step Four
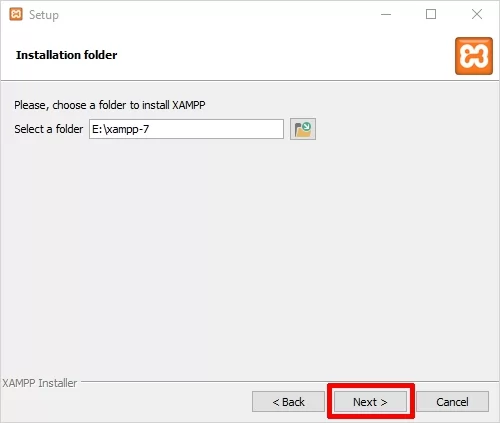
At this stage, you need to specify the location where the software will be installed. XAMPP Select .
- It is recommended to keep the default address and not change it. .
Step Five
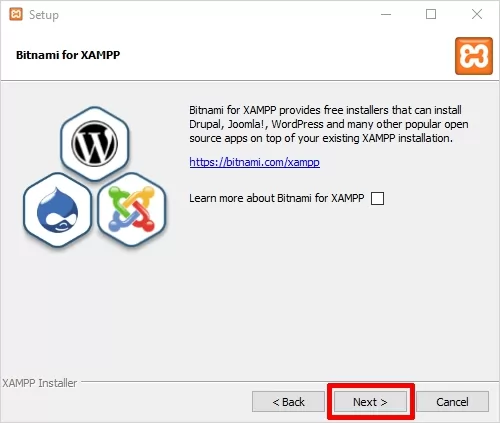
Now you will see a window that shows you information about Bitnami. Click the < Next button to move further. However, if you want to know more about Bitnami Learn more, check box
“Check ”learn more about bitnami for XAMP”.
- Basically Bitnami To install open source applications such as WordPress, Joomla etc. on XAMPP It's your newly installed one.
- Uncheck “learn more about bitnami for XAMPP” and click < Next.
Step Six
At this point, the software is ready to be installed. Just click the <Next button at the bottom of the software to start installing it.

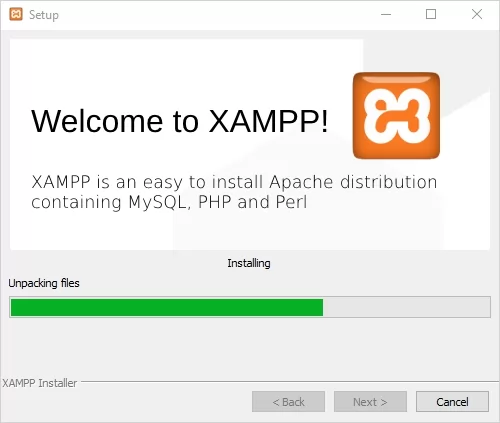
Step Seven
Wait for the software to install completely.
Step Eight
After the installation is complete, you will be asked ”Do you want to start the Control Panel now?”
Check the box and click on the “Finish” button and see if XAMPP works fine.

3•Running XAMPP
Step nine
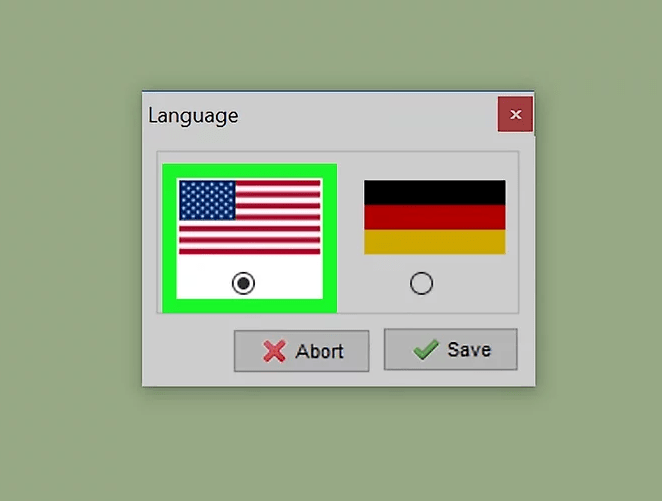
As soon as you click the Finish button in the final step of XAMPP installation, you will be asked to select the desired language between English and German.
It is up to you which language you choose. Then click the "Save" button to confirm your language selection. We recommend English.
Step ten
If all installation steps XAMPP Done correctly, it will now open properly and click on the corresponding “Start” button. Apache and MySQL Click.
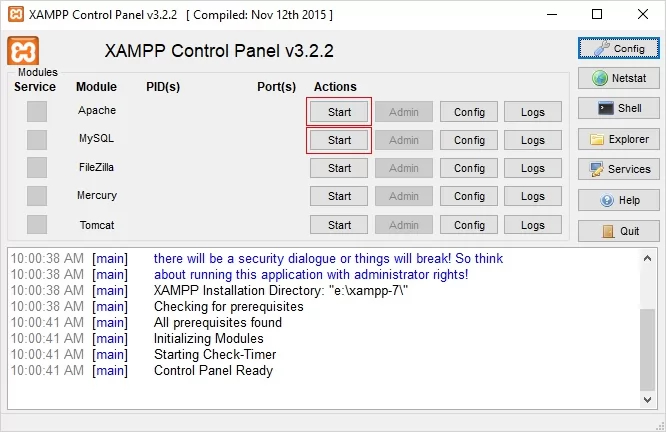
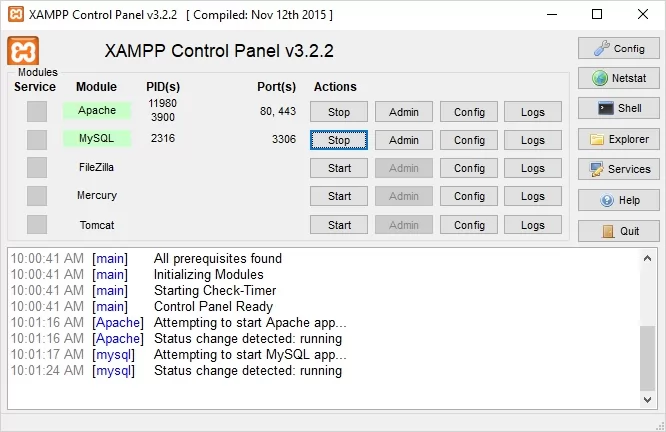
- You have now completed the installation process and XAMPP installed on your system. When you start the modules, you should see their status green.
- On the right, you can see the process ID (PID) number and the port number used by each module. .
Now you are installed and running. XAMPP You are completely fluent and you learned it. .