Introduction
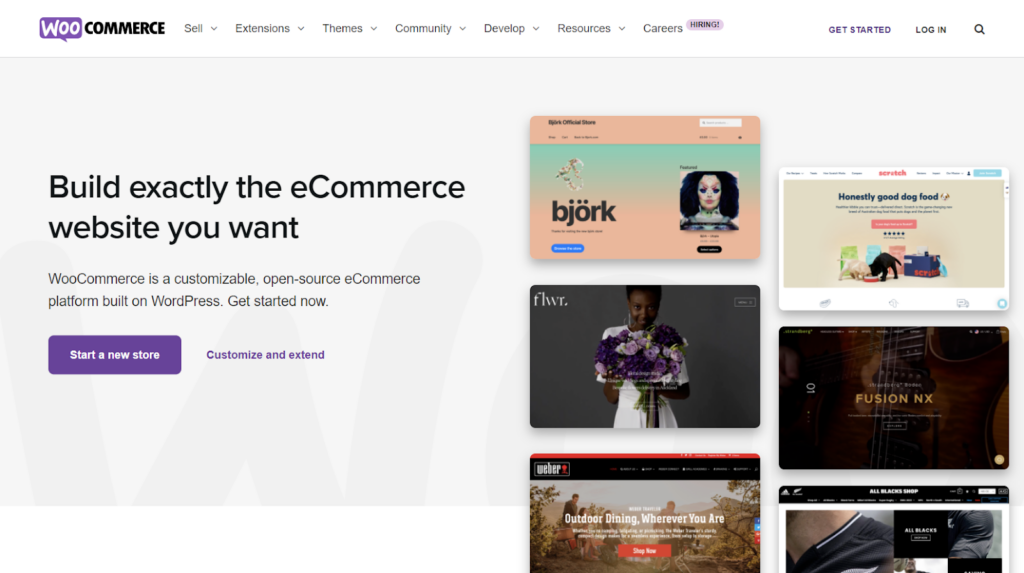
WooCommerce is a flexible open source software solution built for WordPress-based websites. It is commonly used to create online e-commerce stores.
Using this software solution, anyone can turn their regular website into a fully functional online store, with all the necessary e-commerce features.
WooCommerce also allows users to easily manage their online stores, from setting up product displays, and managing orders, to accepting multiple payment gateways.
What’s better, this solution is free to use! Users can easily download the WooCommerce plugin from the official WordPress plugin directory.
WooCommerce also has a beginner-friendly interface. You don't need to be an IT or coding expert to get started. Therefore, many businesses choose to use it.
In fact, according to Barn2, there are approximately 3.8 million online stores running on WooCommerce today. From retailers, bookstores, FnB to donation agencies.
The platform was first launched in 2011 by a company called WooThemes. It was then acquired by Automattic, the parent company of WordPress, in 2015.
When WordPress and WooCommerce merged, their growth accelerated. To this day, Automattic remains an active developer for WooCommerce and its extensions.
WooCommerce Key Features
This popular e-commerce plugin also has many great features that users can take advantage of. Here are some of them:
1. Product Management
One of the hardest things to figure out when starting an online business is sorting and managing product inventory on your website.
Fortunately, WooCommerce allows users to add variants and categories for each product they sell, which helps with product management.
Users can also freely customize the product by adding features such as size, color, and other types and categories.
You can even offer special pricing like discounts and promotions to reduce prices and inventory for stock management.
2. Purchasing rules
WooCommerce offers a shopping rule feature that can be customized and designed according to sellers' needs to make it easier for buyers to order products.
This feature is very useful in defining the customer journey when purchasing from your store, starting from the ordering process, payment, to product refund.
3. Order Management
With this order management feature, users can easily monitor all orders placed by their customers on the website. Sellers can also create offline orders manually.
4. Sales report
WooCommerce comes with a built-in sales report. However, if the default report seems too basic, users can add extensions.
Some report extensions allow you to export reports to Excel or CSV documents, so you can analyze them further to help grow your business.
If you want to see the profit and loss, the WooCommerce Cost of Goods plugin from SkyVerge might be worth checking out.
5. Flexible payments
WooCommerce also offers a variety of payment methods such as cash on delivery (COD), bank transfers, digital payments, etc.
The payment methods offered by WooCommerce are fully compatible with other popular payment gateways such as Doku, Paypal, and Stripe.
Should you use WooCommerce?
Now that you know what WooCommerce is and some of its best features, you may be asking yourself if you really need it.
The answer depends on what type of website you are creating and which CMS (content management system) you are using.
As the name suggests, WooCommerce is intended for creating e-commerce sites. It is based on WordPress, so you will need to use a CMS as well.
If you are planning to create an online store on WordPress, this plugin is a must-have. It is free and has many benefits.
To add to that, WooCommerce also allows users to sell almost anything. Starting from physical goods, digital products, bookings, and other services.
Types of users who might benefit from using WooCommerce include:
- People who want to develop their online store website easily and professionally.
- Companies that want to quickly and easily build e-commerce sites make their own stores.
- Users who need full control over transactions on their online store website
- Anyone who wants to turn their WordPress websites into fully functional online stores
WooCommerce Benefits
If all of this has still convinced you to use WooCommerce, here we are going to highlight some of the major benefits that users will get from this plugin:
- Designed for WordPress. WooCommerce offers seamless and easy integration with the content management system as it was built for WordPress.
- Sell Any Product WooCommerce allows its users to sell any type of product. From physical or digital products to online services and many more.
- Full eCommerce Features This plugin provides many useful eCommerce features for a smooth transaction between merchants and their customers.
- Mobile-Friendly WooCommerce also offers many mobile-friendly themes for its users, both paid and free. This is important for user experience as well as SEO.
- The plugin’s strong security protects your information from any third-party platform. It also secures all transactions between merchants and their customers by default.
- Well documented. WooCommerce has comprehensive instructions and documentation that covers a wide range of topics. This is useful for web developers.
- Fully customizable All WooCommerce enabled stores can be freely customized. Not only that, but users can also customize their AJAX for a more dynamic website.
- Community Support Despite not having official customer support, WooCommerce has a growing global community ready to help you if you run into any problems.
- Free and Paid Plugins. The great thing about the WooCommerce plugin is that it allows users to customize their store using various features and integrations.
Getting started with WooCommerce
Now that you know more about WooCommerce and its benefits for your online business, the next step is to learn how to get started.
The good news is that if you are familiar with WordPress plugins in general, creating online stores with WooCommerce will be very easy.
Everything you need to customize your online store is available right in the dashboard, thanks to its simple interface.
But of course, since WooCommerce is a WordPress plugin, you will need to install WordPress on your web server before starting the tutorial.
Step 1: Install WordPress
If you already have WordPress installed on your web server or host, skip to the next steps in this tutorial to install and set up WooCommerce.
Fortunately, installing WordPress only takes a few minutes, especially if you use a web hosting provider. These services usually come with an automated installer.
WordPress.org has official documentation on the topic, along with scripts and detailed instructions, if you have to install it manually on your web server.

After completing the typical WordPress installation, the next step is to create a website and connect it to the desired domain address for your online store.
If you plan to create a multilingual store in the future, you may want to check out our articles on creating a multisite network and multilingual websites.
Step 2: Install WooCommerce
Once your website is up and running, the next step is to install and activate the WooCommerce plugin from the official WordPress plugin directory.
Here's what you need to do:
- Log in to the WordPress administration area by entering your username and password.
- Go to the plugins menu on the left side of the WordPress admin area.
- When the plugins page comes up, click the Add New button.
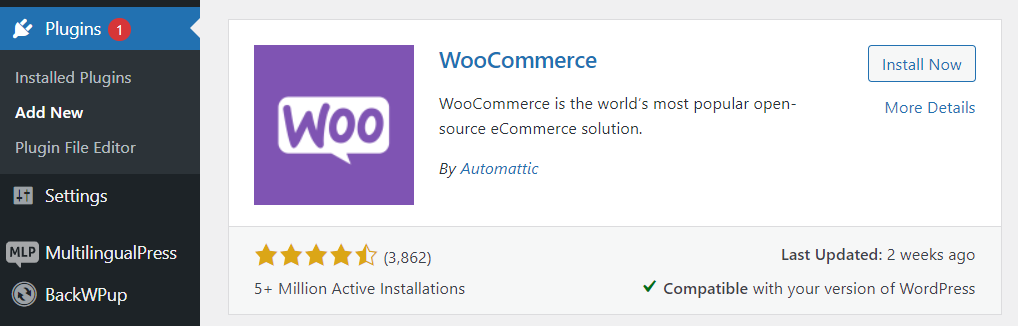
- “Type ”WooCommerce” in the plugin search field and click Install Now
- After completing the installation process, click the Activate button.
After completing the activation process, you should have the WooCommerce plugin installed on your WordPress website and ready to use!
Step 3: Set up your WooCommerce store
After the installation process is complete, a welcome message and the WooCommerce Setup Wizard tool will appear on the screen.
To set up your new store with WooCommerce, click the Setup Wizard button. If you accidentally skipped it, go to the Help page and click Setup Wizard.
In the first step, you will be asked to fill in the store location details. Users will need to enter the store address, country, city, zip code, and their manager's email address.
For the second step, WooCommerce asks what industry the store operates in. This offers a lot of options, from fashion, health, beauty, electronics, and more.
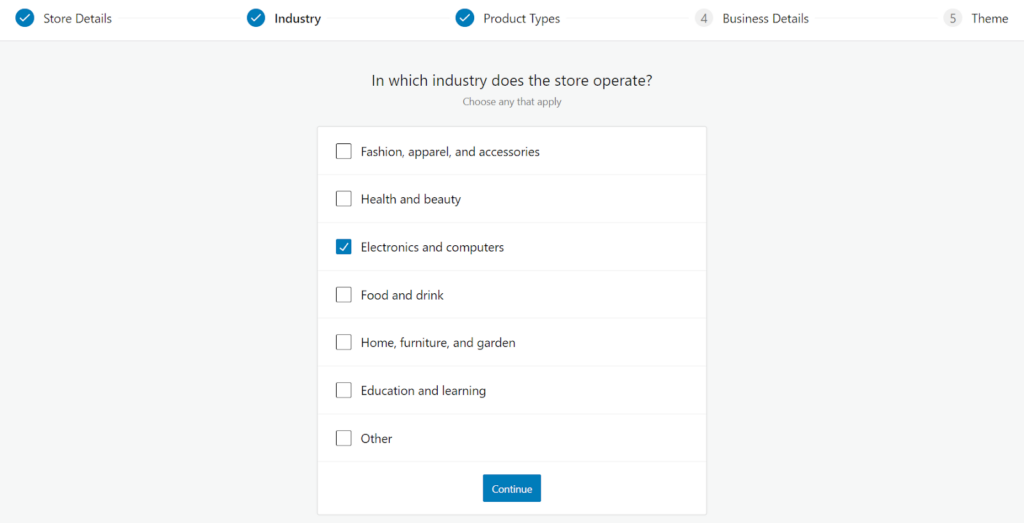
After clicking Continue, the third step is to specify which types of products to list in the store. WooCommerce allows users to sell and download physical items for free.
For another type of product, here is the price breakdown:
- Subscriptions – $16.58/month
- Membership – $16.58/month
- Booking – $20.75/month
- Packages – $4.08/month
- Customizable Products – $4.08/month
Next, users are asked to fill in their business details. You will be asked how many products you want to display in the store and whether you sell them elsewhere.
Enable the «Add recommended business features to my site» option and proceed to the final step, where you need to choose a free theme for the store.
That's it! Once you choose a theme, WooCommerce will automatically apply it to the website and you will be redirected to their homepage for more customization options.
Step 4: Add and manage products
Now that your store is fully set up, the next step before publishing is to add and manage the products you want to sell.
However, before going further, it is important to understand what categories, features, and product types are in WooCommerce.
Here is a brief explanation of each:
- Product categories are a way to group products with similar features. In WooCommerce, you can create as many categories as you need and edit them at any time.
- Filters products by size, color, material, and preferences. You can choose to specify attributes for each product or the entire store.
- Product types determine what types of products users sell in their stores. WooCommerce has several predefined product types.
Luckily, adding and managing products in WooCommerce is very easy! Especially if you are familiar with how the WordPress dashboard works.
All you need to do is go to the Products menu on the left side of the dashboard and click on the Create Your First Product or Add New button.
Fill in the product title and add important and relevant information about your product in the description. Then, proceed to set up the product data page.
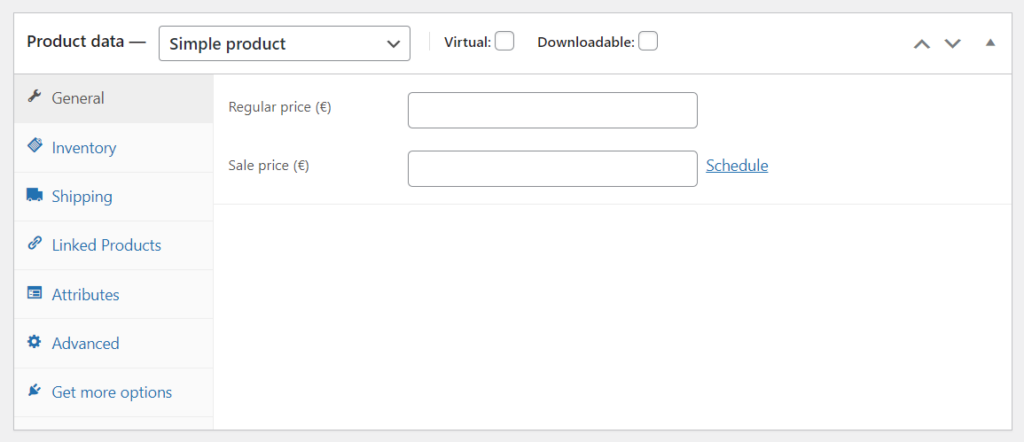
On this page, sellers can define and customize their products as needed. In this example, we categorized our items as a simple product type.
Fill in the required fields, add images to make the products more attractive, and once everything is ready, click the publish button.
You can then view and manage all products on the Products page. Edit, delete, copy, and highlight a product individually or in bulk.
Step 5: Manage discounts
Everyone knows that discounts are one of the best ways to increase sales. Luckily, WooCommerce makes it easy for sellers to set up coupons.
Simply go to the Coupons page. There, sellers can view and edit coupons that have been added to the store or add a new coupon.
Step 6: Manage orders
Once all the products are listed on the website and you know how to set up discounts, the next step is to learn how to receive and manage orders for the store.
In WooCommerce, sellers can view and manage all incoming orders by clicking on the Orders menu on the left side of the WordPress dashboard.
Whenever a customer completes the checkout process after a purchase, a new order will appear on that page. There you can also easily update the order status for the customer.
Each order has a unique ID filled with various details – customer email, contact number, address, payment method, etc.
Step 7: Set up reports
Sellers use the WooCommerce Reports feature from the left-hand menu to gain deeper insights into store performance.
On this page, sellers can monitor the number of product purchases, gross sales, average daily sales, and other statuses.
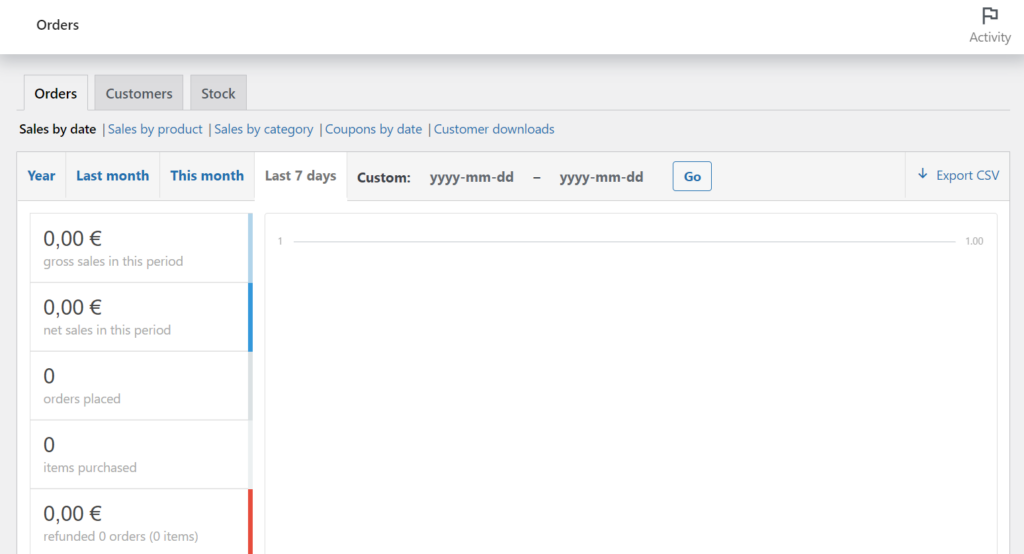
You can even display statistics for individual products, product categories, coupons, customers and guests, etc.