
Introduction
The KVM console allows you to connect directly to your VPS without the need to use external software such as Terminal or PuTTY. It is accessible via the OVHcloud control panel or the OVHcloud API.
Prerequisites
- A virtual private server on your OVHcloud account
- Access to the OVHcloud control panel
Connecting to KVM via the OVHcloud control panel with the current VPS range
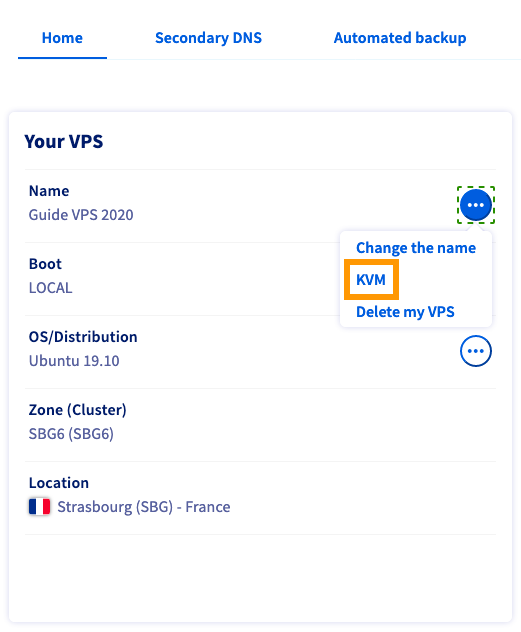
Log in to your OVHcloud control panel, go to the Bare Metal Cloud section and select your server in the Virtual Private Servers section. Here, click on … next to the name of your VPS in the «Your VPS» box.
With older VPS ranges
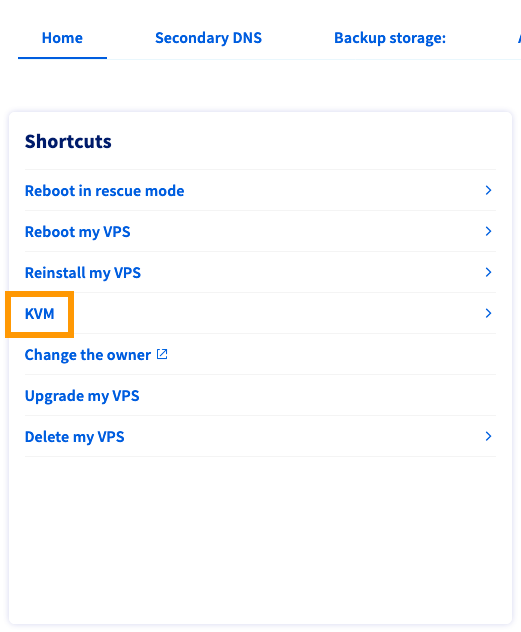
Log in to your OVHcloud control panel, go to the Bare Metal Cloud section and select your server in the Virtual Private Servers section. In this section, click on the shortcut link labeled KVM.
Using the KVM console
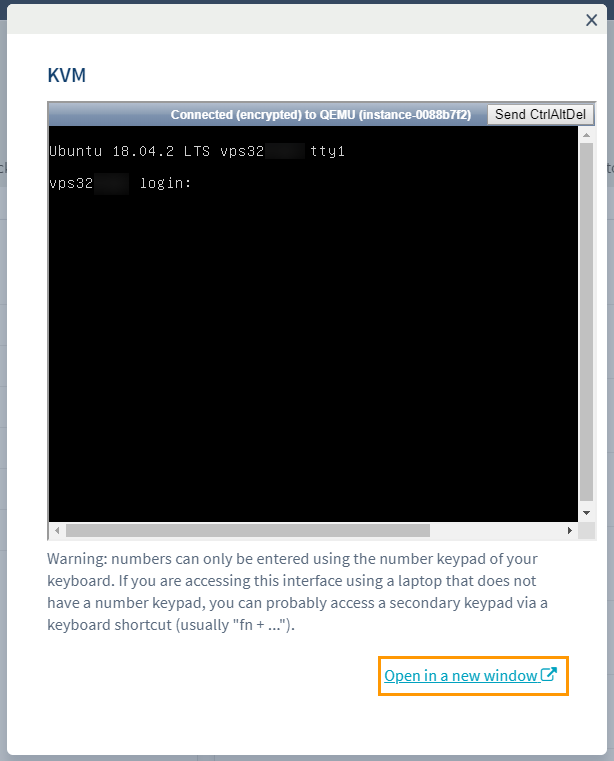
The KVM screen will open, which is a small window that shows the connection to your server. Since the window is relatively small, it will be very difficult to navigate your server interface using the scroll bars. Therefore, we recommend opening KVM in a new full-screen window using the “Open in new window” button in the lower right corner of the window.
You may experience double-tap issues. This is due to the automatic display adjustment. We recommend opening KVM in a new window using the "Open in new window" button.
If you are still having problems with the display, we recommend removing the "auto" part from the URL. If the URL is https://compute.sbg1.cloud.ovh.net:6080/vnc_auto.html?token=xxxxxxxxxxxx, it should be changed to https://compute.sbg1.cloud.ovh.net:6080/vnc.html. ?token=xxxxxxxxxxxx (the link for you may be different, this just shows which part of the URL needs to be removed).
The keyboard may have a different layout than yours. Be sure to check it, as for example, the keyboard could be AZERTY instead of QWERTY.
Change keyboard layout
You can enable your own custom keyboard configuration to make using the console easier. Enter the following command:
sudo dpkg-reconfigure keyboard-configuration
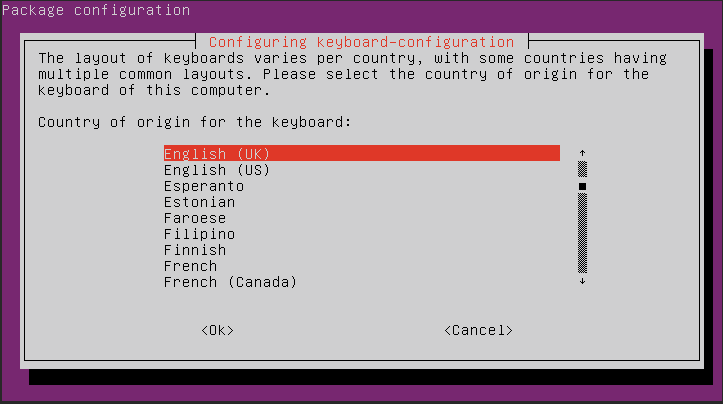
A graphical menu will open where you can select the keyboard model.
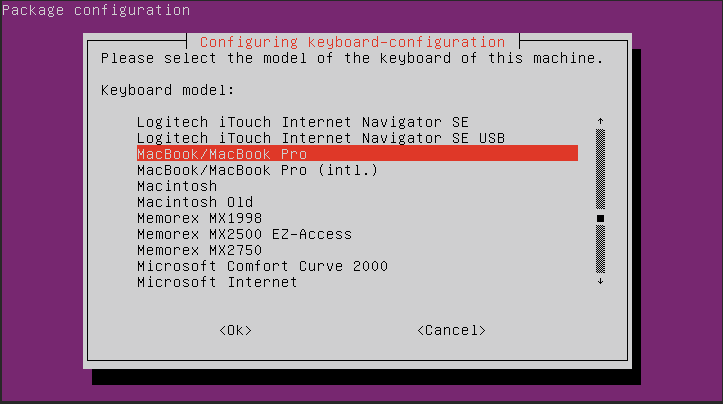
Use the arrow keys to navigate to the option that is closest to your hardware, then press “Enter.”.
Select your country in the next menu.
In the third menu, you can specify the actual layout of your keyboard.
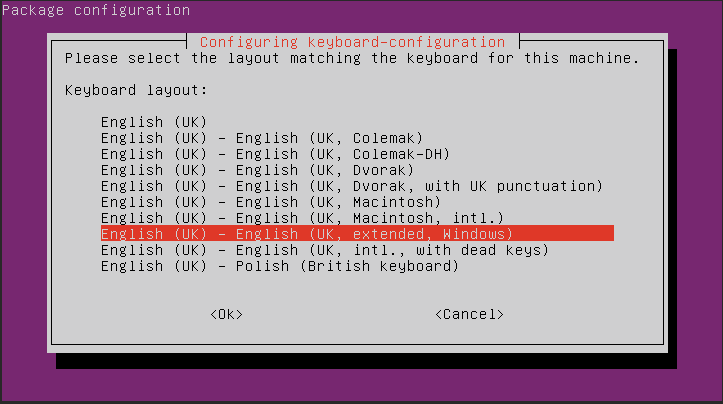
Depending on your selection, more options may be displayed after the third menu.
At the command prompt, enter the following command to apply the changes.
sudo systemctl restart keyboard-setup
These steps must be repeated after the server restarts.
Connecting to KVM via API
Sometimes you may experience problems connecting to KVM via your OVHcloud control panel, especially on older versions. In this case, you can use the API solution via the OVHcloud API.
For VPS 2014
If you have a 2014 VPS, you may encounter error 1006. Browsing the API using the following call can resolve this issue.
API:
/vps/{serviceName}/openConsoleAccess- serviceName: Your VPS ID in the format vpsxxxxx.ovh.net
- Protocol: VNC
Despite executing the command in the API, the connection may take several minutes – the amount of time it takes for the port to be successfully opened.
We recommend using one of the following clients:
- UltraVnc
- VNC Viewer
Use the details provided by the API call to connect to the VPS remotely using one of the aforementioned software applications.
For VPS 2016
If you encounter any issues with KVM, here is the recommended API to access KVM:
API:
/vps/{serviceName}/getConsoleUrlAPI call parameters:
- serviceName: Your VPS ID in the format vpsxxxxx.ovh.net
If you are still having issues with the display, we recommend removing the "auto" part from the URL. If the URL is https://compute.sbg1.cloud.ovh.net:6080/vnc_auto.html?token=xxxxxxxxxxxx, it should be changed to https://compute.sbg1.cloud.ovh.net:6080/vnc.html. ?token=xxxxxxxxxxxx (the link for you may be different, this just shows which part of the URL needs to be removed).