Introduction
ClickHouse is an open source columnar database management system that excels at performing high-performance OLAP queries and real-time analytics. However, scaling data storage for ClickHouse can be challenging, especially as data volumes grow. One efficient solution is to use tiered storage, which allows you to move infrequently accessed data to more cost-effective storage while keeping frequently accessed data on faster, more expensive storage. ClickHouse supports a variety of storage backends for data, including local disks and remote options like DigitalOcean Spaces. When managing large volumes of data, it is common to use multiple storage devices.
DigitalOcean Spaces is an object storage service that can be integrated as a layer into the ClickHouse tiered storage architecture. This guide will walk you through the steps to configure DigitalOcean Spaces as a tiered storage option for your ClickHouse cluster.
In this guide, we will set up a simple Go application that sends batch logs to ClickHouse. First, the logs will be stored in hot storage (the default disk, also called local) and then after a specified time interval (2 minutes) they will be moved to cold storage (for example, S3-based storage like DO Spaces).

Prerequisites
Before you begin, make sure you have the following:
- A Cloud account on DigitalOcean.
- A DigitalOcean Spaces bucket.
- Access keys to DigitalOcean Spaces.
- Basic introduction to ClickHouse configurations and object storage.
Step 1 — Create and configure a DigitalOcean Space
Log in to your DigitalOcean Cloud account and create a new space (bucket). This bucket will be used as tiered storage for infrequently accessed data.
- Go to the Spaces section of the dashboard.

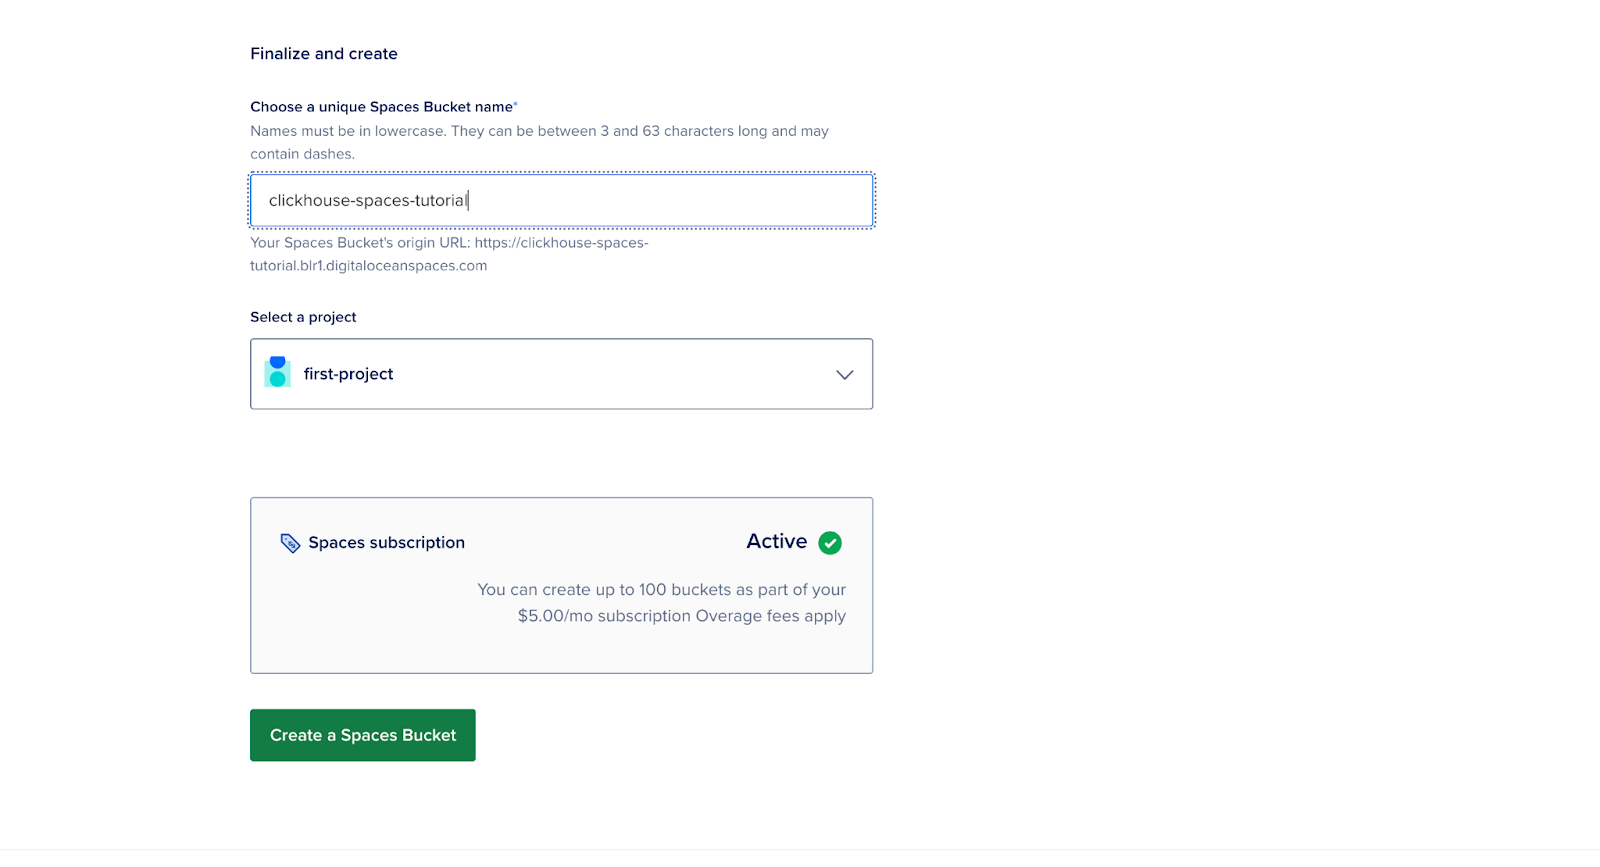
- Click “Create New Space,” enter a name, select a region, and set permissions.
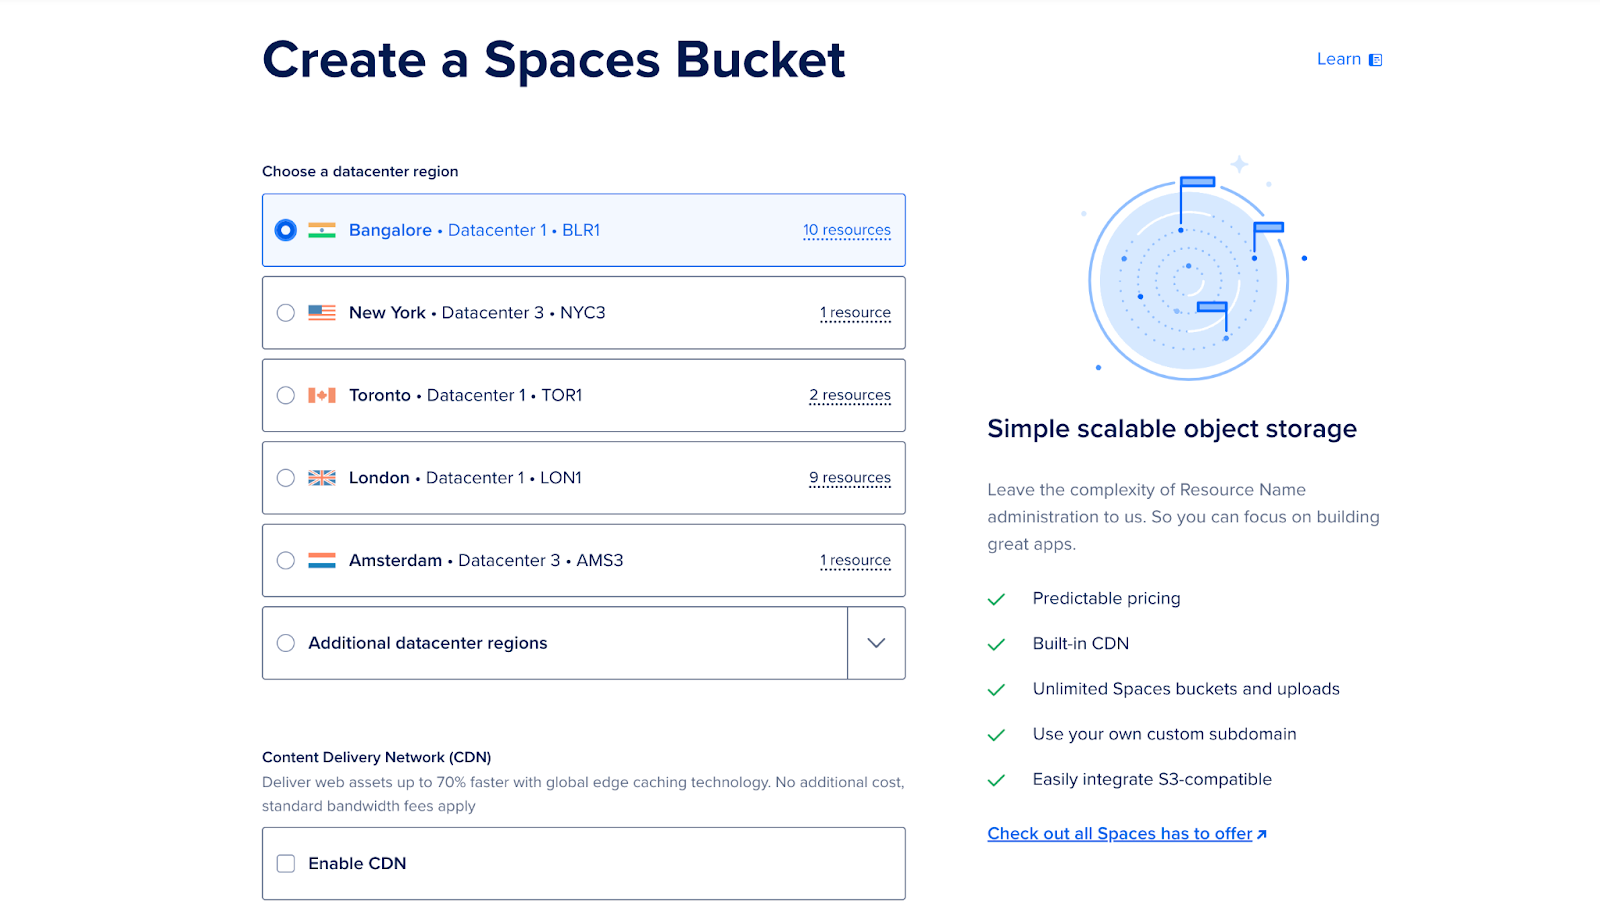
- Note the Endpoint URL.

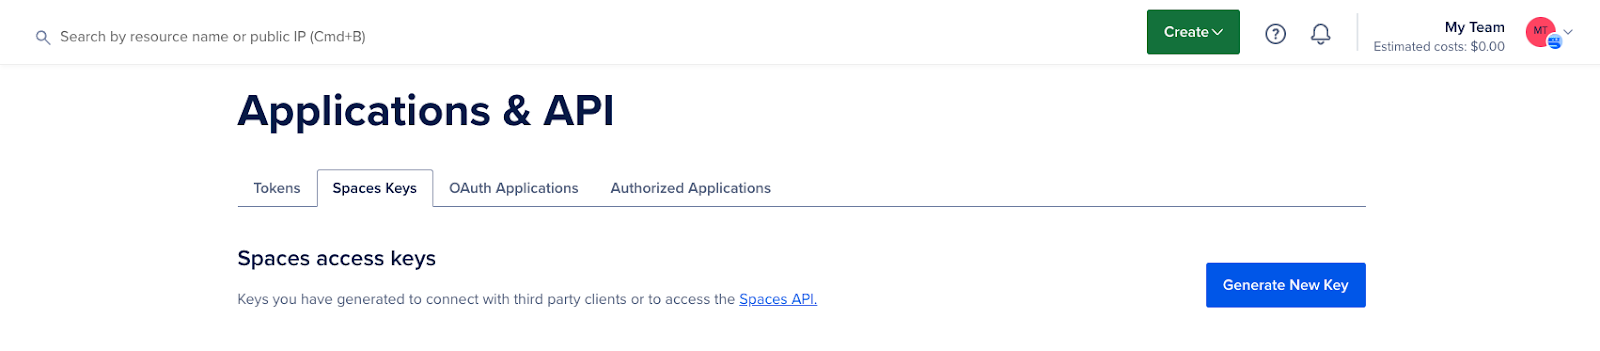
- Make a note of the access key and secret key as you will need them in the next steps.
At this point, your bucket is created and ready to integrate with ClickHouse.
Step 2 — Setting up the ClickHouse server in a Docker container
To get started, create a folder and name it “clickhouse”.
mkdir clickhouseCreate a Dockerfile in this folder and replace the values {YOUR_AWS_ACCESS_KEY_ID} and {YOUR_AWS_SECRET_ACCESS_KEY} with your access key and secret key.
FROM clickhouse/clickhouse-server:latest
# Copy the config file to the container
COPY storage.xml /etc/clickhouse-server/config.d/storage.xml
# Copy the S3 table creation script
COPY create.sql /docker-entrypoint-initdb.d/
# Set environment variables for S3 credentials
ENV AWS_ACCESS_KEY_ID={YOUR_AWS_ACCESS_KEY_ID}
ENV AWS_SECRET_ACCESS_KEY={YOUR_AWS_SECRET_ACCESS_KEY}
# Expose ClickHouse HTTP and native ports
EXPOSE 8123 9000
USER clickhouse
# --config-file ./programs/server/config.xml
CMD ["clickhouse-server", "--config-file", "/etc/clickhouse-server/config.xml"]
Description:
- access_key_id and secret_access_key: These are your credentials for DigitalOcean Spaces.
Warning: We have included the credentials in the Dockerfile for simplicity in this guide, but this approach is not recommended in production environments.
Step 3 — Configure ClickHouse for S3-compatible storage
In this step, you will configure ClickHouse to use DigitalOcean Spaces as a tier in your storage system. This involves adding the storage configuration to the config.xml file in your ClickHouse installation.
To use the Spaces bucket as a storage disk, you must first declare it in the ClickHouse configuration file. You can modify the existing config.xml file or, preferably, add a new file in the conf.d folder, which will later be merged into config.xml.
<clickhouse>
<storage_configuration>
<disks>
<s3>
<type>s3</type>
<endpoint>{YOUR_S3_SPACES_BUCKET_URL}</endpoint>
<use_environment_credentials>true</use_environment_credentials>
</s3>
</disks>
</storage_configuration>
</clickhouse>
This section configures a remote disk (DigitalOcean Space) that ClickHouse can use to store infrequently available data.
Note: Replace the values {YOUR_S3_SPACES_BUCKET_URL} with your endpoint URL.
Step 4 — Create a table with tiered storage
Now, create a table in ClickHouse that uses tiered storage. You can specify multiple storage policies to determine which data is stored on local disks and which is stored on remote disks (Spaces).
Define a retention policy that moves older data to DigitalOcean Spaces after a specified period of time:
CREATE TABLE IF NOT EXISTS tiered_logs (
event_time DateTime,
level String,
message String
) ENGINE = MergeTree
ORDER BY (event_time)
TTL toDateTime(event_time) + INTERVAL 2 MINUTE TO VOLUME 'cold'
SETTINGS storage_policy = 's3_tiered';
Description:
- default: This is the local disk storage where recent or frequently used data is stored.
- s3: is the remote storage (DigitalOcean Spaces) where older data is moved.
This configuration ensures that new data is written to local disk and older data is automatically migrated to DigitalOcean Spaces.
Step 5 — Run the ClickHouse Server
To start the ClickHouse server, run the following command:
docker build -t clickhouse-demo .
docker run -d --name clickhouse-demo -p 8123:8123 -p 9000:9000 clickhouse-demo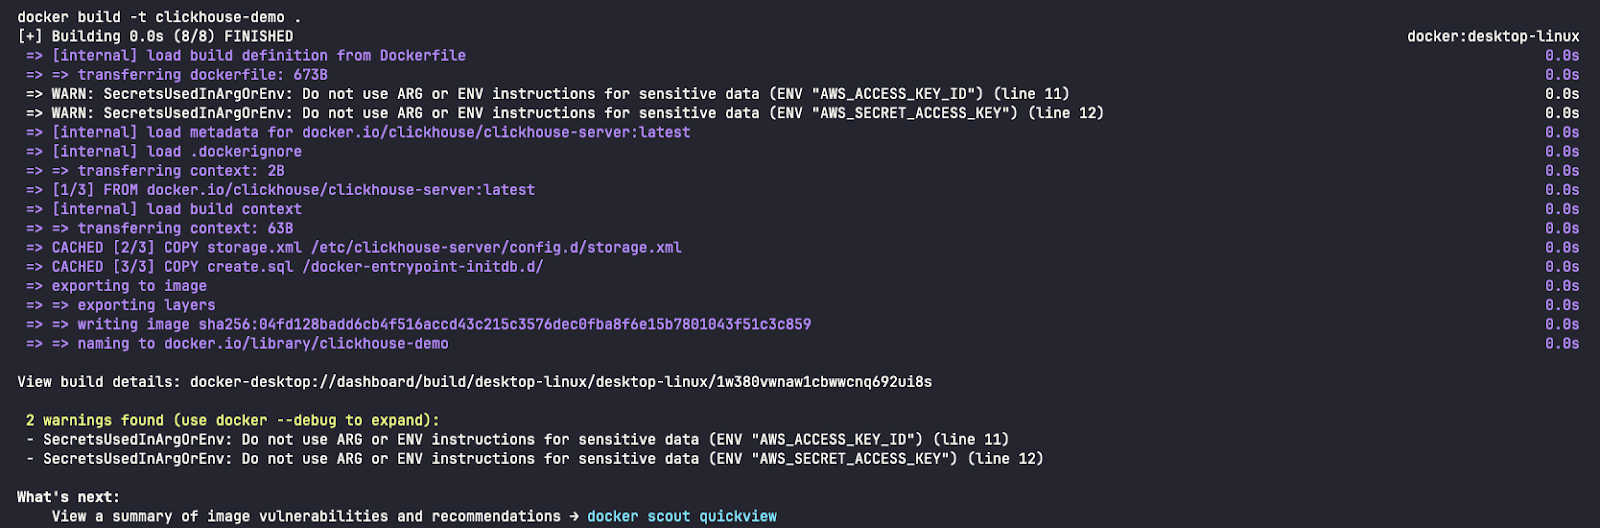
Network ports
- 8123: This is the HTTP port used to communicate with ClickHouse via the HTTP interface. (http://localhost:8123/play). You can use this port to run SQL queries through a browser or through command line tools like curl or Postman. It is often used for web applications or clients that interact with ClickHouse via HTTP.
- 9000: This TCP port is the main port for ClickHouse clients and servers to communicate with each other using the main ClickHouse protocol.
- Reference: https://clickhouse.com/docs/en/guides/sre/network-ports

Verification using:
docker ps

Step 6 — Run a simple Go program that sends logs
In a new folder, a file called main.go Create one that sends logs to ClickHouse.
package main
import (
"database/sql"
"fmt"
"log"
"os"
"time"
"github.com/ClickHouse/clickhouse-go"
"github.com/sirupsen/logrus"
)
type ClickHouseHook struct {
db *sql.DB
entries []logrus.Entry
batchSize int
}
// NewClickHouseHook establishes a connection to ClickHouse using the provided DSN.
func NewClickHouseHook(dsn string, batchSize int) (*ClickHouseHook, error) {
db, err := sql.Open("clickhouse", dsn)
if err != nil {
return nil, err
}
if err := db.Ping(); err != nil {
if exception, ok := err.(*clickhouse.Exception); ok {
log.Fatalf("[%d] %s \n%s\n", exception.Code, exception.Message, exception.StackTrace)
} else {
log.Fatal(err)
}
}
return &ClickHouseHook{db: db, batchSize: batchSize}, nil
}
// Fire is triggered by Logrus to log entries to ClickHouse.
func (hook *ClickHouseHook) Fire(entry *logrus.Entry) error {
hook.entries = append(hook.entries, *entry)
if len(hook.entries) >= hook.batchSize {
if err := hook.flush(); err != nil {
return err
}
}
return nil
}
// flush sends the collected log entries to ClickHouse in a batch.
func (hook *ClickHouseHook) flush() error {
tx, err := hook.db.Begin()
if err != nil {
return err
}
stmt, err := tx.Prepare("INSERT INTO tiered_logs (event_time, level, message) VALUES (?, ?, ?)")
if err != nil {
return err
}
defer stmt.Close()
for _, entry := range hook.entries {
if _, err := stmt.Exec(entry.Time, entry.Level.String(), entry.Message); err != nil {
return err
}
}
if err := tx.Commit(); err != nil {
return err
}
// Clear the entries after flushing
hook.entries = nil
return nil
}
// Levels returns the logging levels for which the hook is triggered.
func (hook *ClickHouseHook) Levels() []logrus.Level {
return logrus.AllLevels
}
func main() {
// ClickHouse DSN (replace with your credentials and host)
dsn := "tcp://localhost:9000?database=default&username=default&password=&debug=true"
// Create ClickHouse hook with a batch size of 5
hook, err := NewClickHouseHook(dsn, 5)
if err != nil {
log.Fatalf("failed to connect to ClickHouse: %v", err)
}
defer hook.db.Close()
// Set up logrus
logger := logrus.New()
logger.Out = os.Stdout
logger.SetFormatter(&logrus.TextFormatter{
FullTimestamp: true,
})
logger.AddHook(hook)
// Log some entries
for i := 0; i < 10; i++ {
logger.WithFields(logrus.Fields{
"iteration": i,
}).Info("This is an info log entry")
time.Sleep(time.Second)
}
// Flush any remaining log entries before exiting
if err := hook.flush(); err != nil {
log.Fatalf("failed to flush logs to ClickHouse: %v", err)
}
fmt.Println("Logs sent to ClickHouse.")
}
To install package dependencies:
go mod init example.com/clickhouse-logging
go get github.com/ClickHouse/clickhouse-go
go get github.com/sirupsen/logrus
To run the application:
go run main.go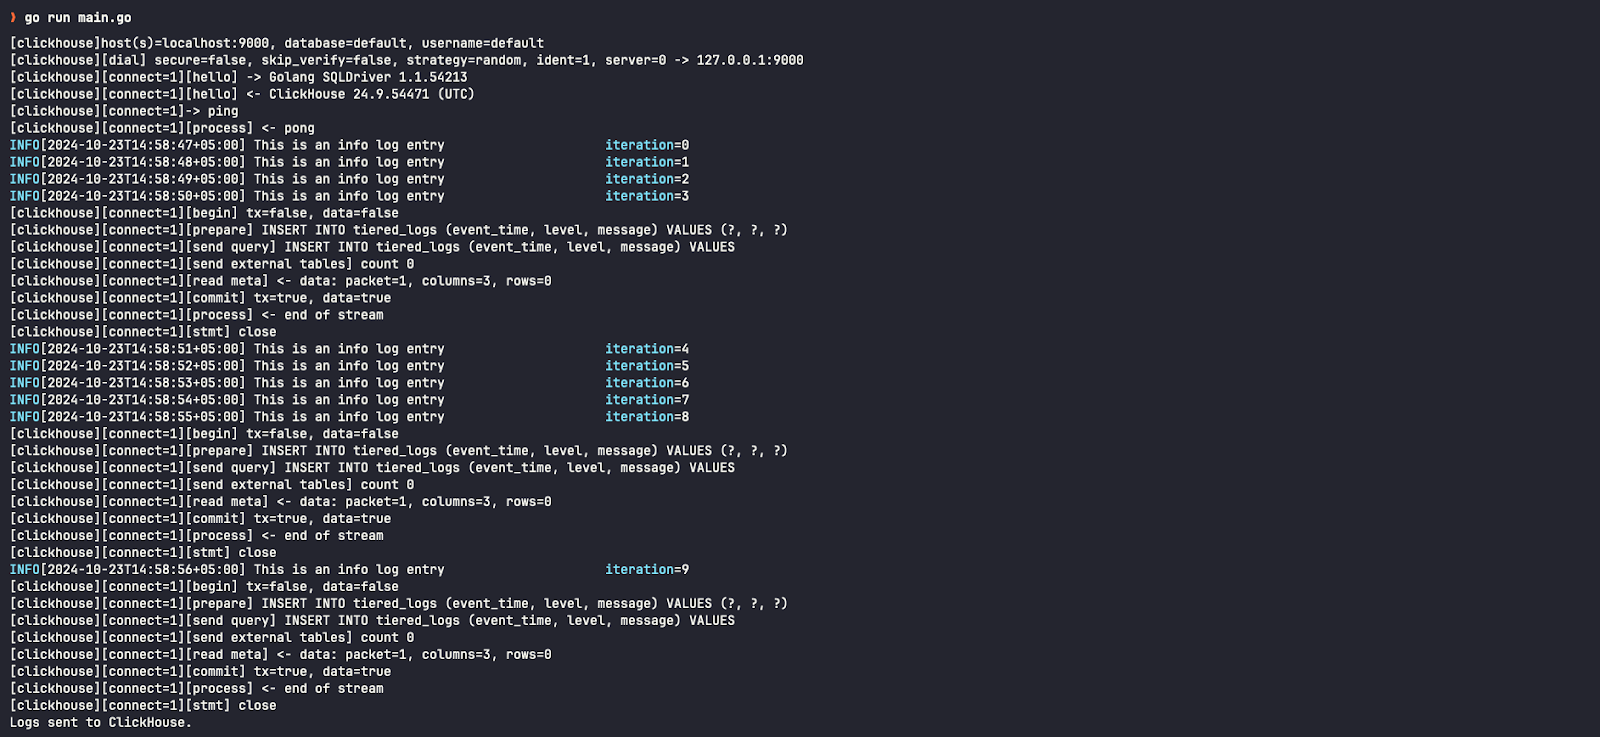
Step 7 — Confirm the results
To start the ClickHouse client, run the following command:
docker exec -it clickhouse-demo clickhouse-clientTo verify logs in the ClickHouse cluster:
SELECT * FROM tiered_logs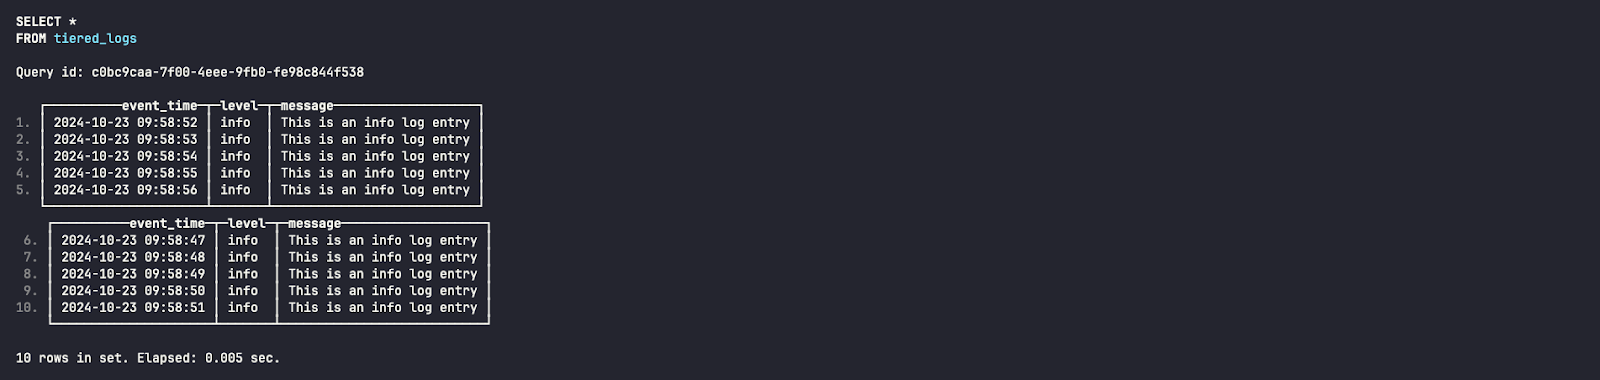
When examining the storage disk for this log entry, we see that it is stored on the default (local) disk – also known as hot storage.
SELECT name, disk_name FROM system.parts WHERE table = 'tiered_logs';

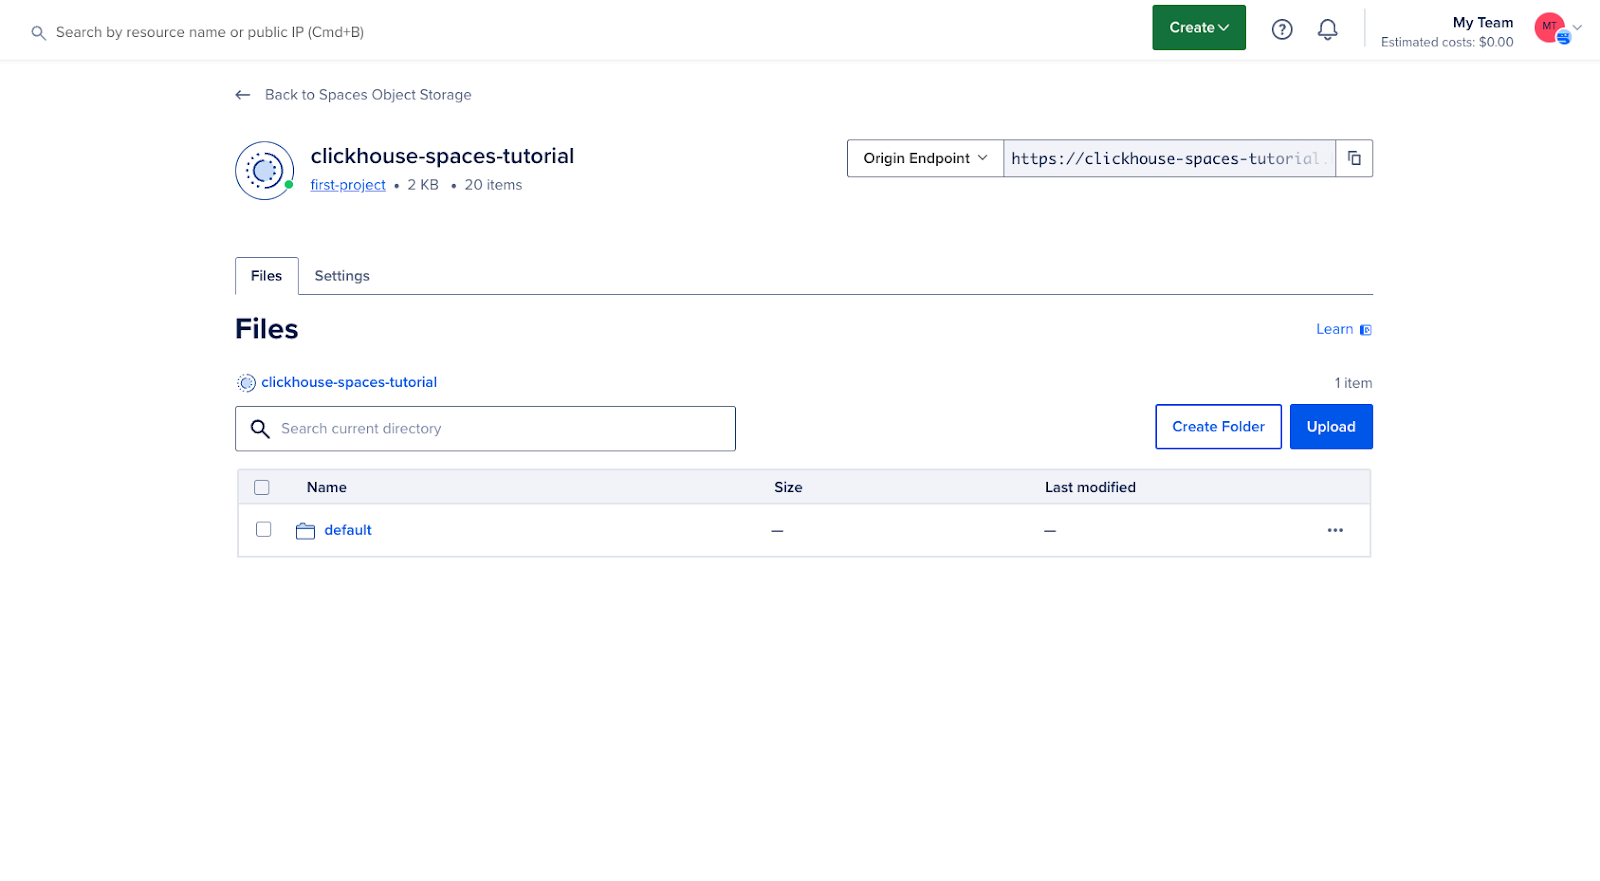
After the two-minute interval specified in the CREATE TABLE query, you can check that these reports have been moved to S3 disks (remote bucket/space) – also called cold storage.

We can also see in the DigitalOcean Cloud UI that our bucket now contains data:
Result
By following this guide, you have successfully configured DigitalOcean Spaces as a tiered storage option for ClickHouse. This configuration allows you to optimize storage costs and improve performance by moving infrequently accessed data to cost-effective object storage, while maintaining high-performance storage for active data.