Introduction
WordPress is a free and open source content management system (CMS) built on a MySQL database with PHP processing. Thanks to its plugin architecture and extensible template system, most of its management can be done through a web interface. This is why WordPress is a popular choice when creating all kinds of websites, from blogs to product pages to e-commerce sites.
Running WordPress typically involves installing a LAMP (Linux, Apache, MySQL, and PHP) or LEMP (Linux, Nginx, MySQL, and PHP) stack, which can be time-consuming. However, using tools like Docker and Docker Compose, you can simplify the process of setting up your own custom stack and installing WordPress. Instead of installing individual components by hand, you can use images that standardize things like libraries, configuration files, and environment variables. Then, run these images in containers, isolated processes that run on a shared operating system. Additionally, using Compose, you can coordinate multiple containers—for example, an application and database—to communicate with each other.
In this tutorial, you will build a multi-container WordPress installation. Your containers will contain the MySQL database, the Nginx web server, and WordPress itself. You will also secure your installation by obtaining TLS/SSL certificates with Let's Encrypt for the domain you want to associate with your site. Finally, you will set up a cron job to renew your certificates so that your domain stays secure.
Prerequisites
- A server running Ubuntu, with a non-root user with privileges
sudoAnd active firewall. - Docker is installed on your server.
- Docker Compose must be installed on your server.
- A registered domain name. This tutorial will use your domain in its entirety.
- Both of the following DNS records are set up for your server.
A record with your_domain pointing to the public IP address of your server.
A record with www.your_domain pointing to the public IP address of your server.
Step 1 – Define the web server configuration
Before running any containers, your first step is to define the configuration for your Nginx web server. Your configuration file includes some WordPress-specific location blocks, along with a location block to route Let's Encrypt verification requests to the Certbot client for automatic certificate renewal.
First, create a project directory for your WordPress setup. In this example, it will be called WordPress. You can name this directory something else if you want:
mkdir wordpressThen go to the directory:
cd wordpressNext, create a directory for the configuration file:
mkdir nginx-confFile with nano Or open your favorite editor:
nano nginx-conf/nginx.confIn this file, add a server block with instructions for the server name and document root, and location blocks to direct Certbot client requests for certificates, PHP processing, and fixed asset requests.
Add the following code to the file. Make sure to replace your_domain with your domain name:
server {
        listen 80;
        listen [::]:80;

        server_name your_domain www.your_domain;

        index index.php index.html index.htm;

        root /var/www/html;

        location ~ /.well-known/acme-challenge {
                allow all;
                root /var/www/html;
        }

        location / {
                try_files $uri $uri/ /index.php$is_args$args;
        }

        location ~ \.php$ {
                try_files $uri =404;
                fastcgi_split_path_info ^(.+\.php)(/.+)$;
                fastcgi_pass wordpress:9000;
                fastcgi_index index.php;
                include fastcgi_params;
                fastcgi_param SCRIPT_FILENAME $document_root$fastcgi_script_name;
                fastcgi_param PATH_INFO $fastcgi_path_info;
        }

        location ~ /\.ht {
                deny all;
        }

        location = /favicon.ico {
                log_not_found off; access_log off;
        }
        location = /robots.txt {
                log_not_found off; access_log off; allow all;
        }
        location ~* \.(css|gif|ico|jpeg|jpg|js|png)$ {
                expires max;
                log_not_found off;
        }
}
Our server block contains the following information:
Instructions:
listen: This tells Nginx to listen on port 80, which allows you to use the Webroot Certbot plugin for your certificate requests. Note that you haven't entered port 443 yet — you'll update your configuration to include SSL once you've successfully received your certificates.server_name: Specifies your server name and the server block that should be used for requests to your server. Make sure to replace your_domain with your domain name in this line.index: This directive defines the files that are used as indexes when processing requests to your server. You changed the default priority order here and moved index.php before index.html so that Nginx prioritizes files named index.php when possible.root: This directive names the root directory for your server requests. This directory, /var/www/html, is created as a mount point at build time by the directives in your WordPress Dockerfile. These Dockerfile directives also ensure that the WordPress version files are installed on this volume.
Location blocks:
location ~ /.well-known/acme-challenge: This block handles requests to the .well-known directory, where Certbot places a temporary file to verify that your domain's DNS resolves to your server. With this configuration, you can use the Webroot Certbot plugin to obtain a certificate for your domain.location/: In this location block, the try_files directive is used to check for files that match the requested URI. However, instead of returning a 404 Not Found status as is the default, you pass control to the WordPress index.php file with the request arguments.location ~ \.php$: This location block handles PHP processing and proxies these requests to your WordPress container. Since your WordPress Docker image will be based on the php:fpm image, you will also include configuration options that are specific to the FastCGI protocol in this block. Nginx requires a separate PHP processor for PHP requests. In this case, these requests will be handled by the php-fpm processor that comes with the php:fpm image. Additionally, this location block contains FastCGI-specific directives, variables, and options that configure the proxy requests to the WordPress application running in your WordPress container, set a preference list for the parsed request URI, and parse the request URI.location ~ /\.ht: This block handles .htaccess files because Nginx does not serve them. The deny_all directive ensures that .htaccess files will never be served to users.location = /favicon.ico, location = /robots.txt: These blocks ensure that requests for /favicon.ico and /robots.txt are not logged.location ~* \.(css|gif|ico|jpeg|jpg|js|png)$: This block disables the logging of fixed asset requests and ensures that these assets are highly cacheable, as they are typically expensive to service.
Save and close the file when you are finished editing. If you are using nano, do this by pressing CTRL+X, Y, then ENTER. With your Nginx configured, you can move on to creating environment variables to be passed to your application and database containers at runtime.
Step 2 – Define environment variables
Your WordPress application database and containers need access to certain environment variables at runtime to keep your application data alive and accessible to your application. These variables contain both sensitive and non-sensitive information: sensitive values for the MySQL root password and application database user and password, and non-sensitive information for your application database name and host. Instead of setting all of these values in the Docker Compose file — the main file that contains information about how your containers run — set the sensitive values in an env. file and restrict its circulation. This prevents these values from being copied across your project repositories and being publicly visible.
In your project's root directory, ~/wordpress, open a file called .env:
nano .envThe secret values you set in this file include a password for the MySQL root user and a username and password that WordPress will use to access the database. Add the following variable names and values to the file. Remember to provide your own values here for each variable:
MYSQL_ROOT_PASSWORD=your_root_password
MYSQL_USER=your_wordpress_database_user
MYSQL_PASSWORD=your_wordpress_database_password
Include a password for the root admin account, as well as your desired username and password for your application database. Save and close the file when you're finished editing.
Since your env file contains sensitive information, you want to make sure it is included in your project's .gitignore and .dockerignore files. This tells Git and Docker what files not to copy into your Git repositories and Docker images, respectively.
With git init:
git initThen create and open a .gitignore file:
nano .gitignoreAdd env to the file:
.envSave and close the file when you are finished editing.
Likewise, adding .env to the .dockerignore file is a good precaution so that it doesn't get included in your containers when you use this directory as your build context.
Open the file:
nano .dockerignoreAdd env to the file:
.env
Below this, you can optionally add files and directories related to your application development:
.env
.git
docker-compose.yml
.dockerignore
Save and close the file when you are finished.
With your sensitive information in place, you can now move on to defining your services in a docker-compose.yml file.
Step 3 – Define services with Docker Compose
Your docker-compose.yml file will contain the service definitions for your setup. A service in Compose is a running container, and service definitions specify information about how each container should run.
Using Compose, you can define different services to run multi-container applications, as Compose allows you to link these services together with shared networks and volumes. This will be useful for your current setup as you will create different containers for your database, WordPress application, and web server. You will also create a container to run the Certbot client to obtain certificates for your web server.
To get started, create and open the docker-compose.yml file:
nano docker-compose.ymlAdd the following code to define the version of your Compose file and db database service:
version: '3'

services:
  db:
    image: mysql:8.0
    container_name: db
    restart: unless-stopped
    env_file: .env
    environment:
      - MYSQL_DATABASE=wordpress
    volumes:
      - dbdata:/var/lib/mysql
    command: '--default-authentication-plugin=mysql_native_password'
    networks:
      - app-network
The db service definition includes the following options:
image: This tells Compose what image to pull to create the container. You are pinning the mysql:8.0 image here to avoid future conflicts as the mysql:latest image continues to be updated. For more information about version pinning and avoiding dependency conflicts, read the Docker documentation on Dockerfile best practices.Container_name: Specifies a name for the container.restart: This policy specifies whether the container will restart. The default is no, but you have configured the container to restart unless manually stopped.env_file: This option tells Compose that you want to add environment variables from a file called .env that is located in your build context. In this case, the build context is your current directory.environment: This option allows you to add additional environment variables beyond those defined in the .env file. You set the MYSQL_DATABASE variable to wordpress to provide a name for your application database. Since this information is non-sensitive, you can put it directly in the docker-compose.yml file.volumes: Here, you are mounting a volume named dbdata in the /var/lib/mysql folder in the container. This is the standard data directory for MySQL on most distributions.command: This option specifies a command to override the default CMD command for the image. In this particular case, you are adding an option to the standard mysqld Docker image command that starts the MySQL server on the container. This option, –default-authentication-plugin=mysql_native_password, sets the –default-authentication-plugin system variable to mysql_native_password and specifies which authentication mechanism should govern new authentication requests to the server. Since PHP and therefore your WordPress image does not support the new MySQL authentication default, you will need to configure this to authenticate your application database user.- networks: This specifies that your application service will join the application-network network that you define at the bottom of the file.
Then, below your db service definition, add your WordPress application service definition:
...
  wordpress:
    depends_on:
      - db
    image: wordpress:5.1.1-fpm-alpine
    container_name: wordpress
    restart: unless-stopped
    env_file: .env
    environment:
      - WORDPRESS_DB_HOST=db:3306
      - WORDPRESS_DB_USER=$MYSQL_USER
      - WORDPRESS_DB_PASSWORD=$MYSQL_PASSWORD
      - WORDPRESS_DB_NAME=wordpress
    volumes:
      - wordpress:/var/www/html
    networks:
      - app-network
In this service definition, you name your container and define a restart policy, just like you did with the db service. You are also adding some specific options to this container:
depends_on: This option ensures that your containers are started in dependency order, with the WordPress container starting after the db container. Your WordPress application relies on the existence of your database and application user, so specifying this dependency order will ensure that your application starts properly.image: For this setup, you will use the WordPress 5.1.1-fpm-alpine image. As explained in Step 1, using this image ensures that your application has the php-fpm processor that Nginx needs to handle PHP processing. This is also an Alpine image, derived from the Alpine Linux project, which helps reduce the overall size of your image. For more information on the pros and cons of using Alpine images and whether it makes sense for your application, review the full discussion in the Image Variants section on the WordPress Docker Hub image page.env_file: Again, you specify that you want to extract values from your .env file, as this is where you defined your application database user and password.environment: Here, you are using the values you defined in your .env file, but assigning them to the names of the variables that the WordPress image expects: WORDPRESS_DB_USER and WORDPRESS_DB_PASSWORD. You are also defining a WORDPRESS_DB_HOST, which will be the MySQL server running on the db container accessible on the default MySQL port, 3306. Your WORDPRESS_DB_NAME will be the same value you specified for your MYSQL_DATABASE in the MySQL service definition: wordpress.volumes: You are mounting a volume named wordpress on the /var/www/html mountpoint created by the WordPress image. Using a named volume in this way allows you to share your application code with other containers.network: You are also adding the WordPress container to the application-network.
Then, under the wordpress application service definition, add the following definition for your Nginx web server service:
...
  webserver:
    depends_on:
      - wordpress
    image: nginx:1.15.12-alpine
    container_name: webserver
    restart: unless-stopped
    ports:
      - "80:80"
    volumes:
      - wordpress:/var/www/html
      - ./nginx-conf:/etc/nginx/conf.d
      - certbot-etc:/etc/letsencrypt
    networks:
      - app-network
Here, you name your container and make it dependent on the WordPress container in the primary order. You also use an Alpine image – the 1.15.12-alpine Nginx image.
This service definition also includes the following options:
ports: This exposes port 80 to enable the configuration options you defined in your nginx.conf file in step 1.volumes: Here, you define a combination of named volumes and mount points:- wordpress:/var/www/html: This code will place your WordPress application in the /var/www/html folder, the directory you have set as the root in your Nginx server block.
./nginx-conf:/etc/nginx/conf.d: This will connect the Nginx configuration folder on the host to the corresponding directory in the container, ensuring that any changes you make to the files on the host are reflected on the host.certbot-etc:/etc/letsencrypt: This will install the Let's Encrypt certificates and keys for your domain into the appropriate directory on the container.
You have also added this container to the application-network.
Finally, under your web server definition, add your final service definition for the certbot service. Make sure to replace the email address and domain name listed here with your own information:
certbot:
    depends_on:
      - webserver
    image: certbot/certbot
    container_name: certbot
    volumes:
      - certbot-etc:/etc/letsencrypt
      - wordpress:/var/www/html
    command: certonly --webroot --webroot-path=/var/www/html --email sammy@your_domain --agree-tos --no-eff-email --staging -d your_domain -d www.your_domain
This definition tells Compose to pull the certbot/certbot image from Docker Hub. It also uses named volumes to share resources with the Nginx container, including domain certificates and keys in certbot-etc and application code in WordPress. Again, you've used dependent_on to specify that the certbot container should be started after the web server service is started. You've also added a command option that specifies a subcommand to run with the container's default certbot command. The certonly subcommand gets the certificate with the following options:
--webroot: This tells Certbot to use the webroot plugin to place files in the webroot folder for authentication. The plugin relies on the HTTP-01 authentication method, which uses an HTTP request to prove that Certbot can access resources from a server that responds to a given domain name.--webroot-path: This specifies the path to the webroot directory.--email: Your desired email for registration and recovery.--agree-tos: This indicates that you agree to the ACME Common Agreement.--no-eff-email: This tells Certbot that you do not want to share your email with the Electronic Frontier Foundation (EFF). Remove this if you wish.--staging: This tells Certbot that you want to use the Let's Encrypt staging environment to obtain test certificates. Using this option allows you to test your configuration options and avoid potential domain request limits. For more information about these limits, please read the Let's Encrypt rate limits documentation.-d: This allows you to specify the domain names you want to apply to your request. In this case, you entered your_domain and www.your_domain. Make sure to replace these with your domain.
Below the certbot service definition, add your network and volume definitions:
...
volumes:
  certbot-etc:
  wordpress:
  dbdata:

networks:
  app-network:
    driver: bridge
Your top-level volume key defines the volumes certbot-etc, wordpress, and dbdata. When Docker creates the volumes, the contents of the volume are stored in a directory on the host file system, /var/lib/docker/volumes/ , which is managed by Docker. The contents of each volume are then mounted from this directory to any container that uses the volume. This allows for code and data to be shared between containers.
The user-defined bridge network application network enables communication between your containers because they are on the same host as the Docker daemon. This simplifies traffic and communication within the application because it opens all ports between containers on the same bridge network, without exposing any ports to the outside world. So, your db, wordpress, and web server containers can communicate with each other, and you only need to expose port 80 for front-end access to the application.
The docker-compose.yml file is shown in full below:
version: '3'

services:
  db:
    image: mysql:8.0
    container_name: db
    restart: unless-stopped
    env_file: .env
    environment:
      - MYSQL_DATABASE=wordpress
    volumes:
      - dbdata:/var/lib/mysql
    command: '--default-authentication-plugin=mysql_native_password'
    networks:
      - app-network

  wordpress:
    depends_on:
      - db
    image: wordpress:5.1.1-fpm-alpine
    container_name: wordpress
    restart: unless-stopped
    env_file: .env
    environment:
      - WORDPRESS_DB_HOST=db:3306
      - WORDPRESS_DB_USER=$MYSQL_USER
      - WORDPRESS_DB_PASSWORD=$MYSQL_PASSWORD
      - WORDPRESS_DB_NAME=wordpress
    volumes:
      - wordpress:/var/www/html
    networks:
      - app-network

  webserver:
    depends_on:
      - wordpress
    image: nginx:1.15.12-alpine
    container_name: webserver
    restart: unless-stopped
    ports:
      - "80:80"
    volumes:
      - wordpress:/var/www/html
      - ./nginx-conf:/etc/nginx/conf.d
      - certbot-etc:/etc/letsencrypt
    networks:
      - app-network

  certbot:
    depends_on:
      - webserver
    image: certbot/certbot
    container_name: certbot
    volumes:
      - certbot-etc:/etc/letsencrypt
      - wordpress:/var/www/html
    command: certonly --webroot --webroot-path=/var/www/html --email sammy@your_domain --agree-tos --no-eff-email --staging -d your_domain -d www.your_domain

volumes:
  certbot-etc:
  wordpress:
  dbdata:

networks:
  app-network:
    driver: bridge
Save and close the file when you're done editing. With your service definitions in place, you're ready to launch containers and test your certificate requests.
Step 4 – Obtain SSL Certificates and Credentials
Start your containers with the docker-compose up command, which will create and run your containers in the order you specify. By adding the -d flag, the command will run the db, wordpress, and webserver containers in the background:
docker-compose up -dThe following output confirms that your service has been created:
Output
Creating db ... done
Creating wordpress ... done
Creating webserver ... done
Creating certbot ... done
Check the status of your services using docker-compose ps:
docker-compose psOnce complete, your db, wordpress, and webserver services will be up and the certbot container will exit with a status 0 message:
Output
Name Command State Ports
-------------------------------------------------------------------------
certbot certbot certonly --webroot ... Exit 0
db docker-entrypoint.sh --def ... Up 3306/tcp, 33060/tcp
webserver nginx -g daemon off; Up 0.0.0.0:80->80/tcp
wordpress docker-entrypoint.sh php-fpm Up 9000/tcp
Anything other than the above in the State column for the db, wordpress, or webserver services, or an exit status other than 0 for the certbot container means you may need to check the service logs with the docker-compose logs command:
docker-compose logs service_nameYou can now verify that your certificates have been installed into the web server container with docker-compose exec:
docker-compose exec webserver ls -la /etc/letsencrypt/liveWhen your certificate requests are successful, the output of the code is as follows:
Output
total 16
drwx------ 3 root root 4096 May 10 15:45 .
drwxr-xr-x 9 root root 4096 May 10 15:45 ..
-rw-r--r-- 1 root root 740 May 10 15:45 README
drwxr-xr-x 2 root root 4096 May 10 15:45 your_domain
Now that you know your request is successful, you can edit the certbot service definition to remove the --staging.
Open docker-compose.yml:
nano docker-compose.ymlFind the part of the file with the certbot service definition and replace the –staging in the command option with –force-renewal, which tells Certbot that you want to request a new certificate with the same domains. The certificate is updated below the certbot service definition with the variable:
...
certbot:
depends_on:
- webserver
image: certbot/certbot
container_name: certbot
volumes:
- certbot-etc:/etc/letsencrypt
- certbot-var:/var/lib/letsencrypt
- wordpress:/var/www/html
command: certonly --webroot --webroot-path=/var/www/html --email sammy@your_domain --agree-tos --no-eff-email --force-renewal -d your_domain -d www.your_domain
...
Now you can run docker-compose to recreate the certbot container. You also add the --no-deps option to tell Compose that it can skip starting the web server service, since it is already running:
docker-compose up --force-recreate --no-deps certbotThe following output indicates that your certificate request was successful:
Output
Recreating certbot ... done
Attaching to certbot
certbot | Saving debug log to /var/log/letsencrypt/letsencrypt.log
certbot | Plugins selected: Authenticator webroot, Installer None
certbot | Renewing an existing certificate
certbot | Performing the following challenges:
certbot | http-01 challenge for your_domain
certbot | http-01 challenge for www.your_domain
certbot | Using the webroot path /var/www/html for all unmatched domains.
certbot | Waiting for verification...
certbot | Cleaning up challenges
certbot | IMPORTANT NOTES:
certbot | - Congratulations! Your certificate and chain have been saved at:
certbot | /etc/letsencrypt/live/your_domain/fullchain.pem
certbot | Your key file has been saved at:
certbot | /etc/letsencrypt/live/your_domain/privkey.pem
certbot | Your cert will expire on 2019-08-08. To obtain a new or tweaked
certbot | version of this certificate in the future, simply run certbot
certbot | again. To non-interactively renew *all* of your certificates, run
certbot | "certbot renew"
certbot | - Your account credentials have been saved in your Certbot
certbot | configuration directory at /etc/letsencrypt. You should make a
certbot | secure backup of this folder now. This configuration directory will
certbot | also contain certificates and private keys obtained by Certbot so
certbot | making regular backups of this folder is ideal.
certbot | - If you like Certbot, please consider supporting our work by:
certbot |
certbot | Donating to ISRG / Let's Encrypt: https://letsencrypt.org/donate
certbot | Donating to EFF: https://eff.org/donate-le
certbot |
certbot exited with code 0
With your certificates in hand, you can modify your Nginx configuration to include SSL.
Step 5 – Change the web server configuration and service definition
Enabling SSL in the Nginx configuration involves adding an HTTP to HTTPS redirect, specifying the SSL certificate and key locations, and adding security parameters and headers. Since you want to rebuild the webserver service to include these additions, you can stop it now:
docker-compose stop webserverBefore modifying the configuration file, get the recommended Nginx security parameter from Certbot using curl:
curl -sSLo nginx-conf/options-ssl-nginx.conf https://raw.githubusercontent.com/certbot/certbot/master/certbot-nginx/certbot_nginx/_internal/tls_configs/options-ssl-nginx.confThis command saves these parameters in a file called options-ssl-nginx.conf located in the nginx-conf directory.
Next, delete the Nginx configuration file you created earlier:
rm nginx-conf/nginx.confCreate and open another version of the file:
nano nginx-conf/nginx.confAdd the following code to the file to redirect HTTP to HTTPS and add the credentials, protocols, and SSL security headers. Don't forget to replace your_domain with your domain:
server {
        listen 80;
        listen [::]:80;

        server_name your_domain www.your_domain;

        location ~ /.well-known/acme-challenge {
                allow all;
                root /var/www/html;
        }

        location / {
                rewrite ^ https://$host$request_uri? permanent;
        }
}

server {
        listen 443 ssl http2;
        listen [::]:443 ssl http2;
        server_name your_domain www.your_domain;

        index index.php index.html index.htm;

        root /var/www/html;

        server_tokens off;

        ssl_certificate /etc/letsencrypt/live/your_domain/fullchain.pem;
        ssl_certificate_key /etc/letsencrypt/live/your_domain/privkey.pem;

        include /etc/nginx/conf.d/options-ssl-nginx.conf;

        add_header X-Frame-Options "SAMEORIGIN" always;
        add_header X-XSS-Protection "1; mode=block" always;
        add_header X-Content-Type-Options "nosniff" always;
        add_header Referrer-Policy "no-referrer-when-downgrade" always;
        add_header Content-Security-Policy "default-src * data: 'unsafe-eval' 'unsafe-inline'" always;
        # add_header Strict-Transport-Security "max-age=31536000; includeSubDomains; preload" always;
        # enable strict transport security only if you understand the implications

        location / {
                try_files $uri $uri/ /index.php$is_args$args;
        }

        location ~ \.php$ {
                try_files $uri =404;
                fastcgi_split_path_info ^(.+\.php)(/.+)$;
                fastcgi_pass wordpress:9000;
                fastcgi_index index.php;
                include fastcgi_params;
                fastcgi_param SCRIPT_FILENAME $document_root$fastcgi_script_name;
                fastcgi_param PATH_INFO $fastcgi_path_info;
        }

        location ~ /\.ht {
                deny all;
        }

        location = /favicon.ico {
                log_not_found off; access_log off;
        }
        location = /robots.txt {
                log_not_found off; access_log off; allow all;
        }
        location ~* \.(css|gif|ico|jpeg|jpg|js|png)$ {
                expires max;
                log_not_found off;
        }
}
The HTTP server block specifies the webroot for Certbot renewal requests to the .well-known/acme-challenge directory. It also includes a rewrite directive that redirects HTTP requests to the root directory over HTTPS.
The HTTPS server block enables SSL and HTTP2. To learn more about how HTTP/2 is being replicated in HTTP protocols and the benefits it can have for website performance, please read the introduction to How to Setup Nginx with HTTP/2 Support on Ubuntu 18.04.
This block also contains your SSL certificate and key locations along with the recommended Certbot security parameters that you have stored in nginx-conf/options-ssl-nginx.conf.
Additionally, some security headers are included that will allow you to get an A rating on things like SSL Labs and Security Headers server test sites. These headers include X-Frame-Options, X-Content-Type-Options, Referrer Policy, Content-Security-Policy, and X-XSS-Protection. The HTTP Strict Transport Security (HSTS) header is explained – only enable this if you understand the concepts and have evaluated its “preload” functionality.
Your root and directory directives are also located in this block, as are the rest of the WordPress-specific location blocks discussed in Step 1. Once you are finished editing, save and close the file.
Before recreating the web server service, you need to add a 443 port mapping to your web server service definition.
Open your docker-compose.yml file:
nano docker-compose.ymlIn the web server service definition, add the following port mapping:
...
webserver:
depends_on:
- wordpress
image: nginx:1.15.12-alpine
container_name: webserver
restart: unless-stopped
ports:
- "80:80"
- "443:443"
volumes:
- wordpress:/var/www/html
- ./nginx-conf:/etc/nginx/conf.d
- certbot-etc:/etc/letsencrypt
networks:
- app-network
Here is the complete docker-compose.yml file after editing:
version: '3'

services:
  db:
    image: mysql:8.0
    container_name: db
    restart: unless-stopped
    env_file: .env
    environment:
      - MYSQL_DATABASE=wordpress
    volumes:
      - dbdata:/var/lib/mysql
    command: '--default-authentication-plugin=mysql_native_password'
    networks:
      - app-network

  wordpress:
    depends_on:
      - db
    image: wordpress:5.1.1-fpm-alpine
    container_name: wordpress
    restart: unless-stopped
    env_file: .env
    environment:
      - WORDPRESS_DB_HOST=db:3306
      - WORDPRESS_DB_USER=$MYSQL_USER
      - WORDPRESS_DB_PASSWORD=$MYSQL_PASSWORD
      - WORDPRESS_DB_NAME=wordpress
    volumes:
      - wordpress:/var/www/html
    networks:
      - app-network

  webserver:
    depends_on:
      - wordpress
    image: nginx:1.15.12-alpine
    container_name: webserver
    restart: unless-stopped
    ports:
      - "80:80"
      - "443:443"
    volumes:
      - wordpress:/var/www/html
      - ./nginx-conf:/etc/nginx/conf.d
      - certbot-etc:/etc/letsencrypt
    networks:
      - app-network

  certbot:
    depends_on:
      - webserver
    image: certbot/certbot
    container_name: certbot
    volumes:
      - certbot-etc:/etc/letsencrypt
      - wordpress:/var/www/html
    command: certonly --webroot --webroot-path=/var/www/html --email sammy@your_domain --agree-tos --no-eff-email --force-renewal -d your_domain -d www.your_domain

volumes:
  certbot-etc:
  wordpress:
  dbdata:

networks:
  app-network:
    driver: bridge
Save and close the file when you are finished editing.
Re-create the web server service:
docker-compose up -d --force-recreate --no-deps webserverCheck your services with docker-compose ps:
docker-compose psThe output should show that your db, wordpress, and web server services are running:
Output
Name Command State Ports
----------------------------------------------------------------------------------------------
certbot certbot certonly --webroot ... Exit 0
db docker-entrypoint.sh --def ... Up 3306/tcp, 33060/tcp
webserver nginx -g daemon off; Up 0.0.0.0:443->443/tcp, 0.0.0.0:80->80/tcp
wordpress docker-entrypoint.sh php-fpm Up 9000/tcp
With the containers running, you can complete your WordPress installation via the web interface.
Step 6 – Complete the installation via the web interface
While your containers are running, finish the installation via the WordPress web interface.
In your web browser, navigate to your server domain. Don't forget to replace your_domain with your domain name:
https://your_domainSelect the language you want to use:
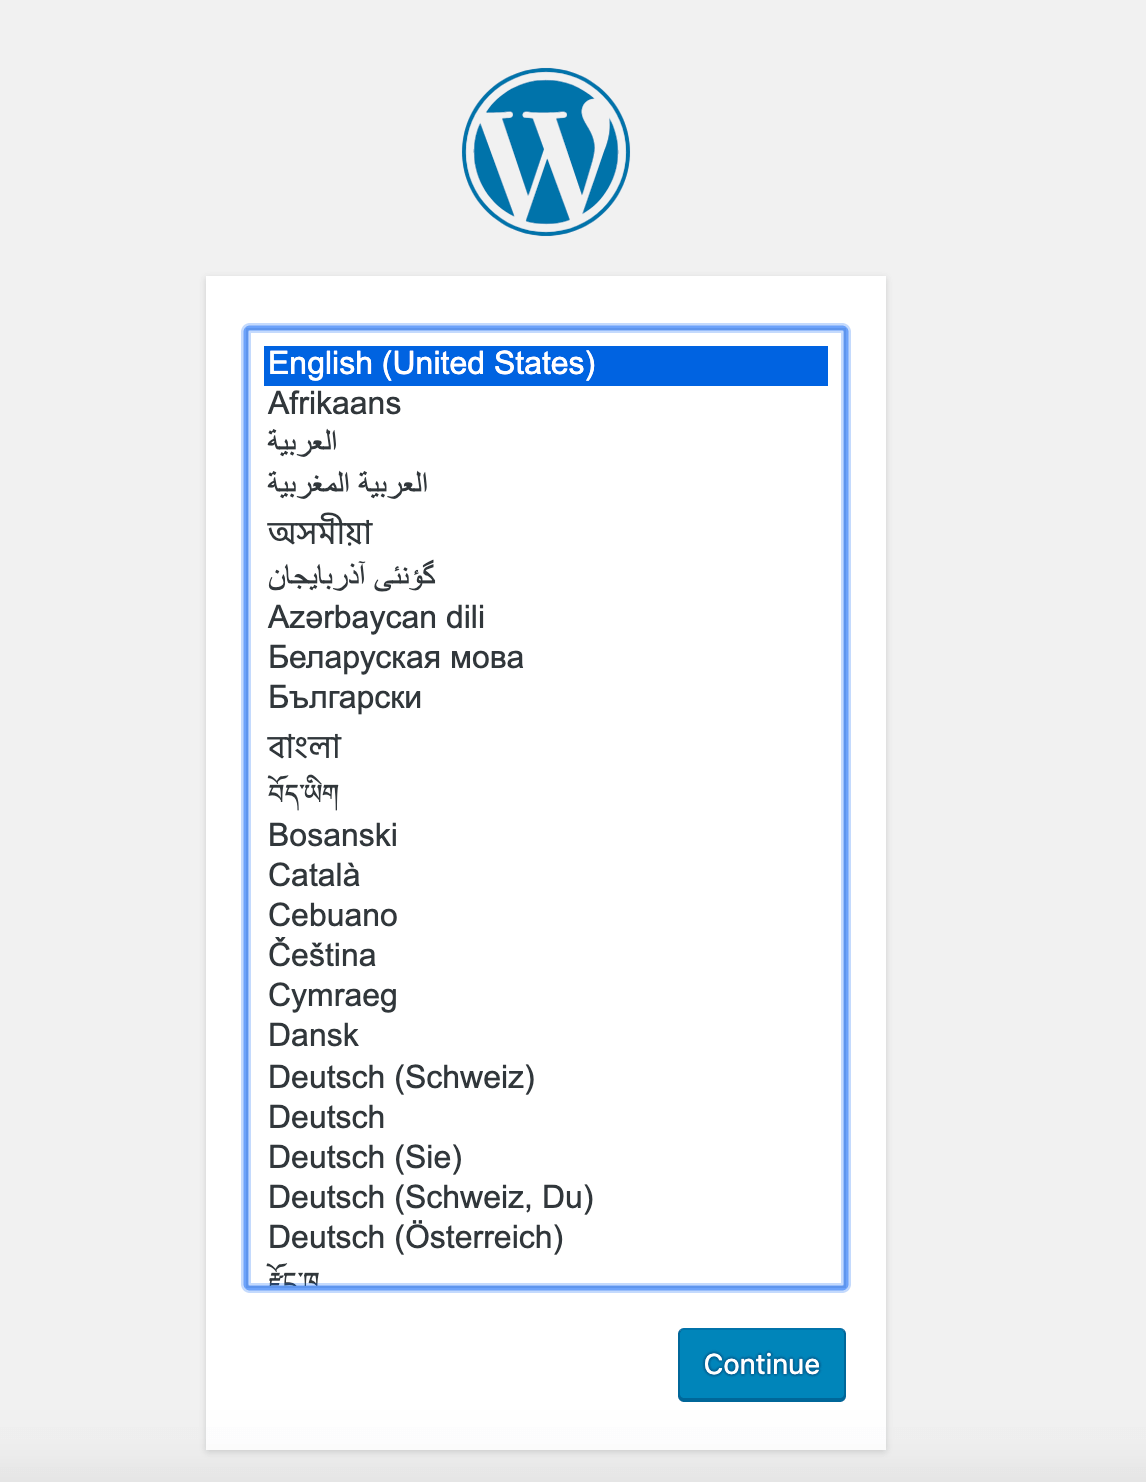
After clicking Continue, you’ll be taken to the main setup page, where you’ll need to choose a name for your site and a username. It’s a good idea to choose a memorable username here (rather than “admin”) and a strong password. You can use the password that WordPress automatically generates or create your own. Finally, you’ll need to enter your email address and decide whether you want to prevent search engines from indexing your site:
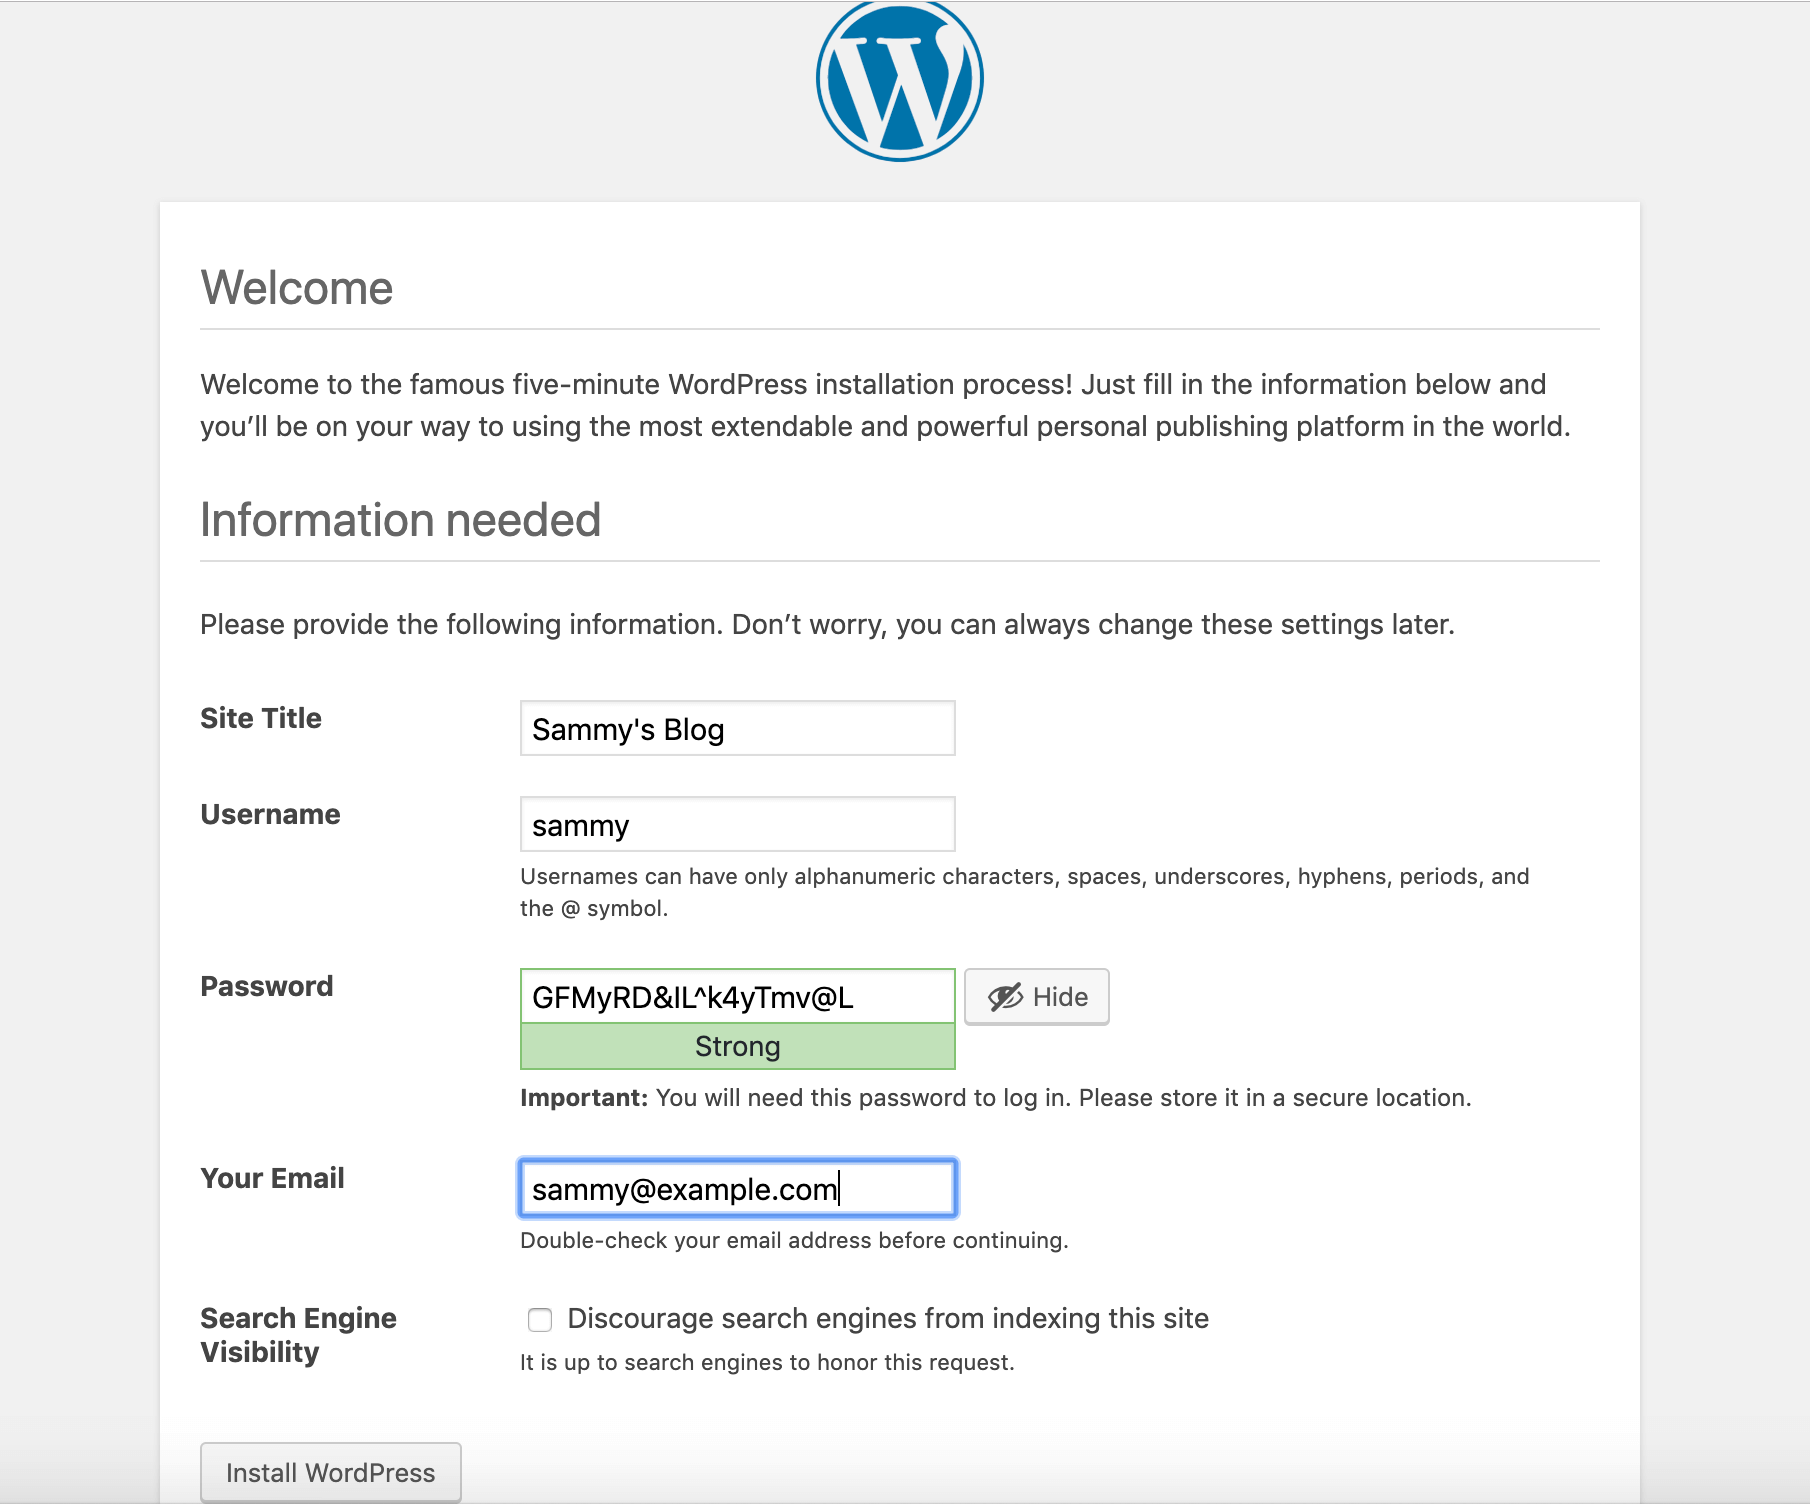
By clicking Install WordPress at the bottom of the page, you will be directed to a login prompt:
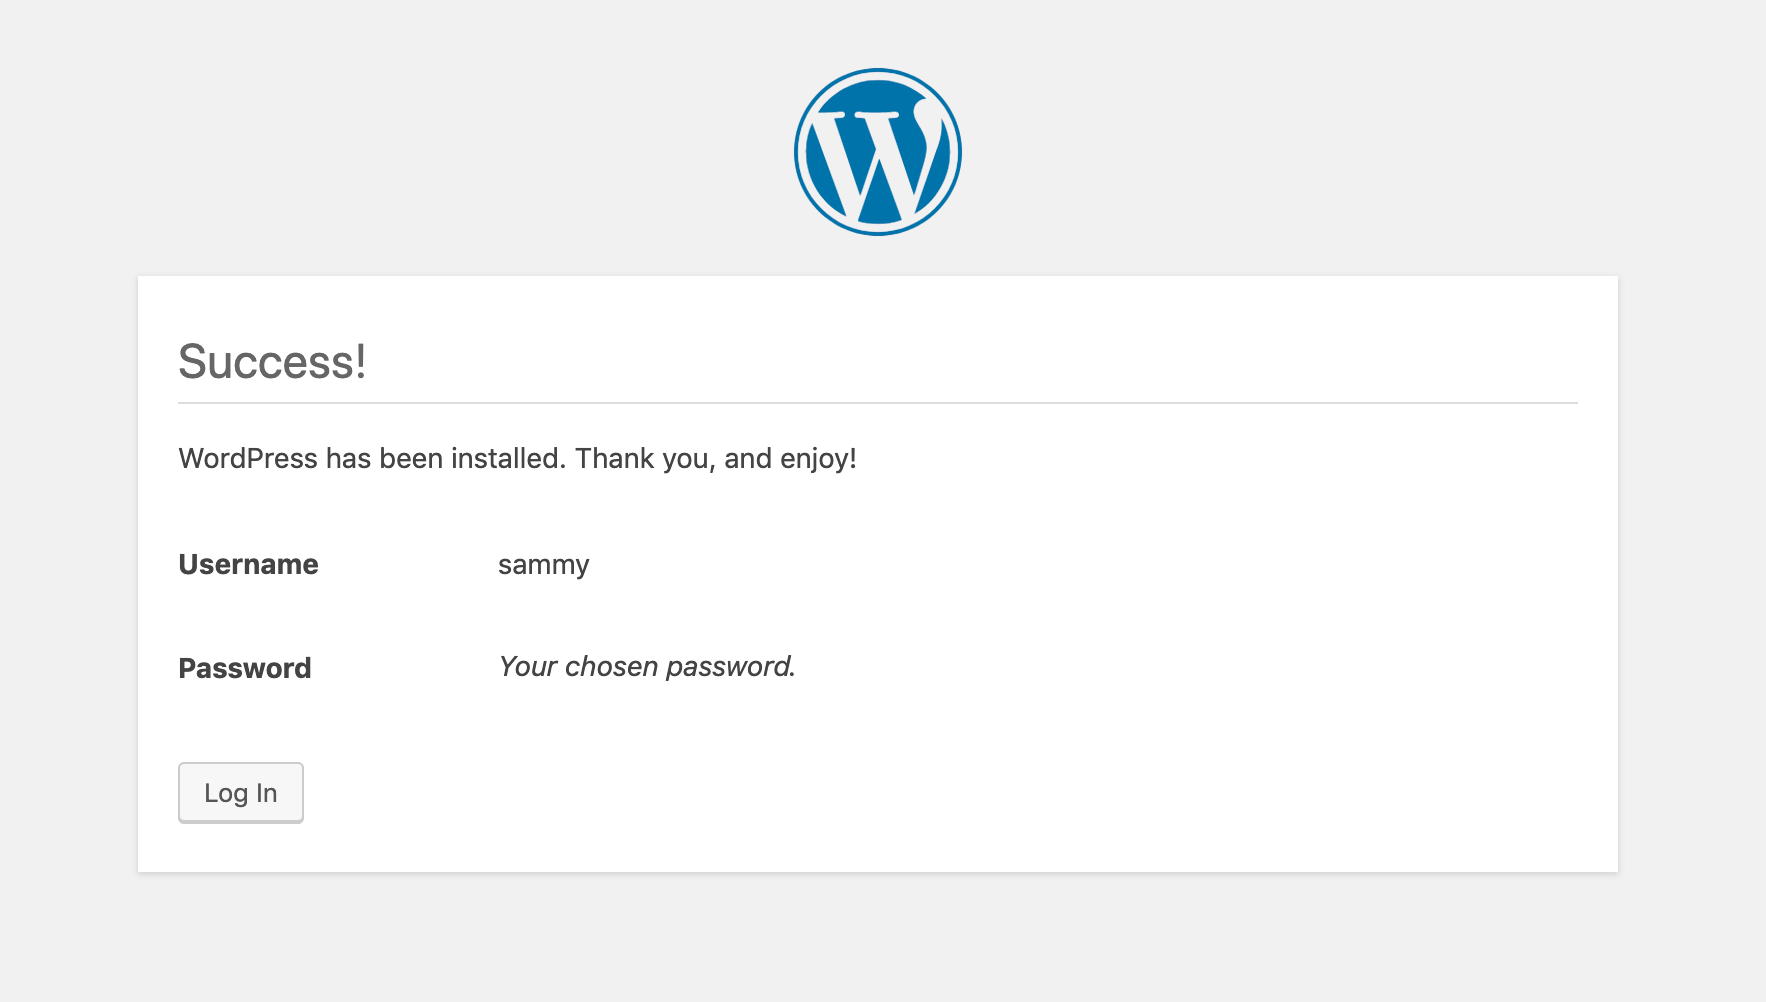
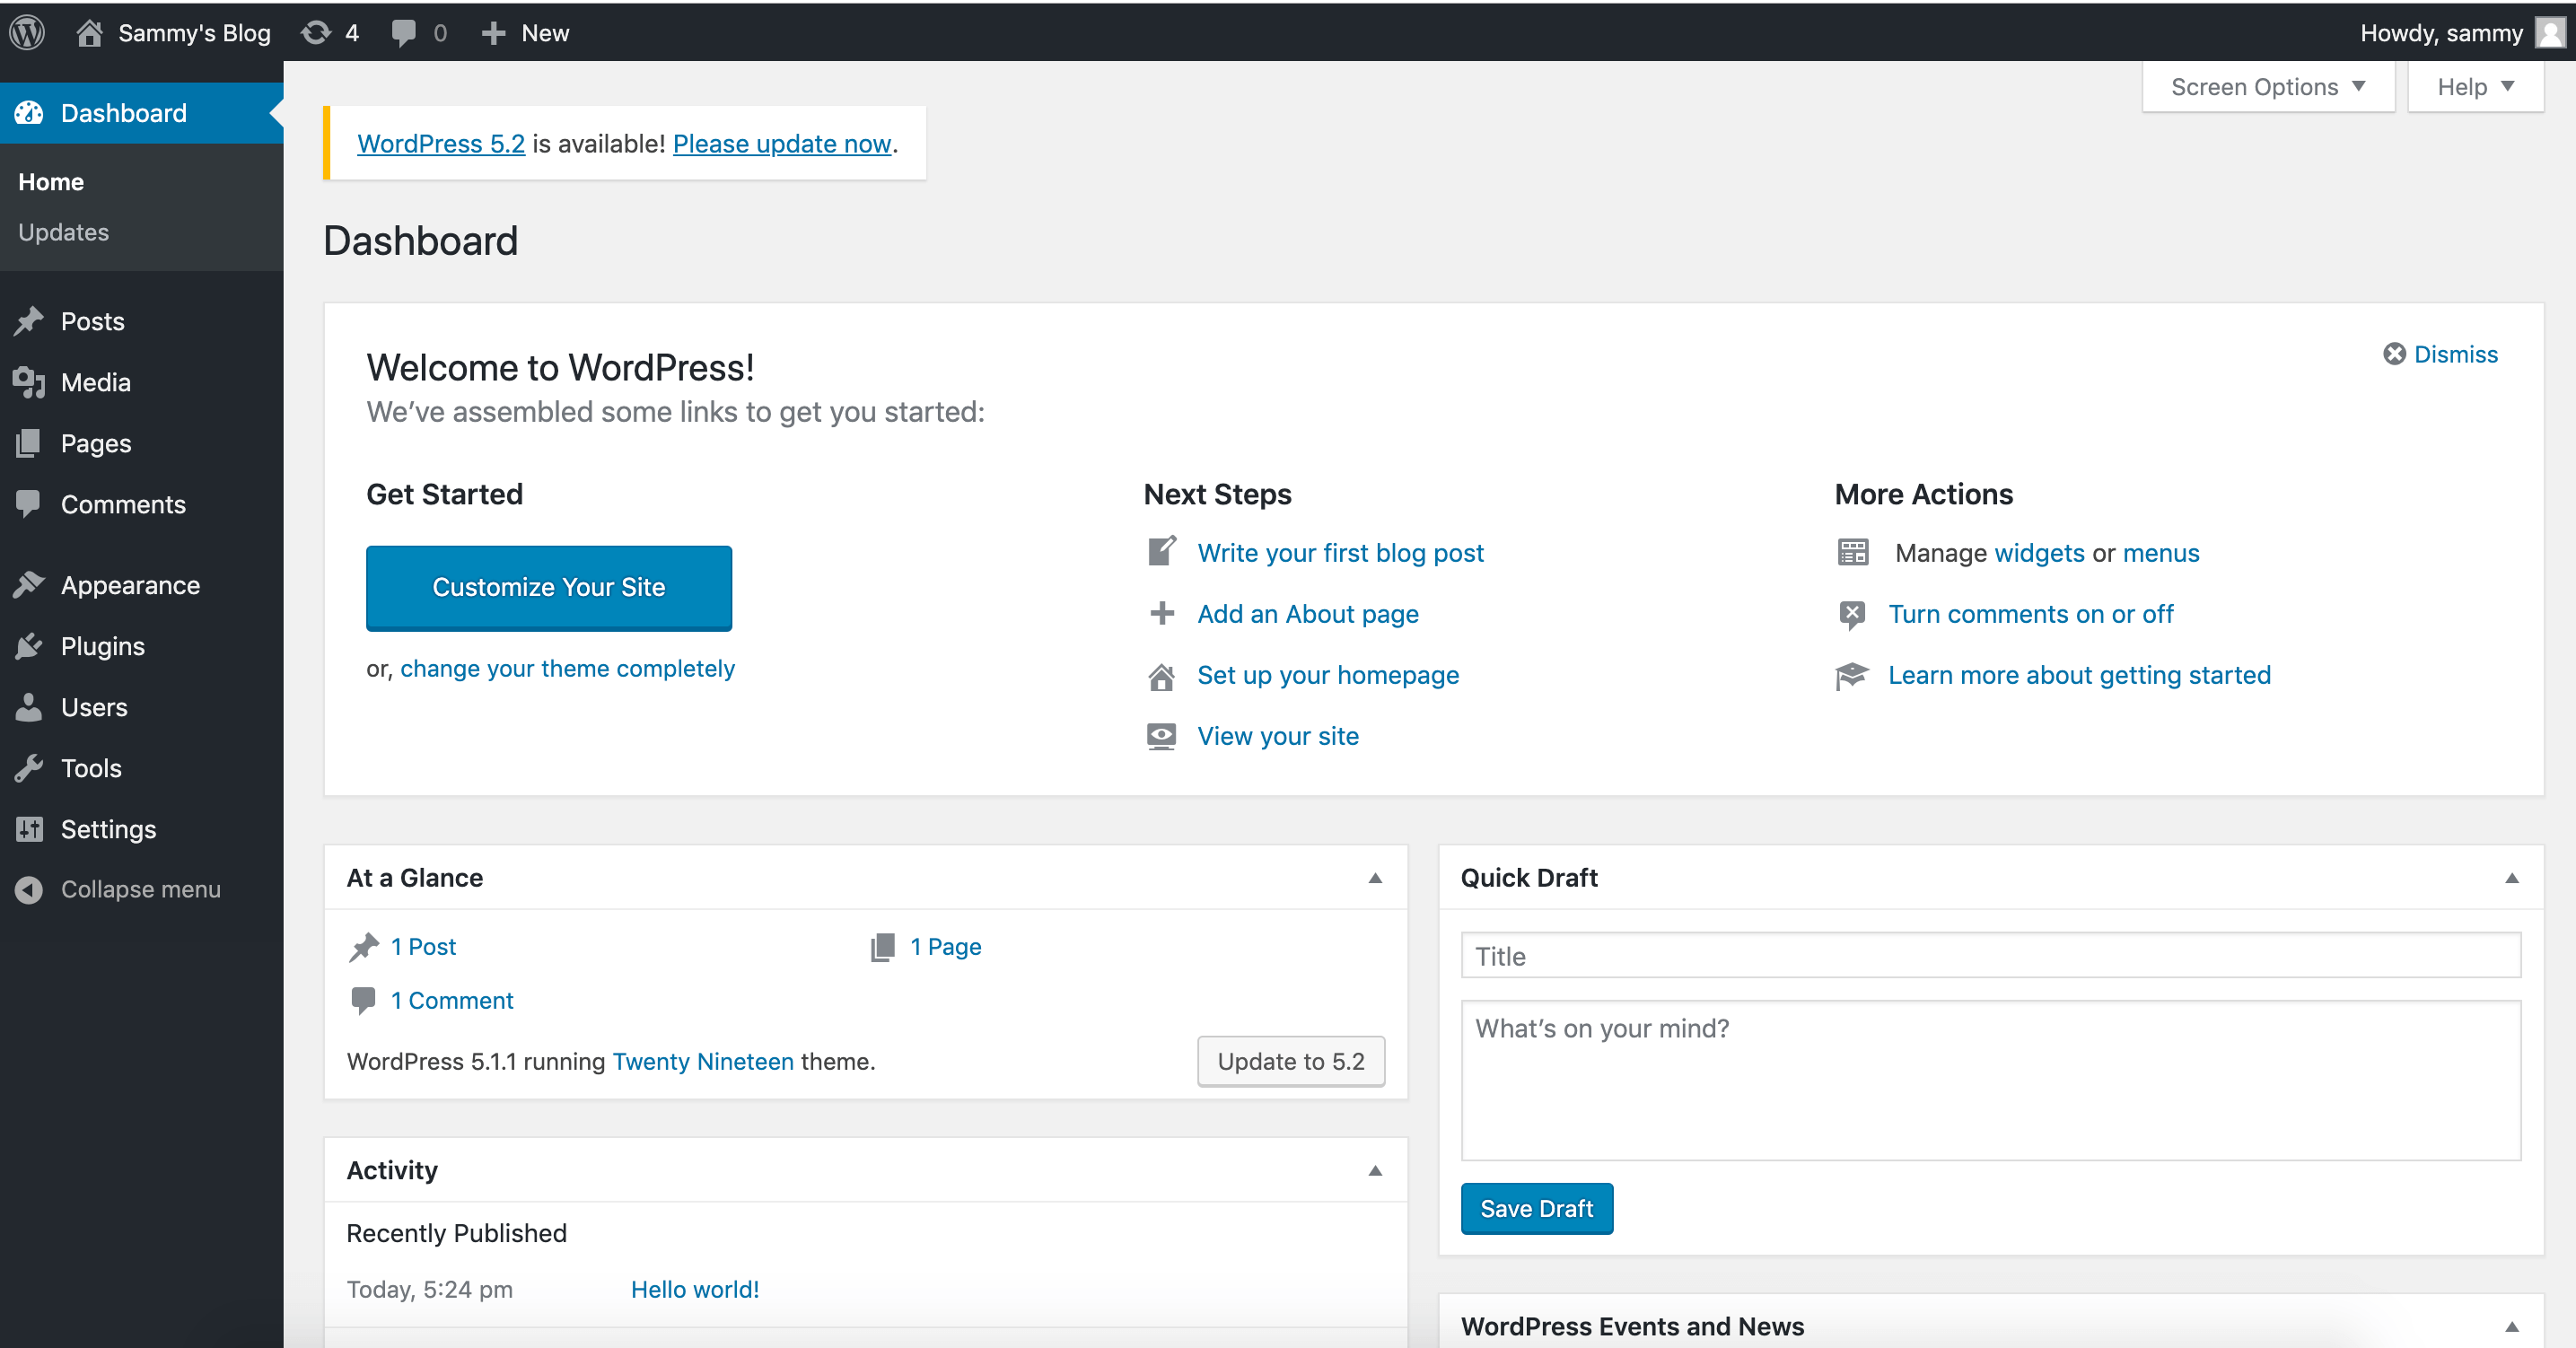
Once you log in, you will have access to the WordPress admin dashboard:
Once you have completed your WordPress installation, you can take steps to ensure that your SSL certificates are automatically renewed.
Step 7 – Renewal of Certificates
Let's Encrypt certificates are valid for 90 days. You can set up an automatic renewal process to ensure they don't expire. One way to do this is to create a cron job. In the example below, you create a cron job to periodically run a script that renews your certificates and reloads your Nginx configuration.
First, open a script called ssl_renew.sh:
nano ssl_renew.shAdd the following code to the script to renew your certificates and reload your web server configuration. Remember to replace the example username here with your non-root username:
#!/bin/bash

COMPOSE="/usr/local/bin/docker-compose --no-ansi"
DOCKER="/usr/bin/docker"

cd /home/sammy/wordpress/
$COMPOSE run certbot renew --dry-run && $COMPOSE kill -s SIGHUP webserver
$DOCKER system prune -af
This script first assigns the docker-compose binary to a variable called COMPOSE and specifies the --no-ansi option, which runs the docker-compose commands without ANSI control characters. It then does the same with the docker binary. Finally, it changes to the ~/wordpress project directory and runs the following docker-compose commands:
-
docker-compose: This starts a certbot container and overrides the command provided in your certbot service definition. Instead of using the certonly subcommand, the renew subcommand is used, which renews certificates that are about to expire. It also includes the --dry-run option for testing your script. docker-compose kill: This sends a SIGHUP signal to the web server container to reload the Nginx configuration.
The system then runs docker prune to remove all unused containers and images.
After you finish editing the file, close it. Make it executable with the following command:
chmod +x ssl_renew.shNext, open your root crontab file to run the renewal script at a specified time interval:
sudo crontab -eIf this is your first time editing this file, you will be asked to choose an editor:
no crontab for root - using an empty one

Select an editor.  To change later, run 'select-editor'.
  1. /bin/nano        <---- easiest
  2. /usr/bin/vim.basic
  3. /usr/bin/vim.tiny
  4. /bin/ed

Choose 1-4 [1]:
...
At the end of this file, add the following line:
...
*/5 * * * * /home/sammy/wordpress/ssl_renew.sh >> /var/log/cron.log 2>&1
This sets the job interval to every five minutes, so you can check whether your extension request worked as you intended. A log file, cron.log, is created to record the relevant output from the job.
After five minutes, check cron.log to confirm whether the extension request was successful:
tail -f /var/log/cron.logThe following output confirms a successful extension:
- - - - - - - - - - - - - - - - - - - - - - - - - - - - - - - - - - - - - - - -
** DRY RUN: simulating 'certbot renew' close to cert expiry
**          (The test certificates below have not been saved.)

Congratulations, all renewals succeeded. The following certs have been renewed:
  /etc/letsencrypt/live/your_domain/fullchain.pem (success)
** DRY RUN: simulating 'certbot renew' close to cert expiry
**          (The test certificates above have not been saved.)
- - - - - - - - - - - - - - - - - - - - - - - - - - - - - - - - - - - - - - - -
Exit by entering CTRL+C in your terminal.
You can modify the crontab file to set a daily interval. For example, to run the script every day at noon, change the last line of the file to look like this:
...
0 12 * * * /home/sammy/wordpress/ssl_renew.sh >> /var/log/cron.log 2>&1
You also want to remove the --dry-run option from your ssl_renew.sh script:
#!/bin/bash

COMPOSE="/usr/local/bin/docker-compose --no-ansi"
DOCKER="/usr/bin/docker"

cd /home/sammy/wordpress/
$COMPOSE run certbot renew && $COMPOSE kill -s SIGHUP webserver
$DOCKER system prune -af
Your cron job ensures that your Let's Encrypt certificates don't expire by renewing them when they are due. You can also set up log rotation with the Logrotate tool in Ubuntu 22.04 / 20.04 to rotate and compress your log files.
Result
In this tutorial, you used Docker Compose to create a WordPress installation with the Nginx web server. As part of this workflow, you obtained TLS/SSL certificates for the domain you want to associate with your WordPress site. Additionally, you created a cron job to renew these certificates as needed.