Introduction
Shaders for Minecraft are created by other players and uploaded to websites as free downloads. Minecraft SHader contains all the coding and visual elements needed to make changes to the Minecraft world, all compressed into a single MCPACK file.
Minecraft SHAder has not been tested or approved by Microsoft. Therefore, it is important to only download files from third-party websites that have a good reputation among players.
How to install Shaders in Minecraft
1. On the computer where you have Minecraft installed, open your favorite web browser, go to mcpedl, and then find a SHAder you want to install.
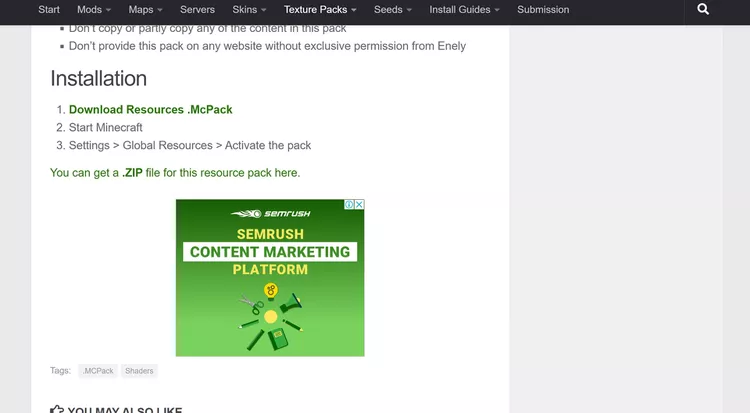
2. Click Download.

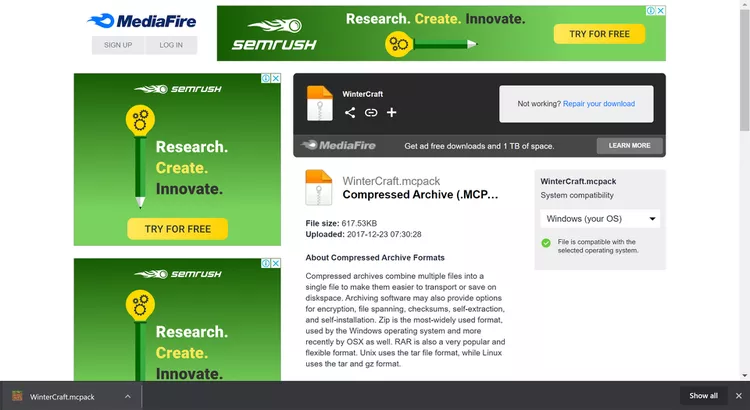
The Shader file should start downloading immediately. If you go to another site instead, do not click on any banners or ads. Just click on the secondary download link.
3. After the download is complete, click on the file.
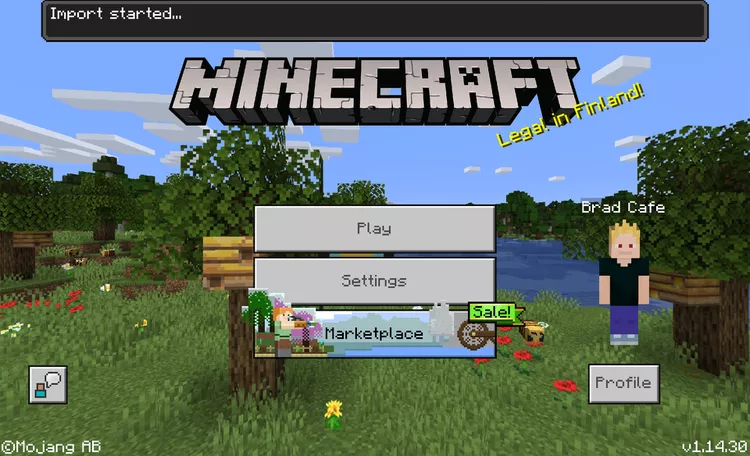
4. Minecraft will automatically open and begin the import process. This should only take a few seconds.

How to turn on Shaders in Minecraft
Once a Shader is imported into your Minecraft game, it will be available for use in any world you create.
Once Shader is installed, here's how to do them.
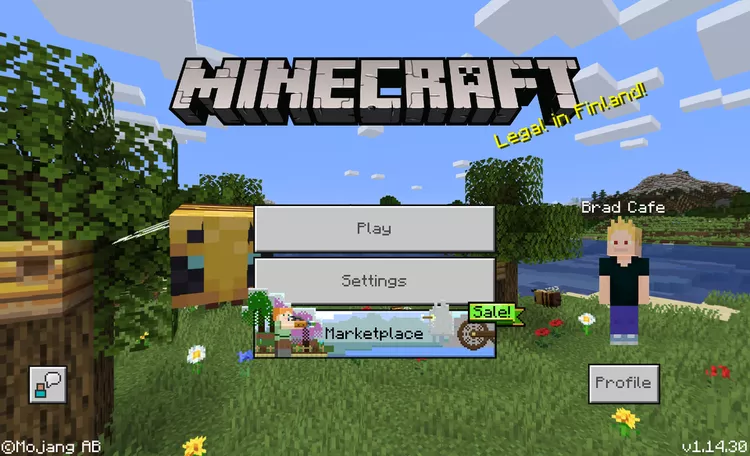
1. With Minecraft open on your PC, click Play.
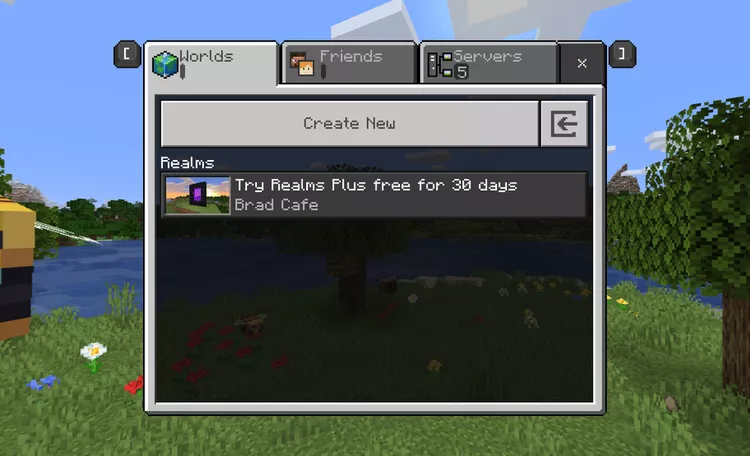
2. Click Create New.
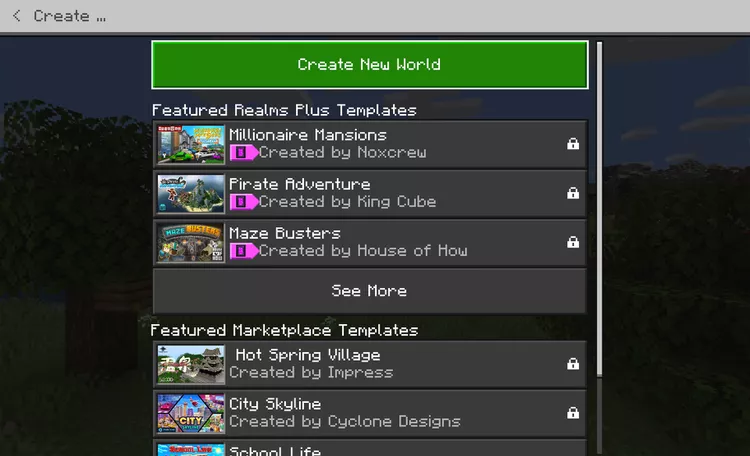
3. Click Create New World.
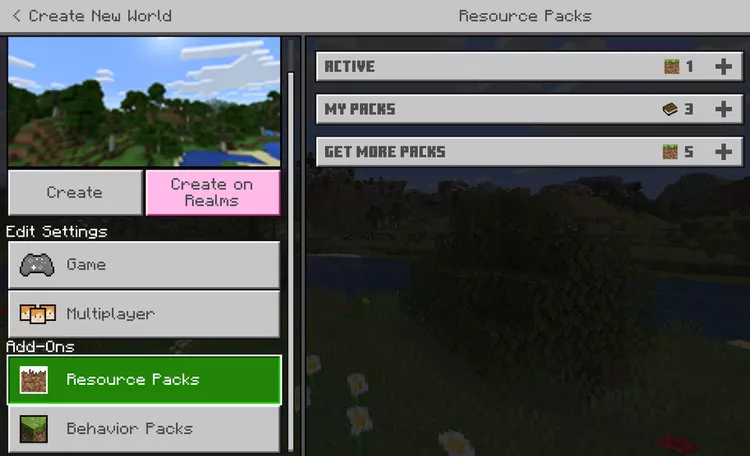
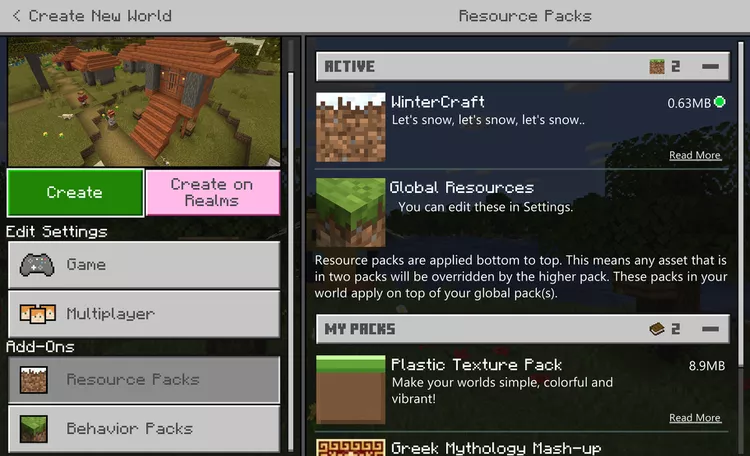
4. Click on Resource Packs.
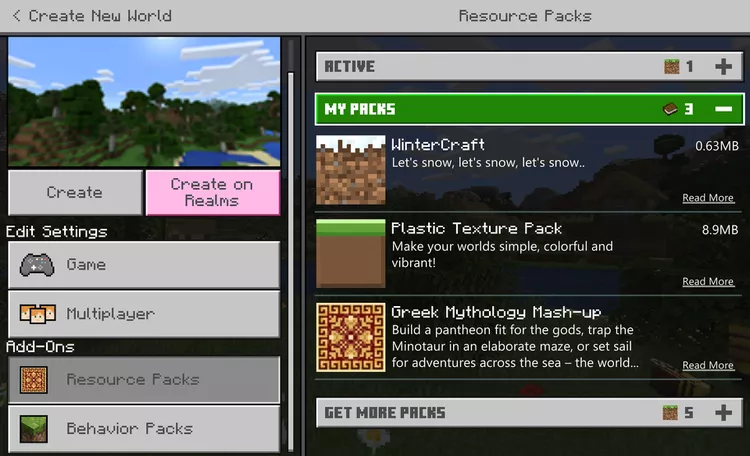
5. Click My Packs, then click the name of the Shader pack you want to add to your new world.
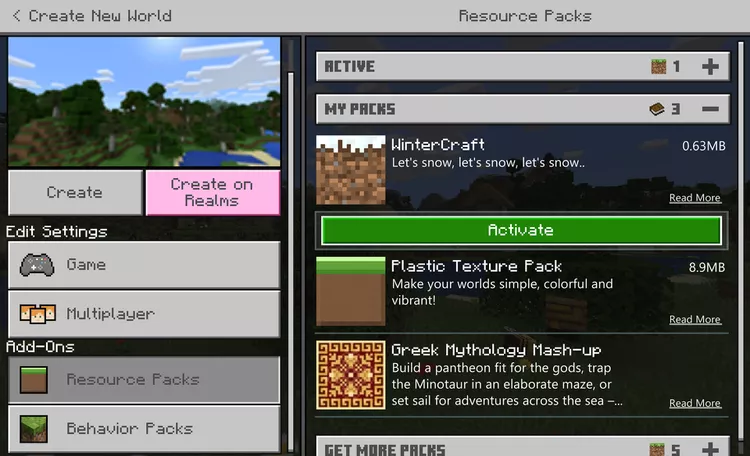
6. Click Activate.
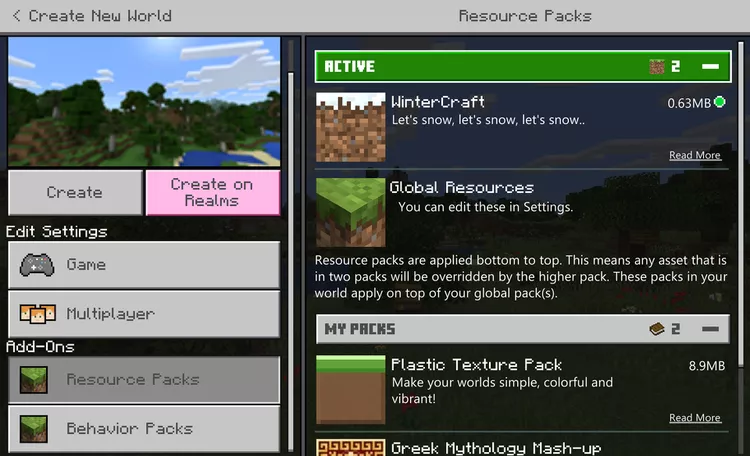
7. Click Active to verify that the Minecraft shader has been added to your world.
8. Change any options you want to set, then click Create.
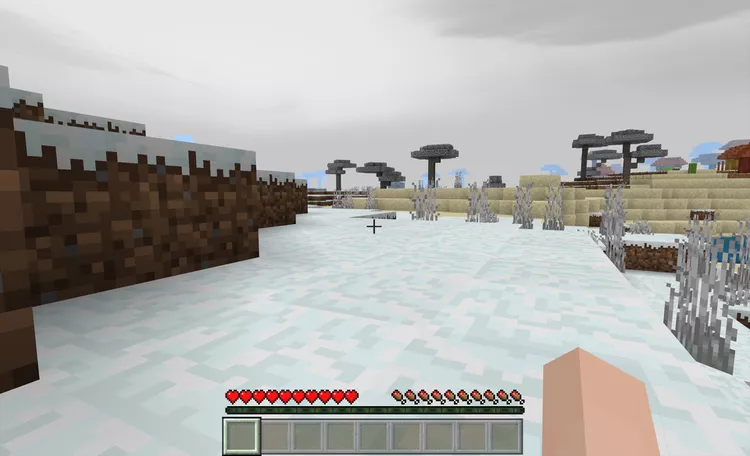
9. Your new Minecraft world will now load with Shader enabled.