Prerequisites for installing Cockpit
Before you start installing Cockpit on an Ubuntu 24.04 server, you should have the following ready:
A server Ubuntu 24.04 On VPS
A DNS record (A record) that represents a domain such as
cockpit.example.comConnect to the server IPA non-root user with access sudo (For example,
cockpit_admin) to enter the Cockpit panel
Steps to install Cockpit on Ubuntu 24.04
Update APT package list:
Installing Cockpit from the default repositories:
Enable the Cockpit service so that it starts automatically at the next server startup:
Setting up the Cockpit service:
Check service status:
After that, Cockpit on TCP port 9090 It will be listening on the server.
Securing Cockpit with a valid SSL certificate
By default, Cockpit runs on port 9090 in plaintext (HTTP), which can pose a security risk. It is recommended to use an SSL certificate to encrypt the connection:
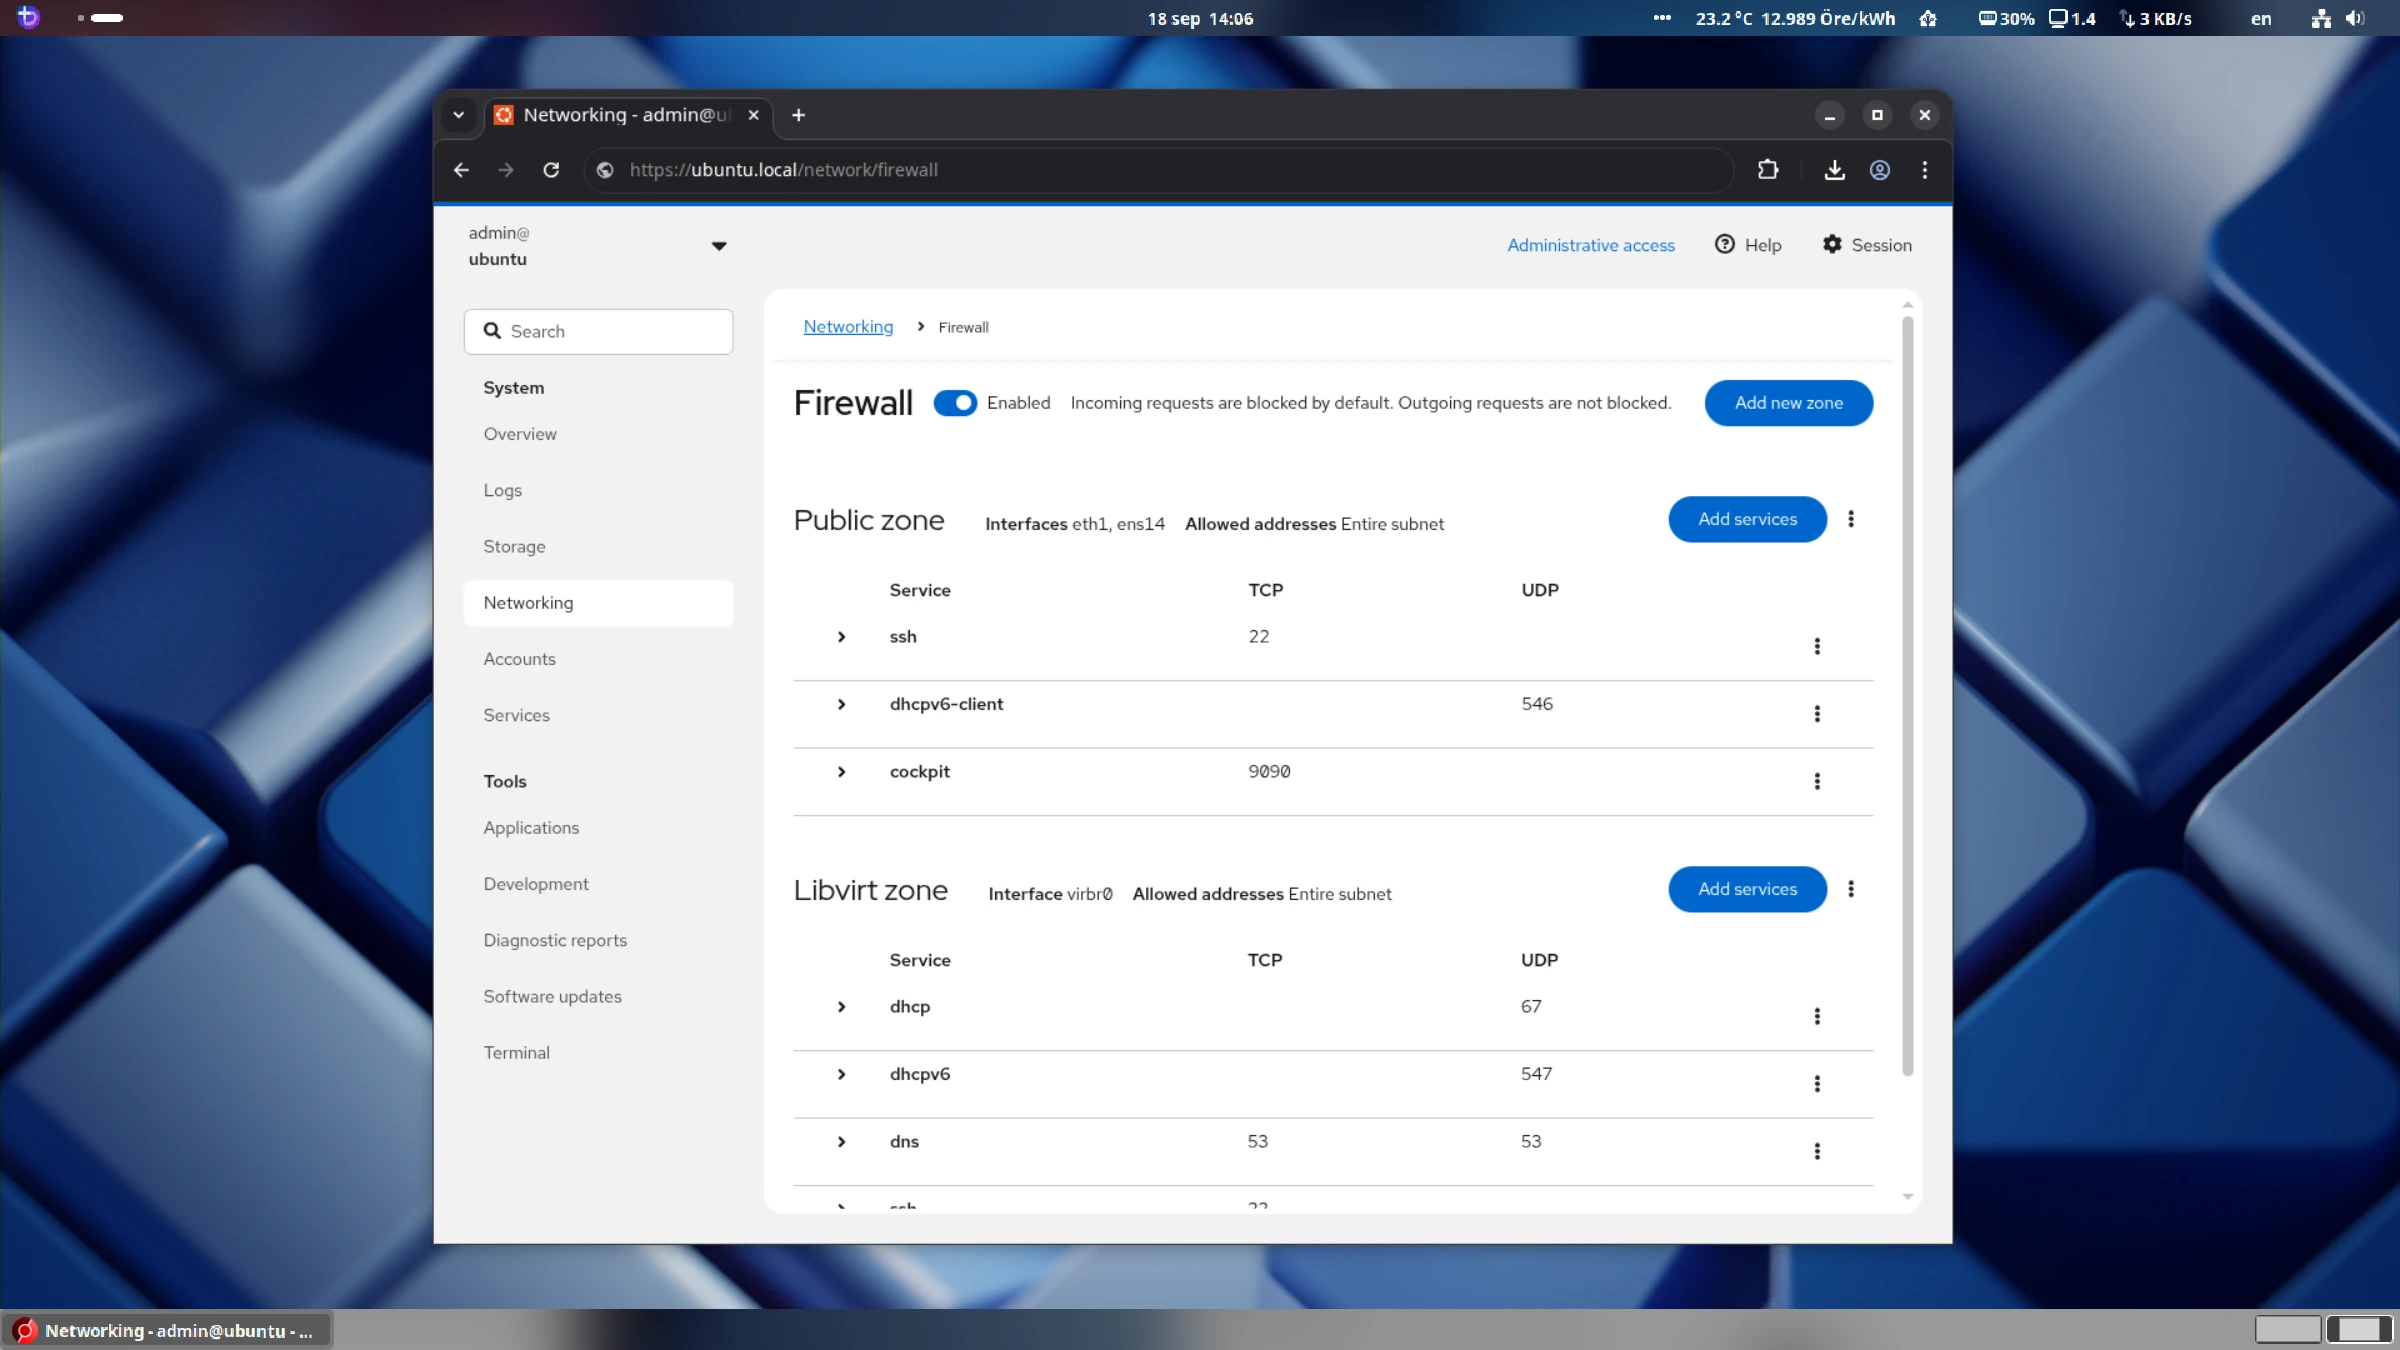
Check the firewall status with
ufw statusand its activationOpen the required ports:
Port 9090 for Cockpit
Port 80 for Let's Encrypt certificate validation
Port 443 for HTTPS
Installation snapd:
Install Certbot via Snap to get a free Let's Encrypt certificate:
Creating an SSL certificate using Certbot:
Combining the certificate file and private key:
Move the combined certificate file to the Cockpit path:
Restart the Cockpit service to apply SSL changes:
After these steps, you must log in to Cockpit via the address
https://cockpit.example.com:9090And done with encryption.
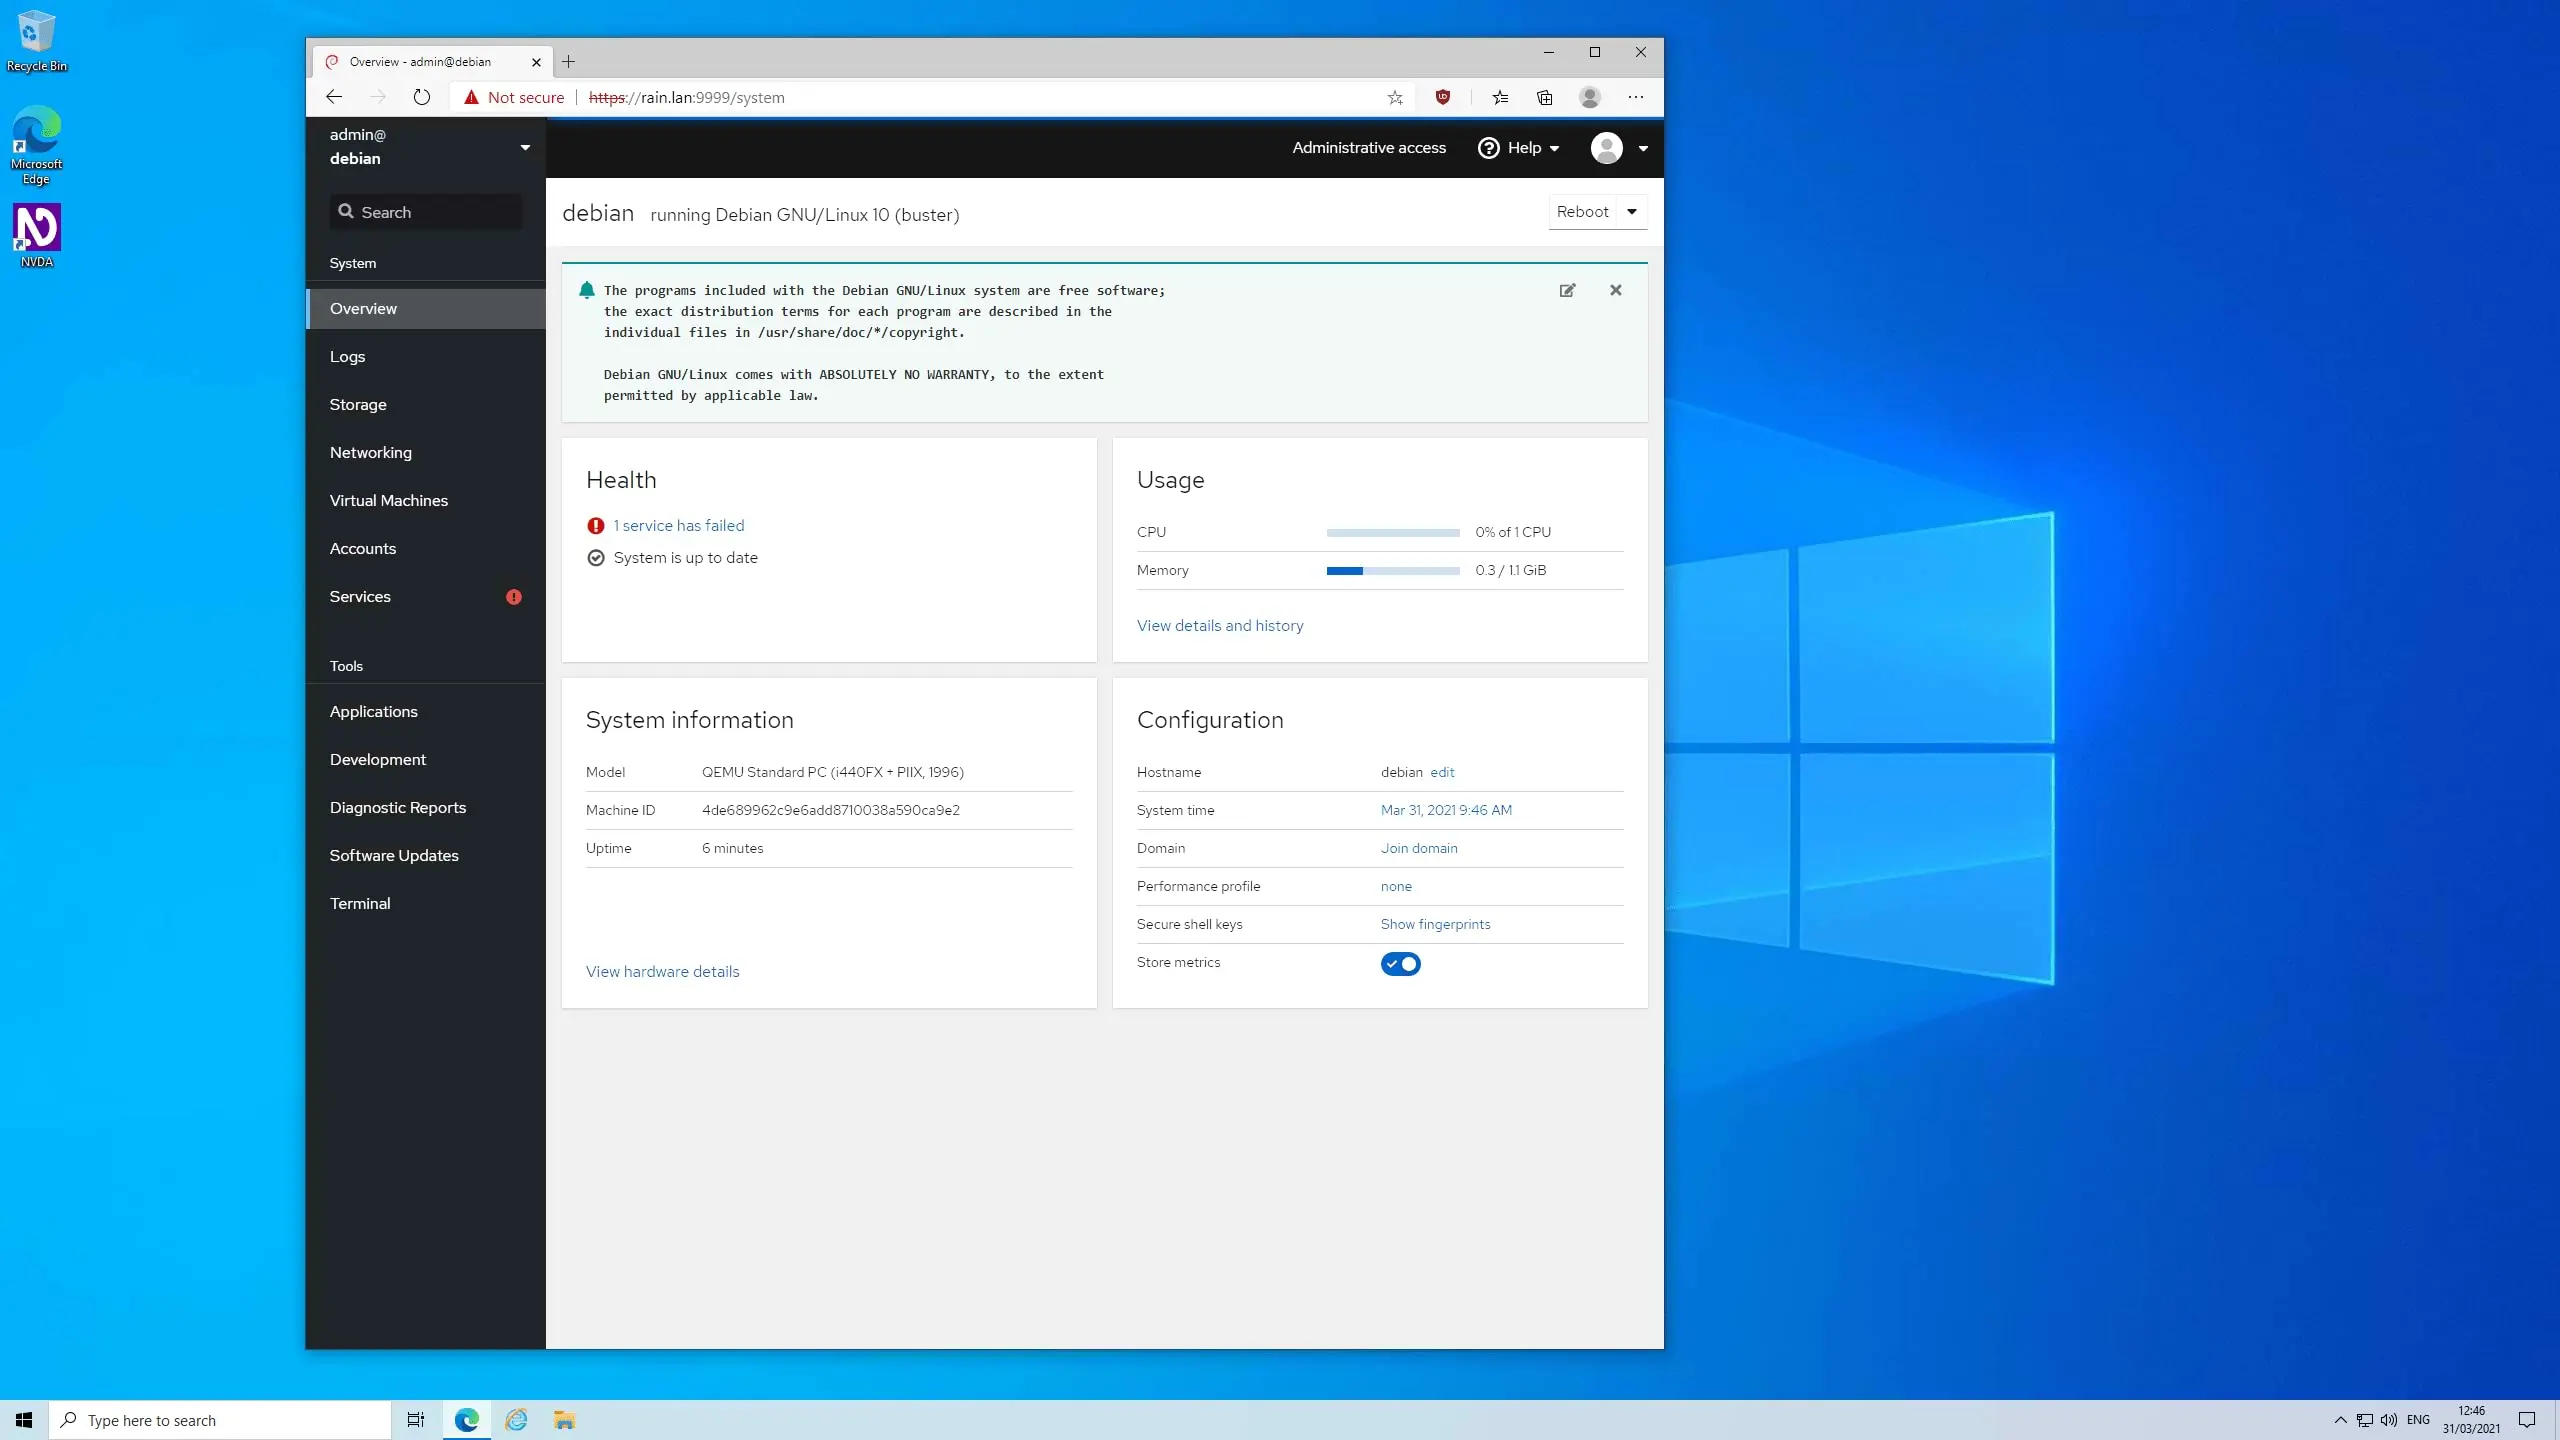
How to access and log in to Cockpit
Open your browser and go to the address
https://YOUR_DOMAIN:9090Go.With the user's username and password sudo (non-root) Log in. Note that direct login as root is usually not allowed.
After logging in, for admin access, you must enable "Enable administrative access" and enter the sudo password once to enable administrative access.

Cockpit management features
Once logged in, Cockpit provides you with several features for server management:
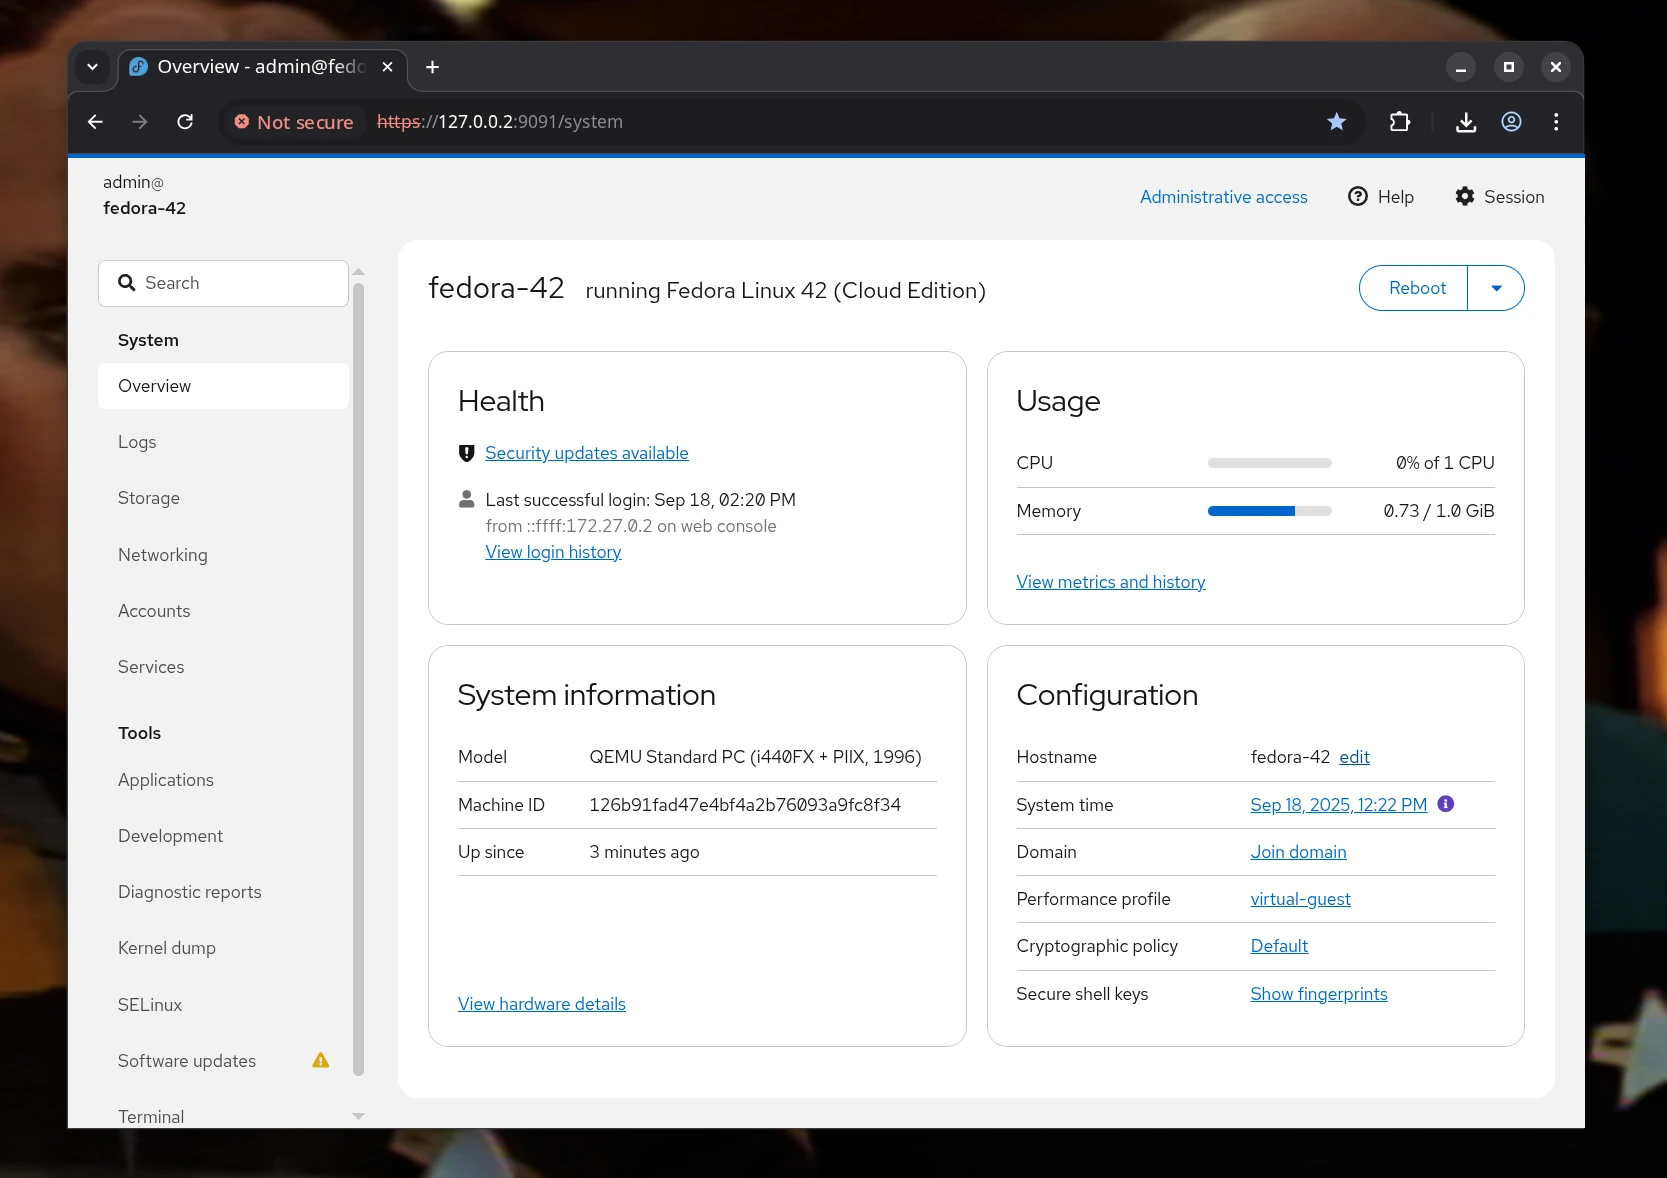
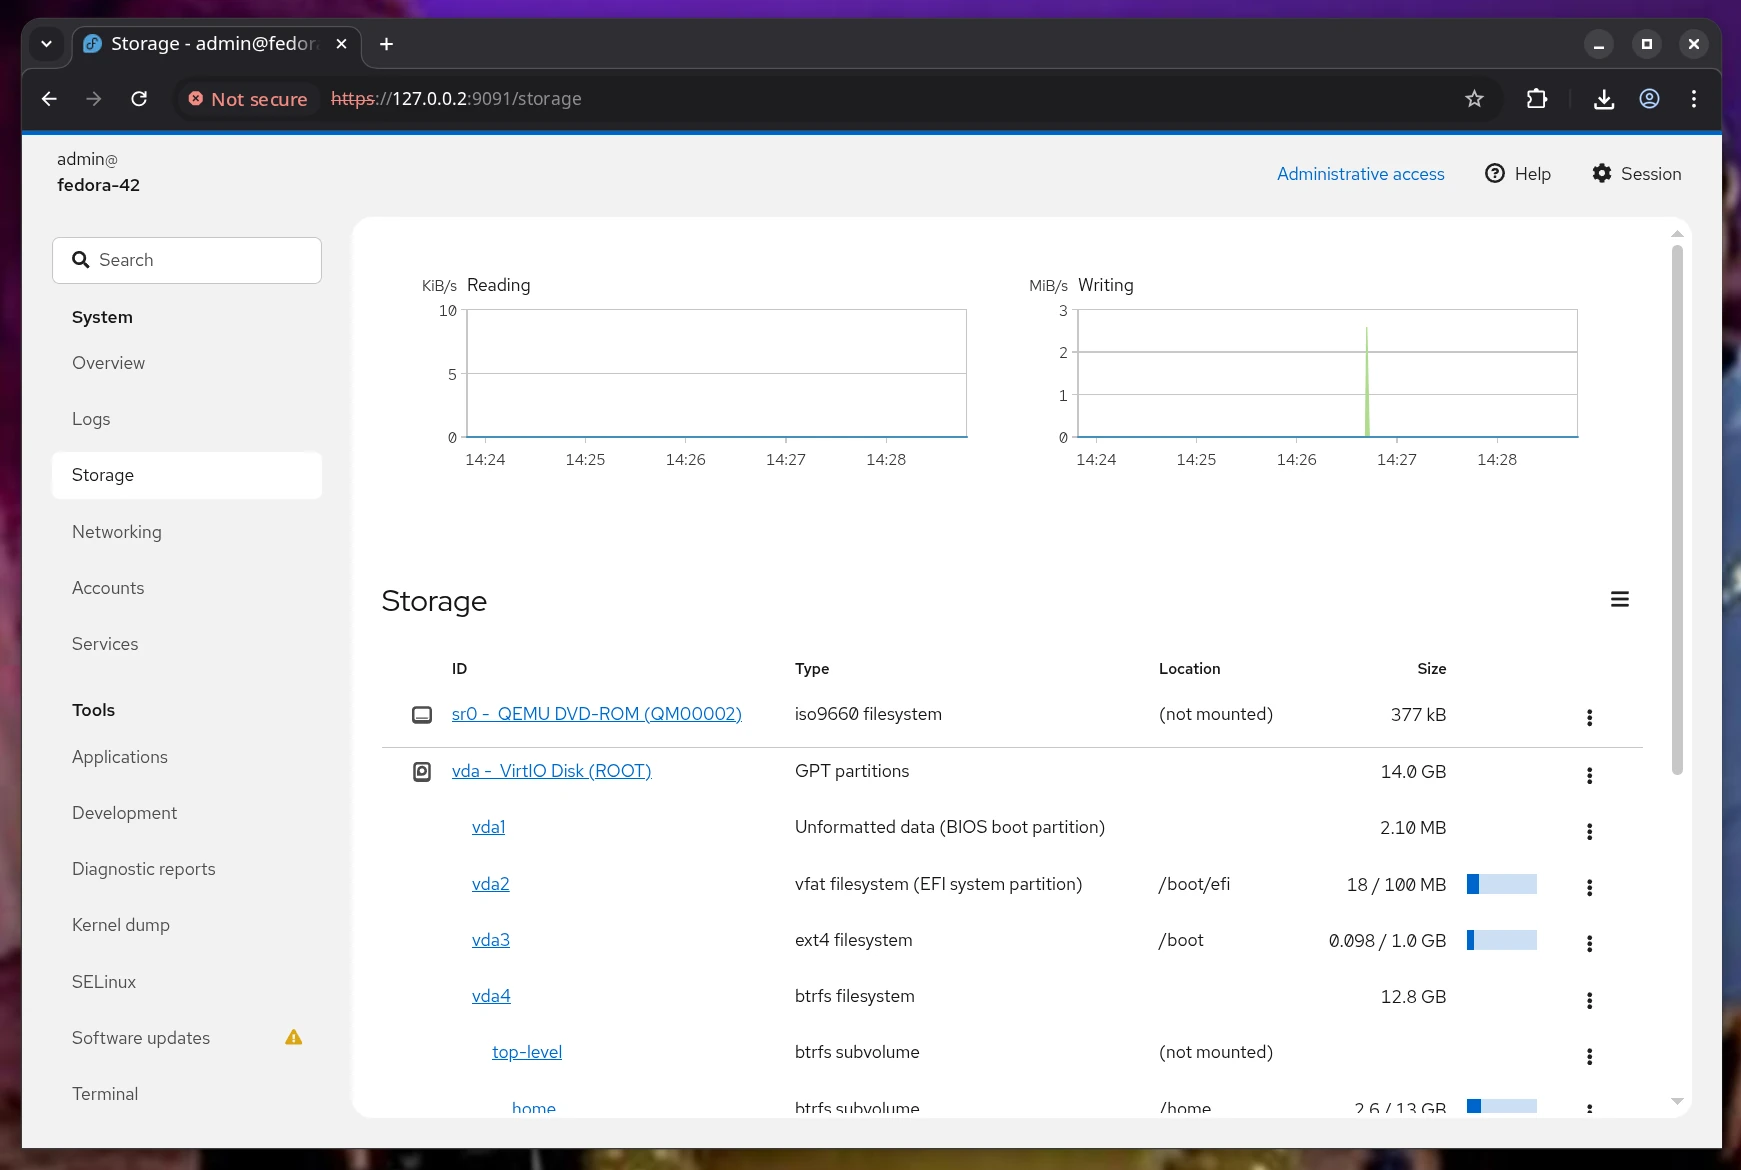
System status monitoring: View CPU, RAM, memory, and resource history status in Overview
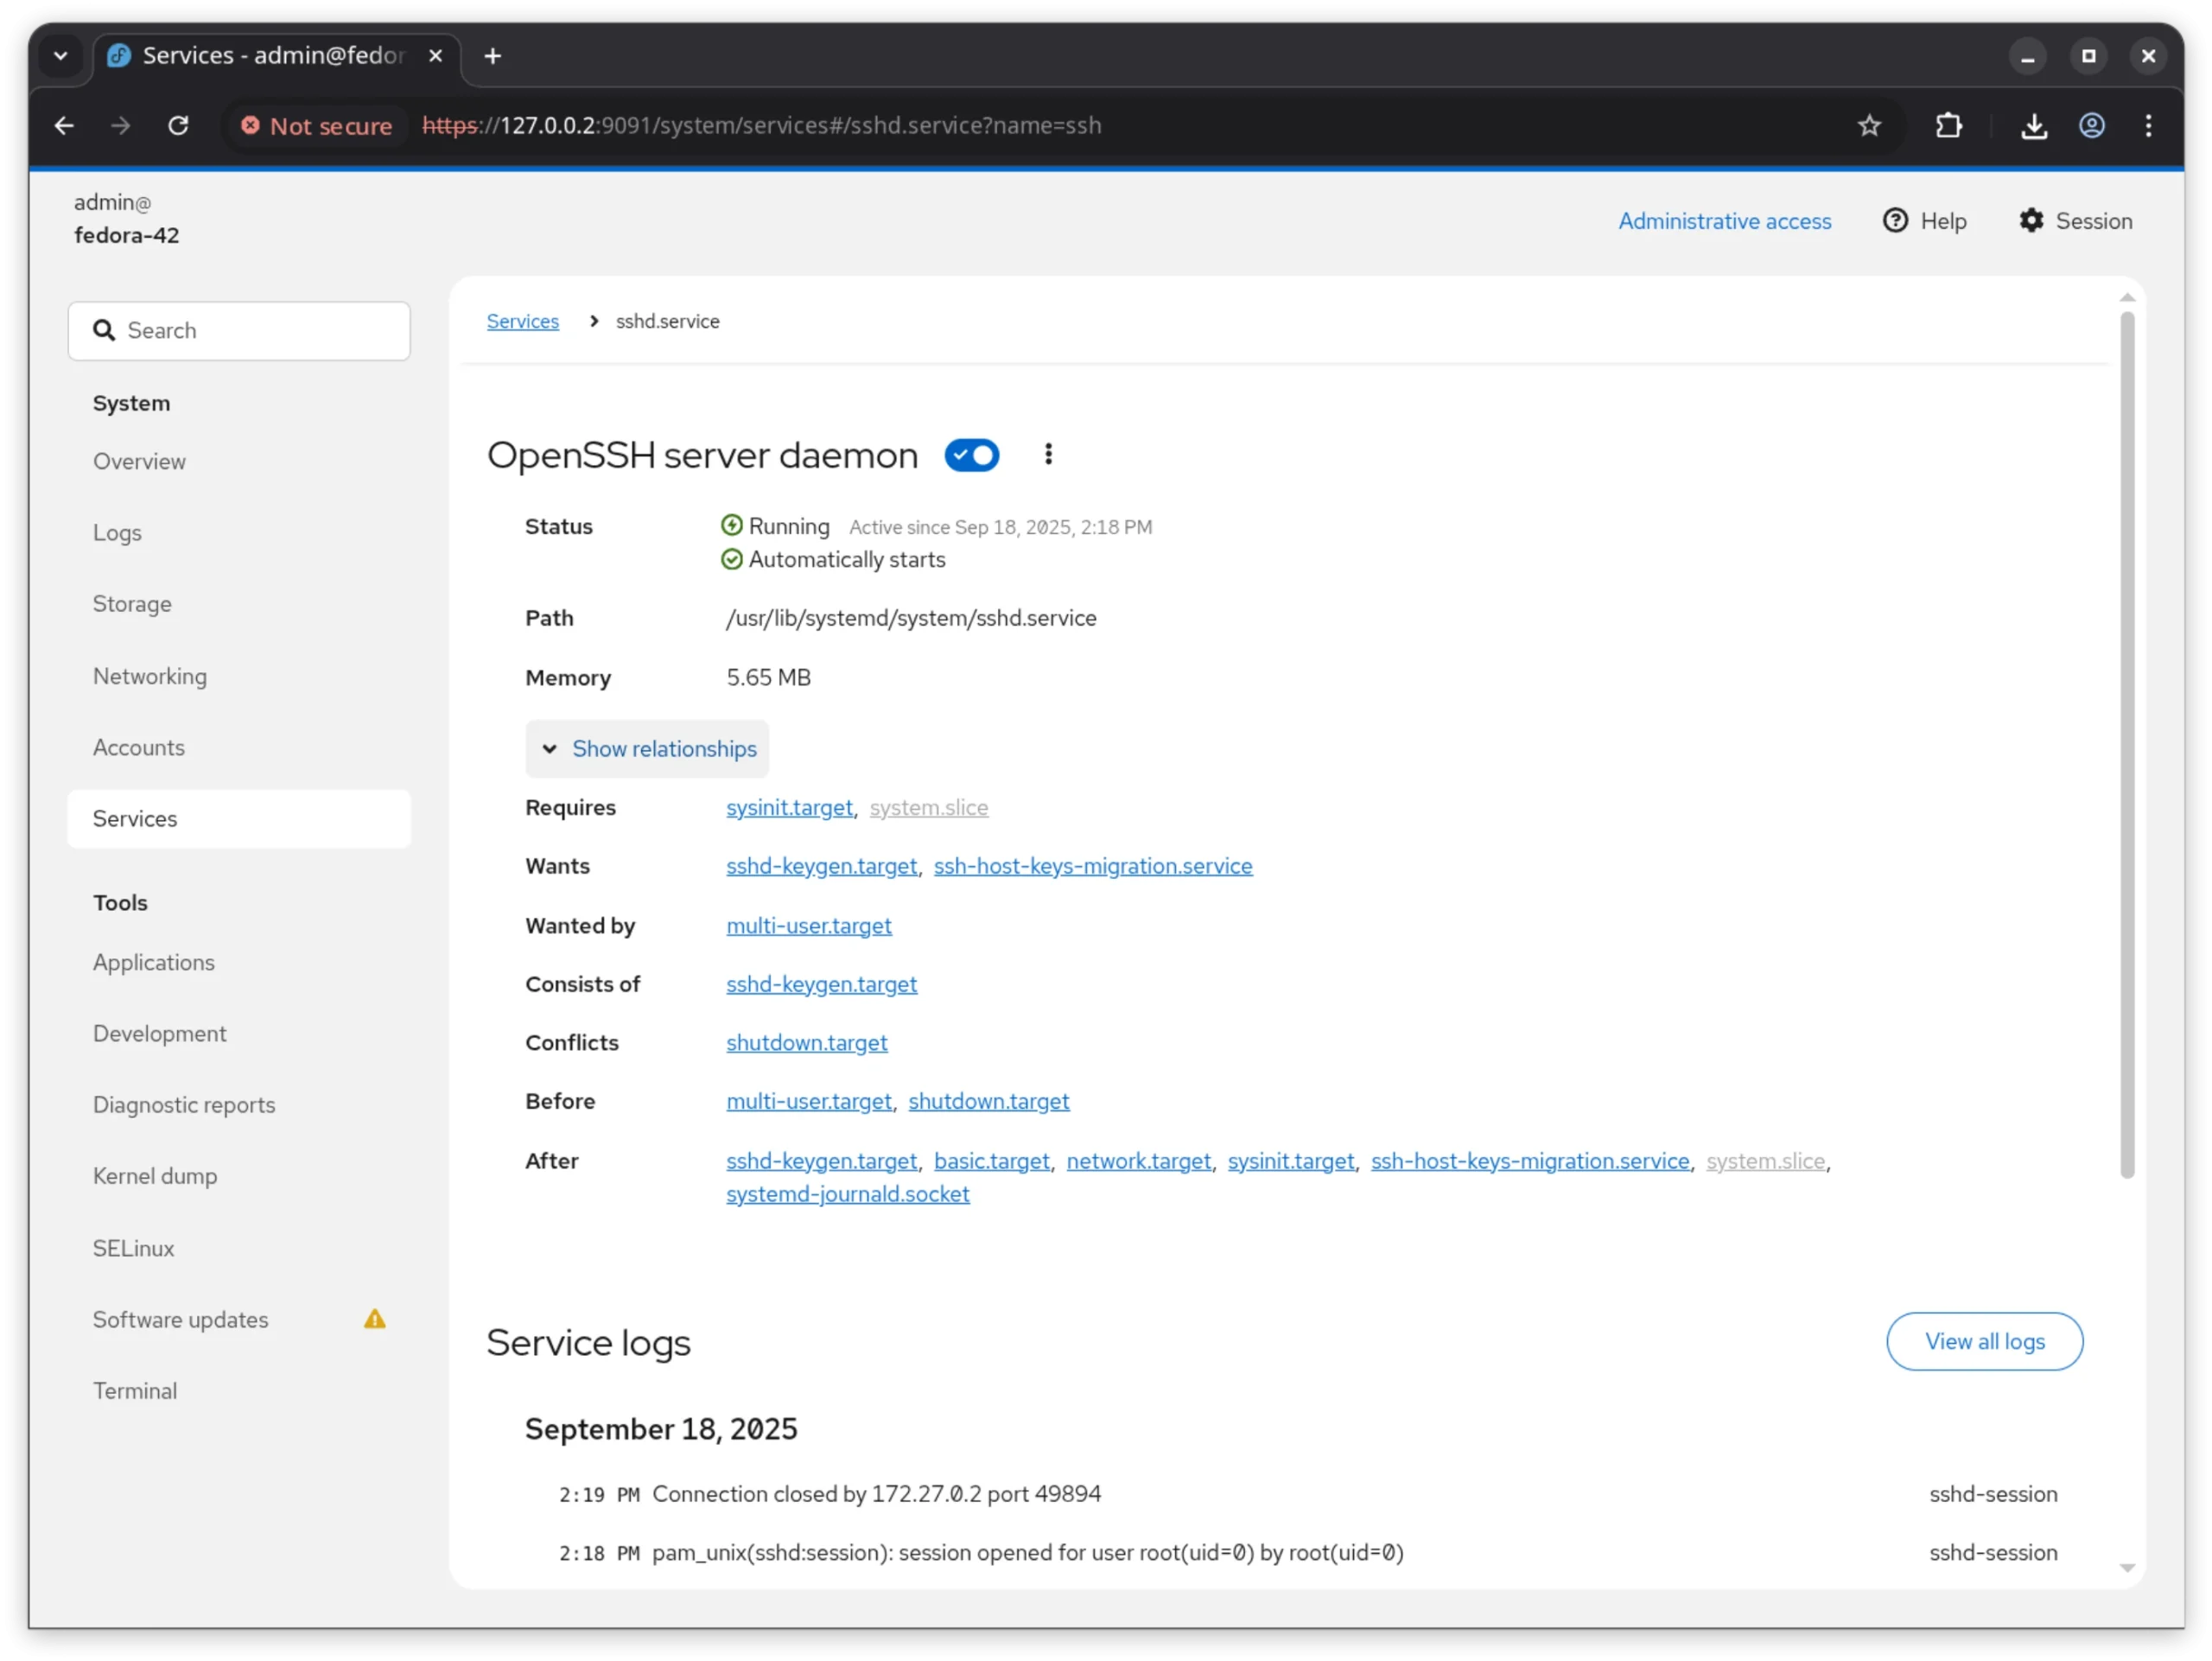
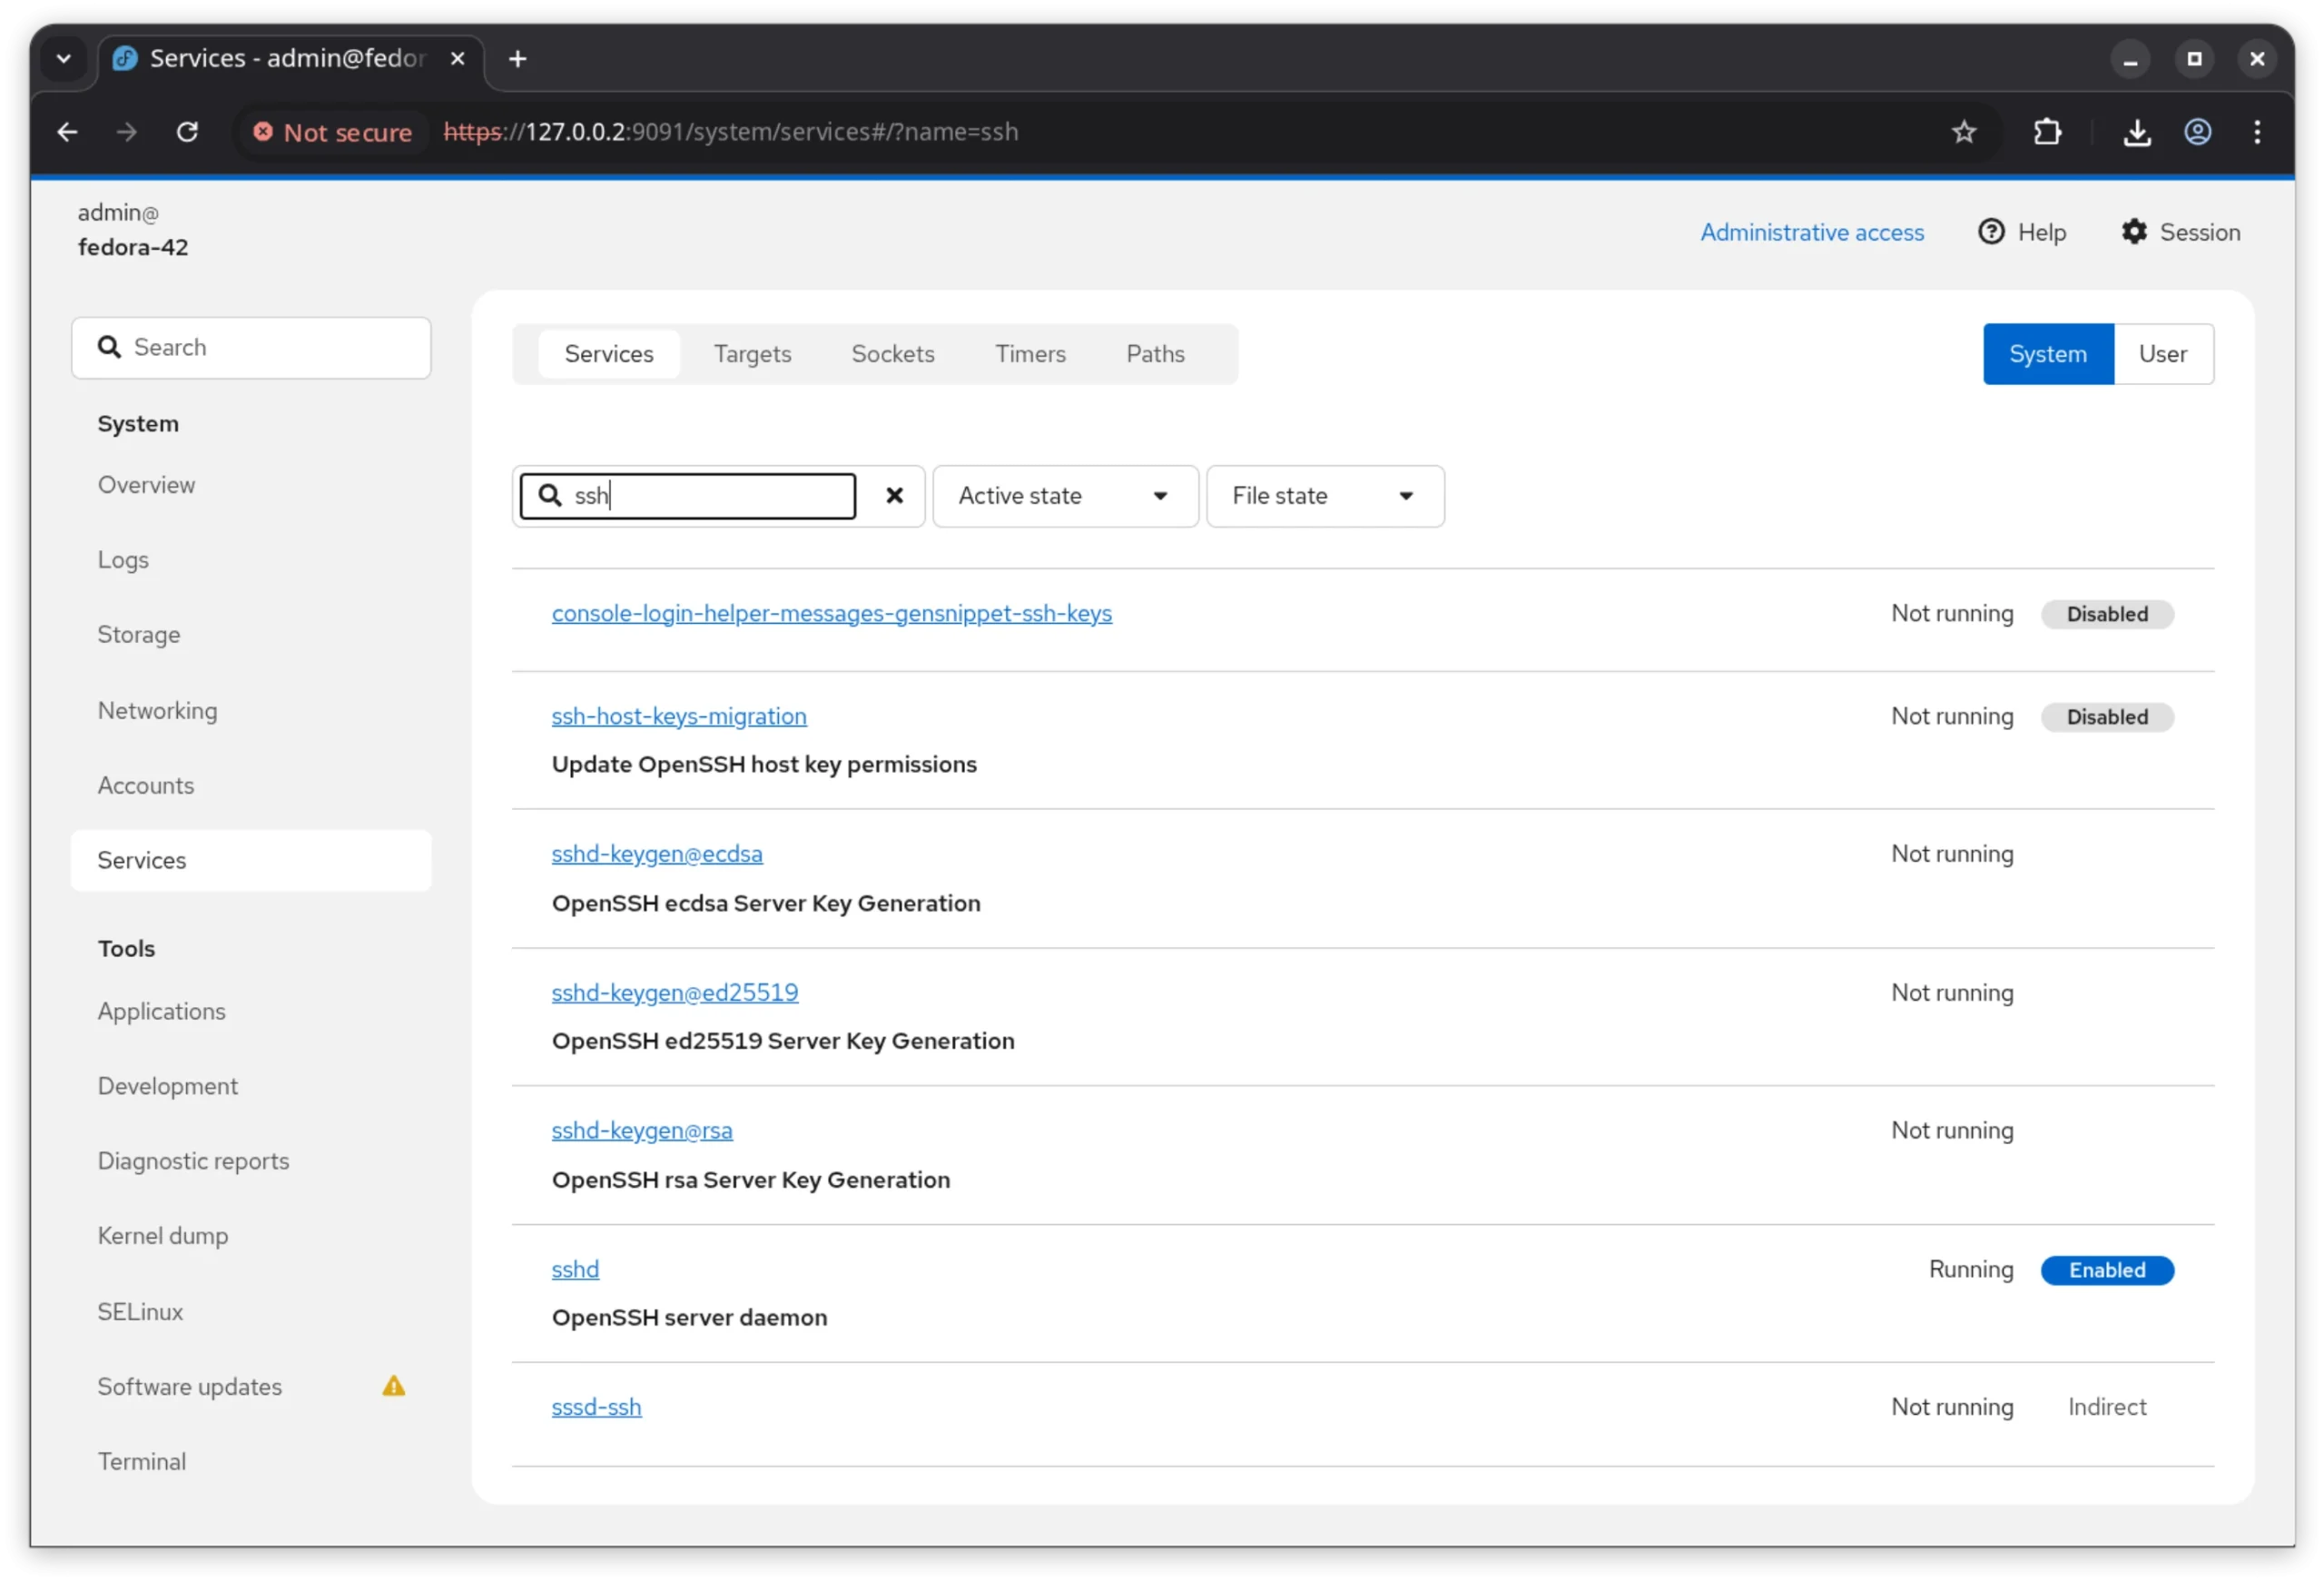
Service Management: Manage services, timers, sockets, and system routes
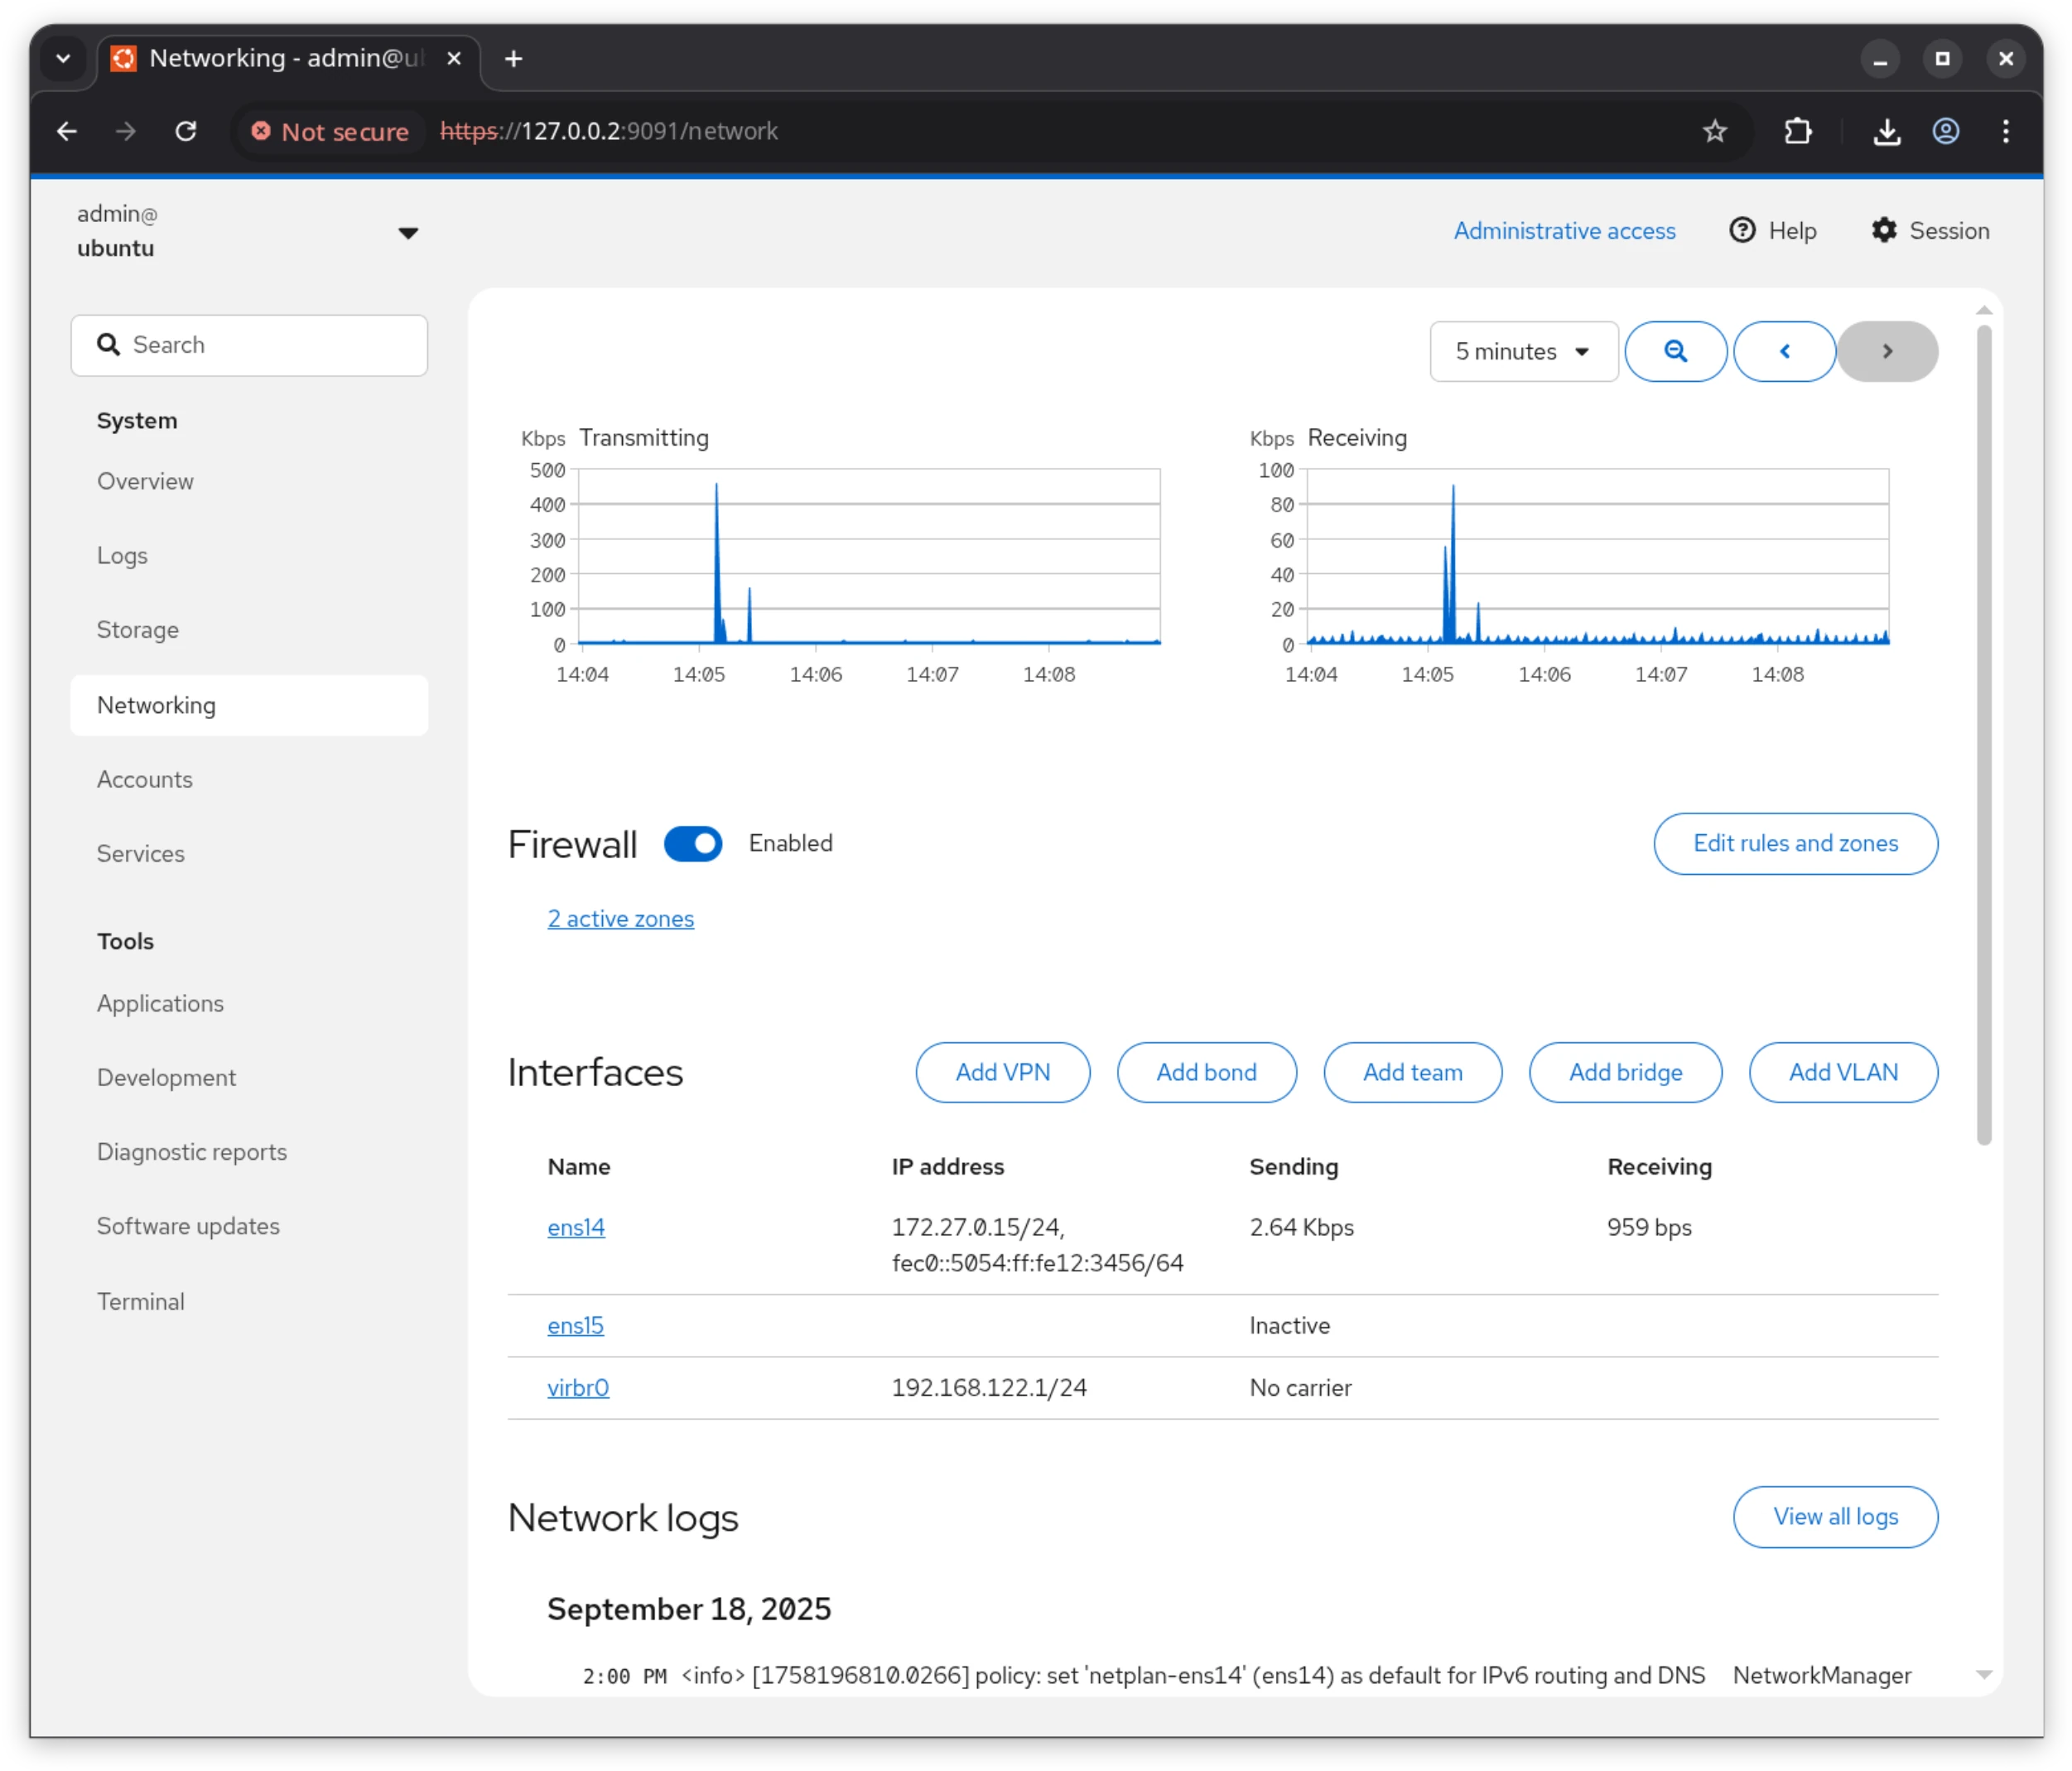
Network Management: View network interfaces, traffic statistics, and network logs
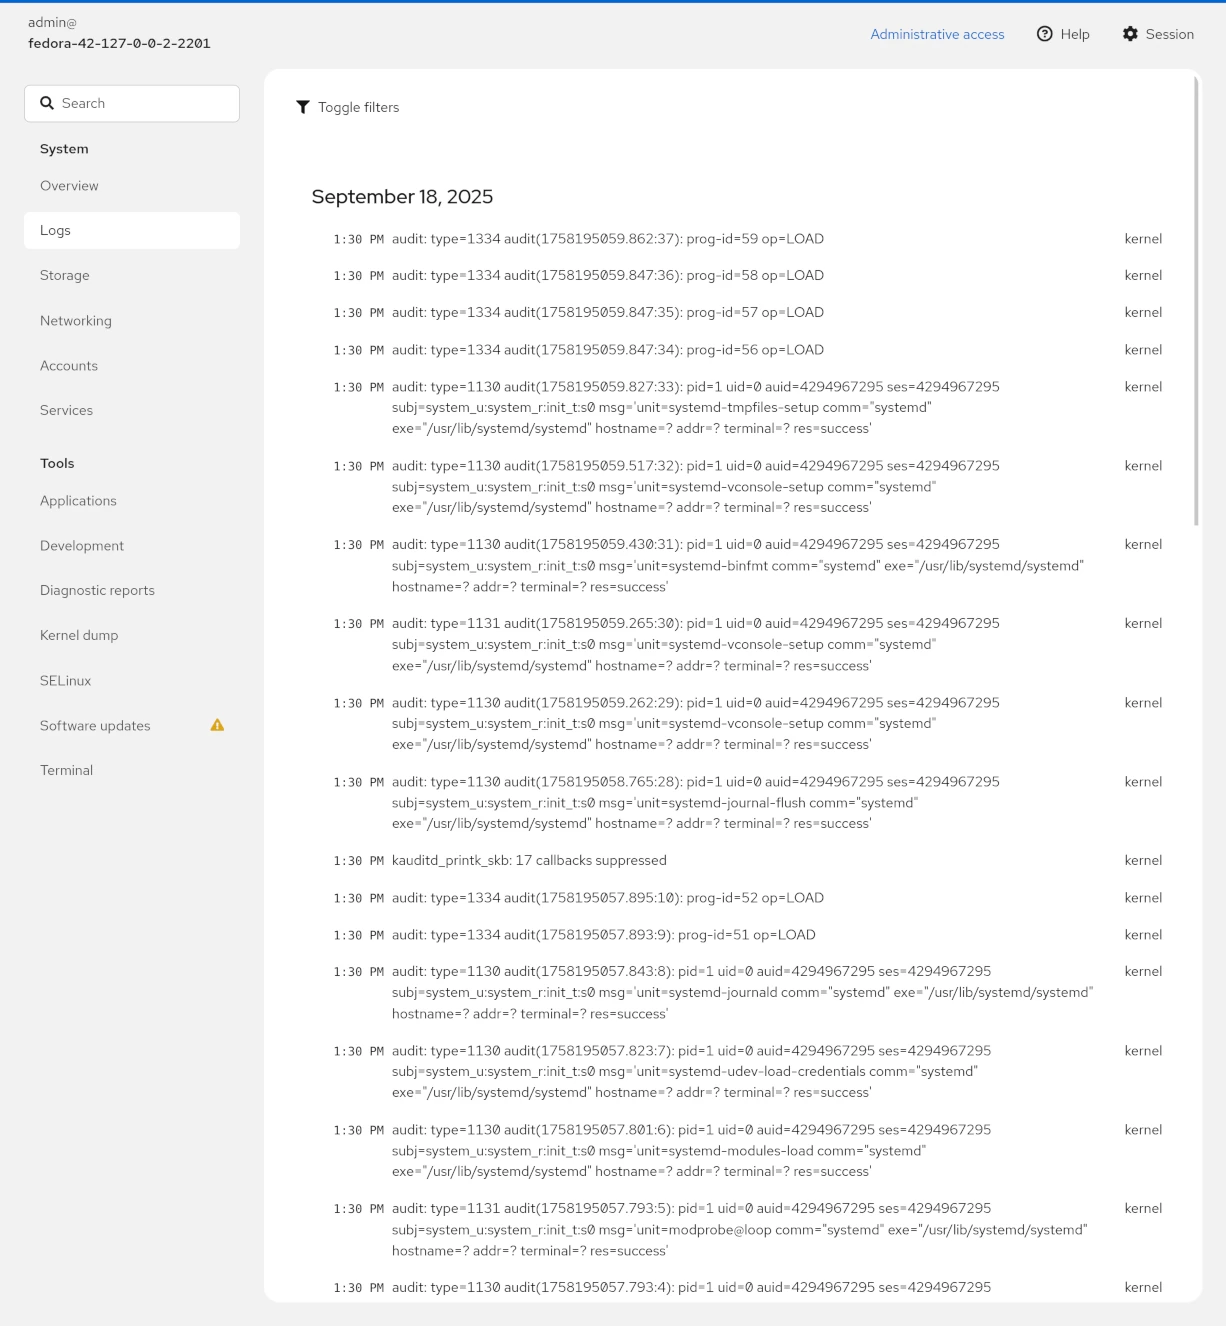
View logs: View daemon and system logs and filter them by priority
User management: Create, delete, and edit users and groups
Internal terminal: Open an SSH terminal inside Cockpit to execute system commands without the need for a separate SSH
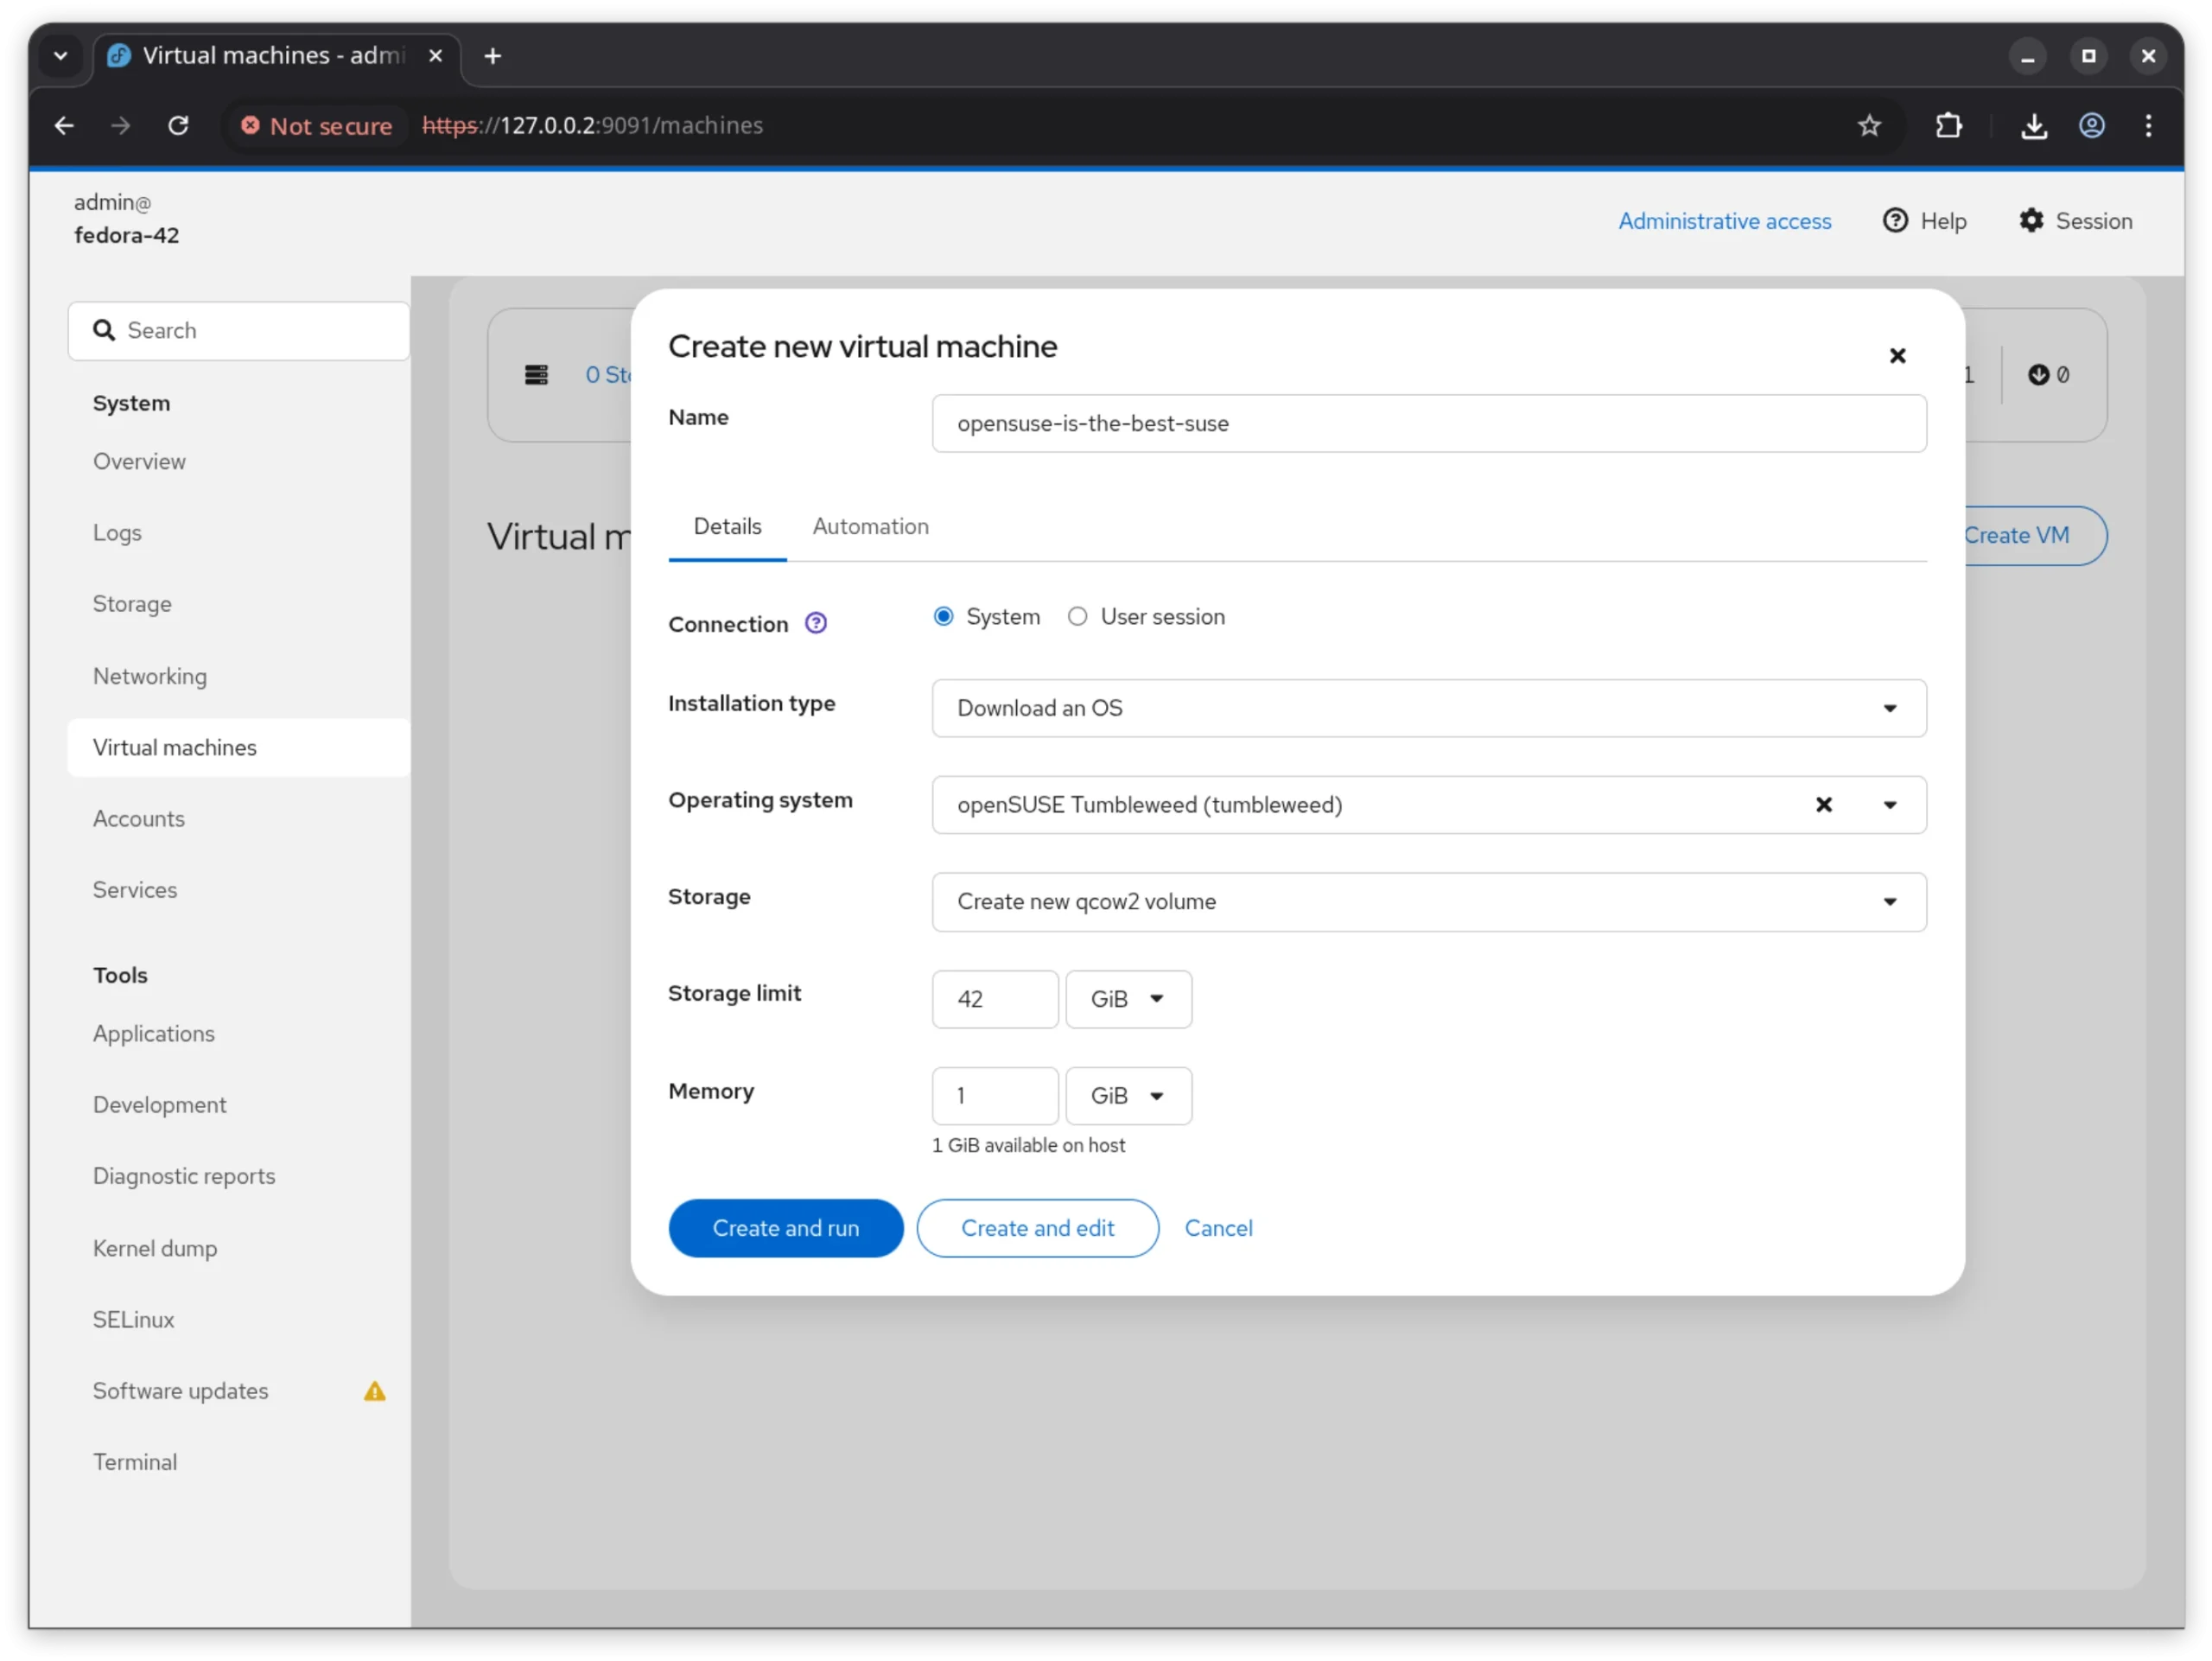
Cockpit also allows you to install add-ons such as Cockpit-Podman It allows you to manage Podman containers via a web interface.
Security tips and recommendations
Restrict access to Cockpit to users with sudo privileges.
Conduct Cockpit communications only over HTTPS for maximum security.
Get an SSL certificate from Let's Encrypt or a reputable CA and keep it up to date.
Set the default Cockpit port (9090) in the firewall and leave only the required resources open.
Use plugins like Podman only when needed and control their access.
Don't forget to periodically update your operating system and Cockpit to protect yourself from vulnerabilities.
(Note: An issue similar to CVE-2024-6126 has been reported in Cockpit for some versions.)
Conclusion
Installation and setup Cockpit on Ubuntu 24.04 It is a fast and efficient way to manage your server via a web panel, without the need for heavy tools like cPanel or Plesk. This lightweight, modern, and extensible control panel is especially suitable for server administrators or developers who want graphical access to server status, services, and resources.
By using the guide above and following the security steps, you can safely install and use Cockpit on your VPS.