Introduction
In this tutorial, you will learn how to describe elements with JSX. JSX is an abstraction that allows you to write HTML-like syntax in your JavaScript code, allowing you to create React components that look like standard HTML markup. JSX is the template language for React elements and is therefore the foundation for any markup that React provides in your application.
Because JSX allows you to write JavaScript in your markup, you can use JavaScript functions and methods, including array mapping and short-circuit evaluation for conditionals.
As part of the tutorial, you'll capture button click events directly in the markup and capture things where the syntax doesn't exactly match standard HTML, such as CSS classes. By the end of this tutorial, you'll have an application that uses a variety of JSX features to display a list of elements that have a built-in click listener. This is a common pattern in React applications that you'll use often throughout the framework course. You'll also be able to combine standard HTML elements with JavaScript to see how React lets you create small, reusable code.
Prerequisites
- You need a development environment that runs Node.js.
- You should be able to create an app with Create React App.
- You also need basic knowledge of JavaScript.
Step 1 – Add markup to the React element
As mentioned earlier, React has a special markup language called JSX. It is a combination of HTML and JavaScript syntax that looks something like this:
<div>
{inventory.filter(item => item.available).map(item => (
<Card>
<div className="title"}>{item.name}</div>
<div className="price">{item.price}</div>
</Card>
))
}
</div>
Some JavaScript functions like .filter and .map as well as some standard HTML like <div> You will recognize. But there are other parts like HTML and JavaScript, like <card> and className.
This is JSX, a special markup language that gives React components the feel of HTML with the power of JavaScript.
In this step, you'll learn how to add HTML-like primitives to an existing React element. To get started, you'll add standard HTML elements to a JavaScript function, then view the compiled code in the browser. You'll also group elements so React can compile them with minimal markup and clean HTML output.
To get started, create a new project. Run the following script on your command line to install a new project using create-react-app:
npx create-react-app jsx-tutorialAfter the project is finished, change to the directory:
cd jsx-tutorialIn a new tab or terminal window, start the project using the Create React App startup script. The browser will automatically update to reflect changes, so run this script all the time you're working:
npm startYou will get a running local server. If the project does not open in a browser window, you can find it at http://localhost:3000/. If you are running this from a remote server, the address will be http://your_IP_address:3000.
Your browser will load with a React app included as part of Create React App.
You will be building a completely new set of custom components, so you will need to start by cleaning up some boilerplate code so that you have a blank project. To start, open App.js in a text editor. This is the root component that will be injected into the page. All components will start from here.
In a new terminal, go to the project folder and open src/App.js with the following command:
nano src/App.jsYou will see a file like this:
import React from 'react';
import logo from './logo.svg';
import './App.css';
function App() {
return (
<div className="App">
<header className="App-header">
<img src={logo} className="App-logo" alt="logo" />
<p>
Edit <code>src/App.js</code> and save to reload.
</p>
<a
className="App-link"
href="https://reactjs.org"
target="_blank"
rel="noopener noreferrer"
>
Learn React
</a>
</header>
</div>
);
}
export default App;
Now, remove the line import logo from './logo.svg' and everything after the return statement in the function. Change it to return null. The final code will look like this:
import React from 'react';
import './App.css';
function App() {
return null;
}
export default App;
Save and exit the text editor.
Finally, delete the logo. In the terminal window, type the following command:
rm src/logo.svgYou won't be using this SVG file in your application and should remove unused files as you go. It will keep your code better organized in the long run.
Now that these parts of your project are out of the way, you can explore the JSX aspects. This markup language is compiled by React and ultimately converted into the HTML you see on a web page. Without getting too deep into the nitty-gritty, React takes the JSX and creates a model of how your page should look, then creates the necessary elements and adds them to the page.
This means that you can write something that looks like HTML and expect the rendered HTML to be similar. However, there are a few catches.
First, if you look at the tab or window that runs your server, you will see this:
Output
...
./src/App.js
Line 1:8: 'React' is defined but never used no-unused-vars
...
This is the line that tells you that you are not using imported React code. When you add the React import line of 'react' to your code, you are importing JavaScript code that converts JSX into React code. If JSX is not present, there is no need to import it.
Let's change it up by adding a little JSX. Start by replacing null with a Hello, World example:
import React from 'react';
import './App.css';
function App() {
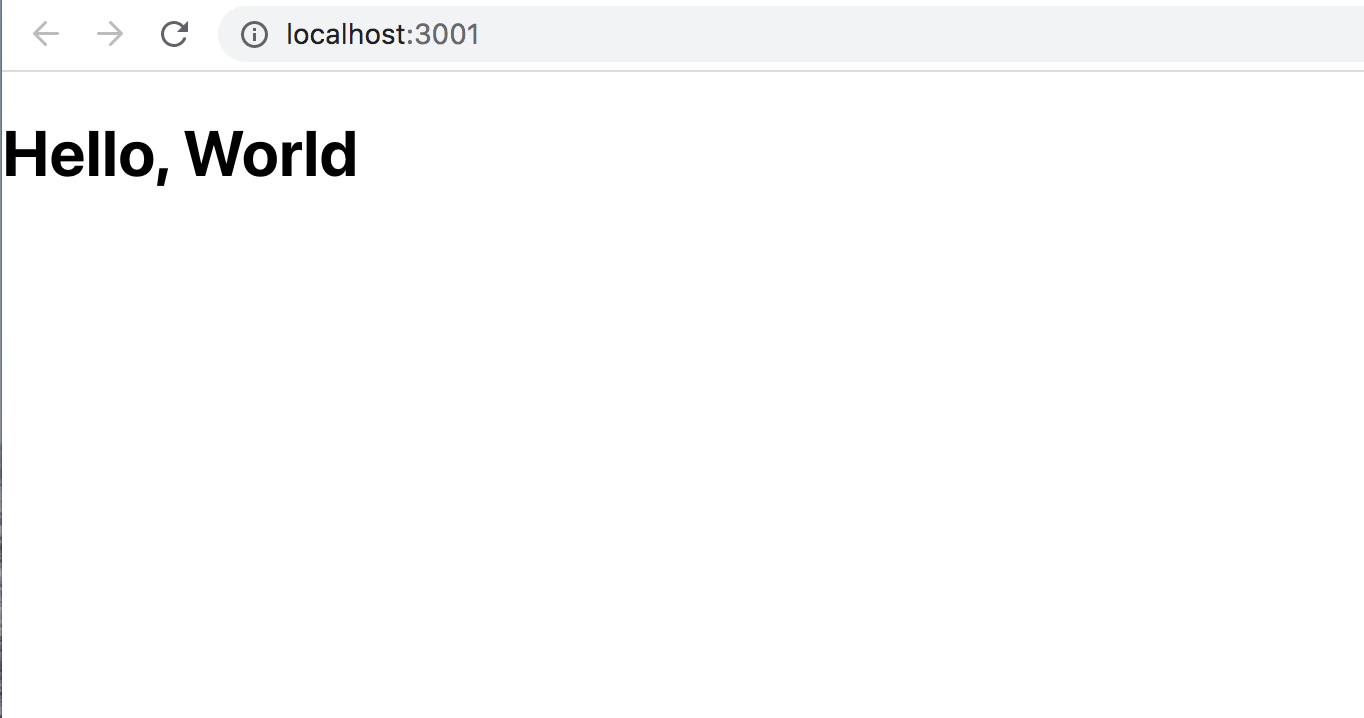
return <h1>Hello, World</h1>;
}
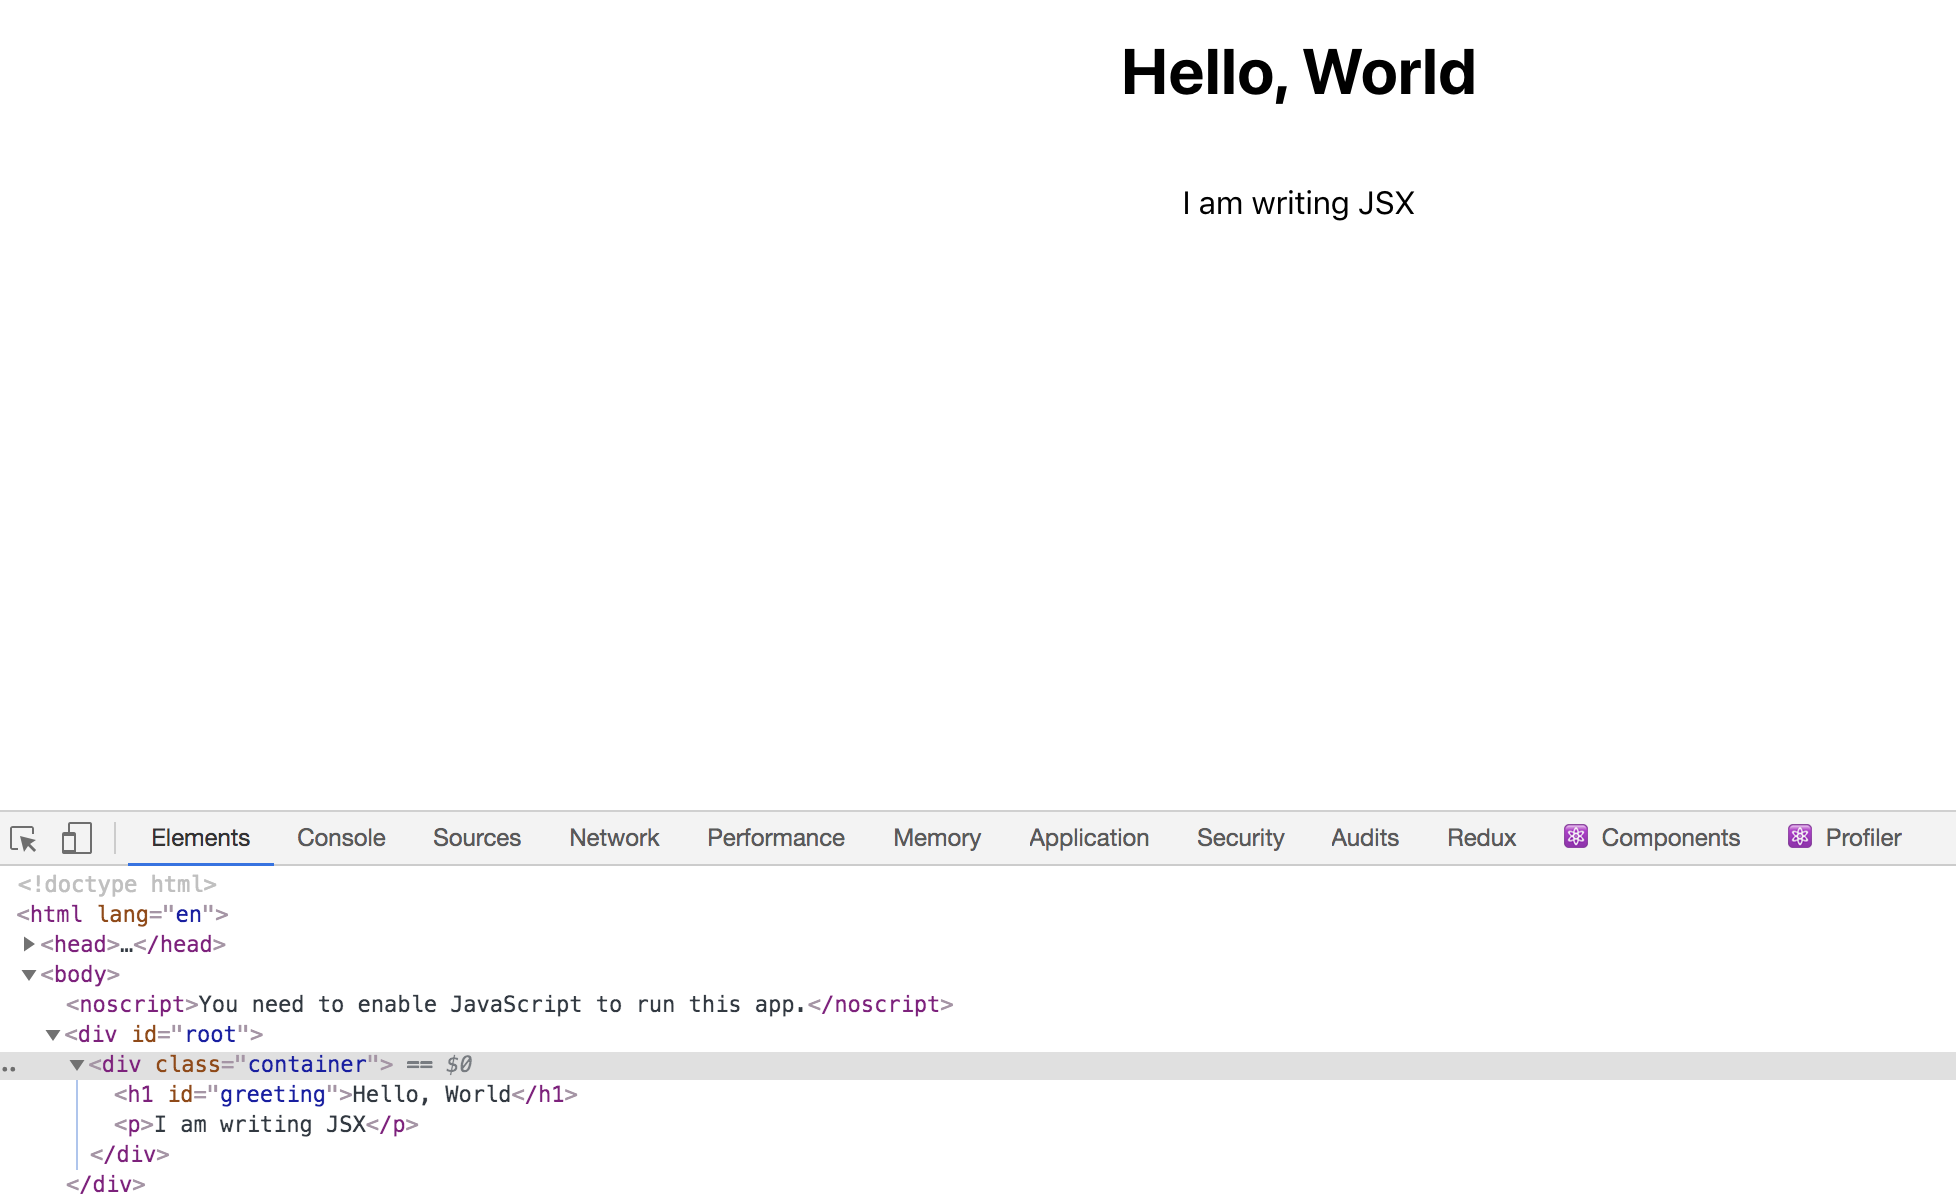
export default App;Save the file. If you look at the terminal with the server running, the warning message will disappear. If you visit in your browser, you will see the message as an h1 element.
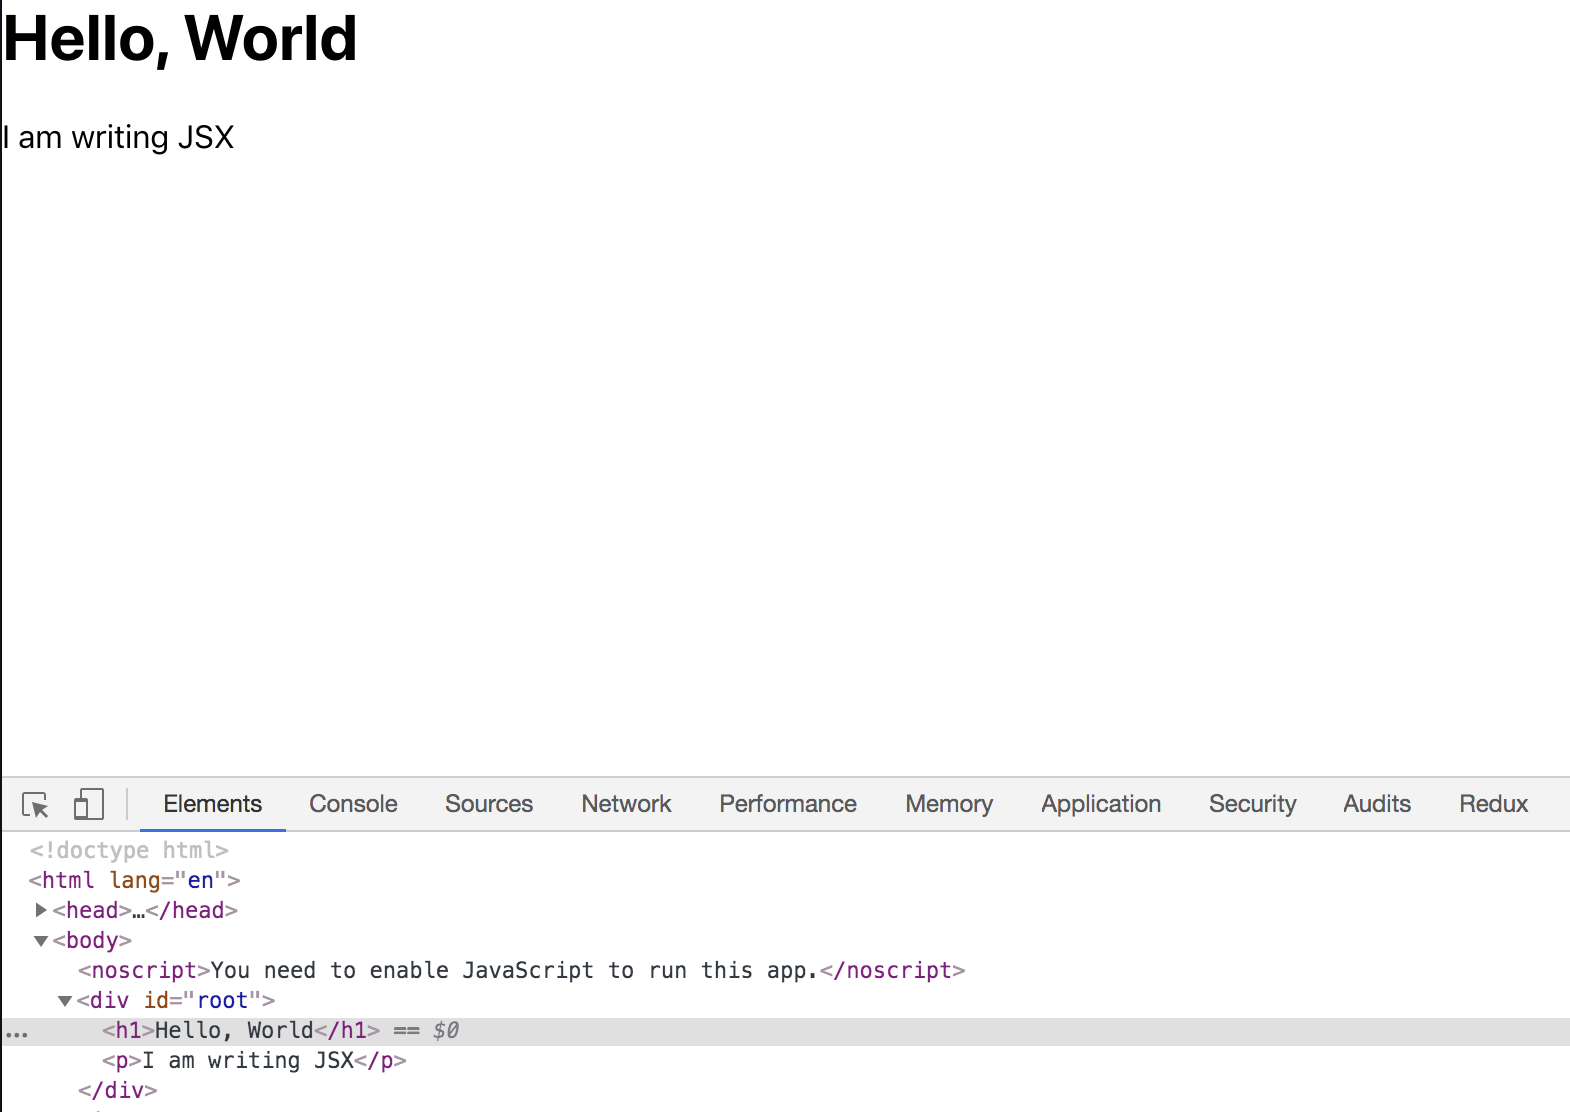
Then, under the tag <h1>, add a paragraph tag that contains the string I'm writing JSX. The code will look like this:
import React from 'react';
import './App.css';
function App() {
return(
<h1>Hello, World</h1>
<p>I am writing JSX</p>
)
}
export default App;
Since JSX spans multiple lines, you need to wrap the expression in parentheses.
Save the file. When you do this, you will see an error in the terminal running your server:
Output
./src/App.js
Line 7:5: Parsing error: Adjacent JSX elements must be wrapped in an enclosing tag. Did you want a JSX fragment <>...</>?
5 | return(
6 | <h1>Hello, World</h1>
> 7 | <p>I am writing JSX</p>
| ^
8 | )
9 | }
10 |
When you return JSX from a function or directive, you must return a single element. That element may have nested children, but there must be a top-level element. In this case, you return two elements.
The solution is a small code change. Surround the code with an empty tag. An empty tag is an HTML element without any words. It looks like this: <> .
In your editor, go back to ./src/App.js and add the empty tag:
import React from 'react';
import './App.css';
function App() {
return(
<>
<h1>Hello, World</h1>
<p>I am writing JSX</p>
</>
)
}
export default App;
The empty tag creates an element, but it is not added to the final markup when the code is compiled. This keeps your code clean while still giving React a single element.
Save the code and exit the file. Your browser will reload and display the updated page with the paragraph element. Additionally, when the code is converted, the empty tags will be removed:
Now that you've added some basic JSX to your component and learned how all JSX should be nested within a component, you'll add some styling to your component.
Step 2 – Add styling to an element with attributes
In this step, you will style the elements in your component to learn how HTML attributes work with JSX. There are many styling options in React. Some involve writing CSS in JavaScript, others use preprocessors. In this tutorial, you will work with CSS classes and imported CSS.
Now that you have your code, it's time to add some styling. Open App.css in your text editor:
nano src/App.cssSince you are starting with new JSX, the current CSS will refer to elements that no longer exist. Since you don't need the CSS, you can remove it.
After deleting the code, you will have an empty file.
Next, you'll add some styling to the text. In src/App.css, add the following code:
.container {
display: flex;
flex-direction: column;
align-items: center;
}
In this code block, you created a CSS class selector called .container and used it to center the content using display: flex .
Save the file and exit. The browser will refresh, but nothing will change. Before you can see the change, you need to add the CSS class to your React component. Open the component's JavaScript code:
nano src/App.jsThe CSS code is already imported with the import line “./App.css.” This means that Webpack will import the code to create a final stylesheet, but to apply the CSS to your elements, you need to add the classes.
First, in your text editor, find the empty tags <> to <div> Change.
import React from 'react';
import './App.css';
function App() {
return(
<div>
<h1>Hello, World</h1>
<p>I am writing JSX</p>
</div>
)
}
export default App;
In this code, you replaced the empty tags—<>—with div tags. Empty tags are useful for grouping your code without adding additional tags, but you should use div here because empty tags don't accept any HTML attributes.
Next, you need to add the class name. This is where JSX starts to deviate from HTML. If you want to add a class to a regular HTML element, you do it like this:
<div class="container">But since JSX is JavaScript, it has a few limitations. One limitation is that JavaScript has reserved keywords. This means that you can't use certain words in any JavaScript code. For example, you can't create a variable called null because that word is already reserved.
One of the reserved words is class. React gets around this reserved word with a slight change. Instead of adding the property class, you add the className property. As a rule of thumb, if a property isn't working as expected, try adding the camel case version. Another property that's a little different is the for property, which you use for tags. There are a few others, but luckily the list is relatively short.
Now that you know how the class attribute is used in React, you can update your code to include styles. In your text editor, add className="container" to your opening div tag:
import React from 'react';
import './App.css';
function App() {
return(
<div className="container">
<h1>Hello, World</h1>
<p>I am writing JSX</p>
</div>
)
}
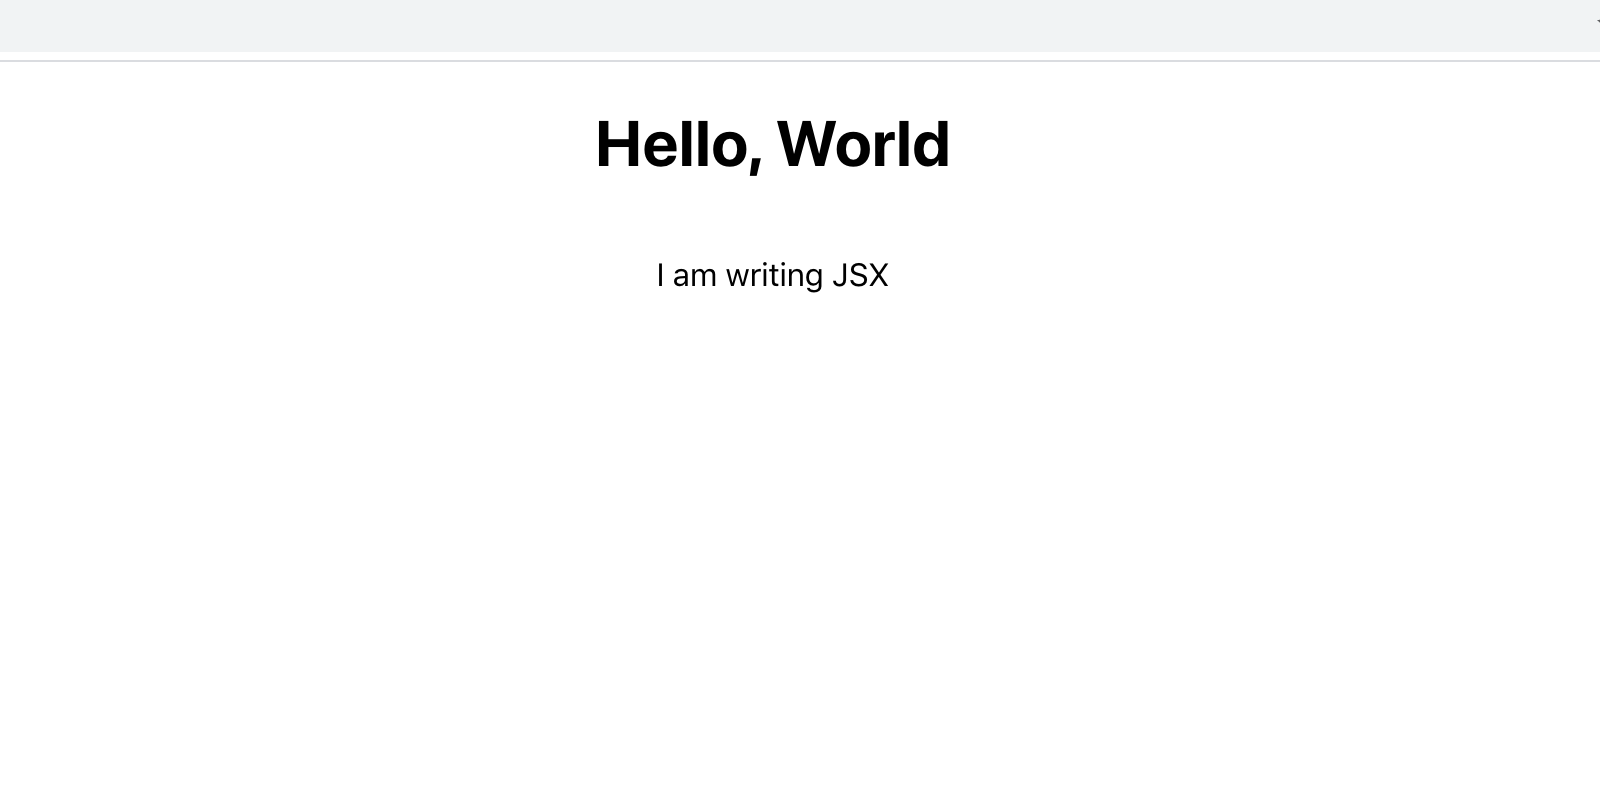
export default App;Save the file. When you do this, the page will reload and the content will be centered.
The className attribute is unique to React. You can add most HTML attributes to JSX without any changes. For example, go back to your text editor and add an ID of greeting to the element. <h1> Add your own. It will look like standard HTML:
import React from 'react';
import './App.css';
function App() {
return(
<div className="container">
<h1 id="greeting">Hello, World</h1>
<p>I am writing JSX</p>
</div>
)
}
export default App;
Save the page and reload the browser. That's it.
So far, JSX looks like standard markup, but the advantage of JSX is that it has the power of JavaScript while looking like HTML. This means you can assign variables and refer to them in your properties. To reference a property, wrap it in curly braces—{}—instead of quotes.
In your text editor, add the following highlighted lines to reference a feature:
import React from 'react';
import './App.css';
function App() {
const greeting = "greeting";
return(
<div className="container">
<h1 id={greeting}>Hello, World</h1>
<p>I am writing JSX</p>
</div>
)
}
export default App;
In this code, you created a variable above the return statement called greeting with the value "greeting", then assigned it to the variable in the id attribute of the tag. <h1> You referred yourself.
Save the file and exit. The page will be the same, but with an ID tag.
So far you've worked with a few elements on their own, but you can use JSX to add many HTML elements and nest them to create complex pages.
To demonstrate this, you create a page with a list of emojis. These emojis .
To get started, you need to add a few more elements to the page. Open src/App.js in your text editor. Keep it open at this point.
nano src/App.jsFirst, add a list of emojis by adding the following highlights:
import React from 'react';
import './App.css';
function App() {
const greeting = "greeting";
return(
<div className="container">
<h1 id={greeting}>Hello, World</h1>
<p>I am writing JSX</p>
<ul>
<li>
<button>
<span role="img" aria-label="grinning face" id="grinning face">😀</span>
</button>
</li>
<li>
<button>
<span role="img" aria-label="party popper" id="party popper">🎉</span>
</button>
</li>
<li>
<button>
<span role="img" aria-label="woman dancing" id="woman dancing">💃</span>
</button>
</li>
</ul>
</div>
)
}
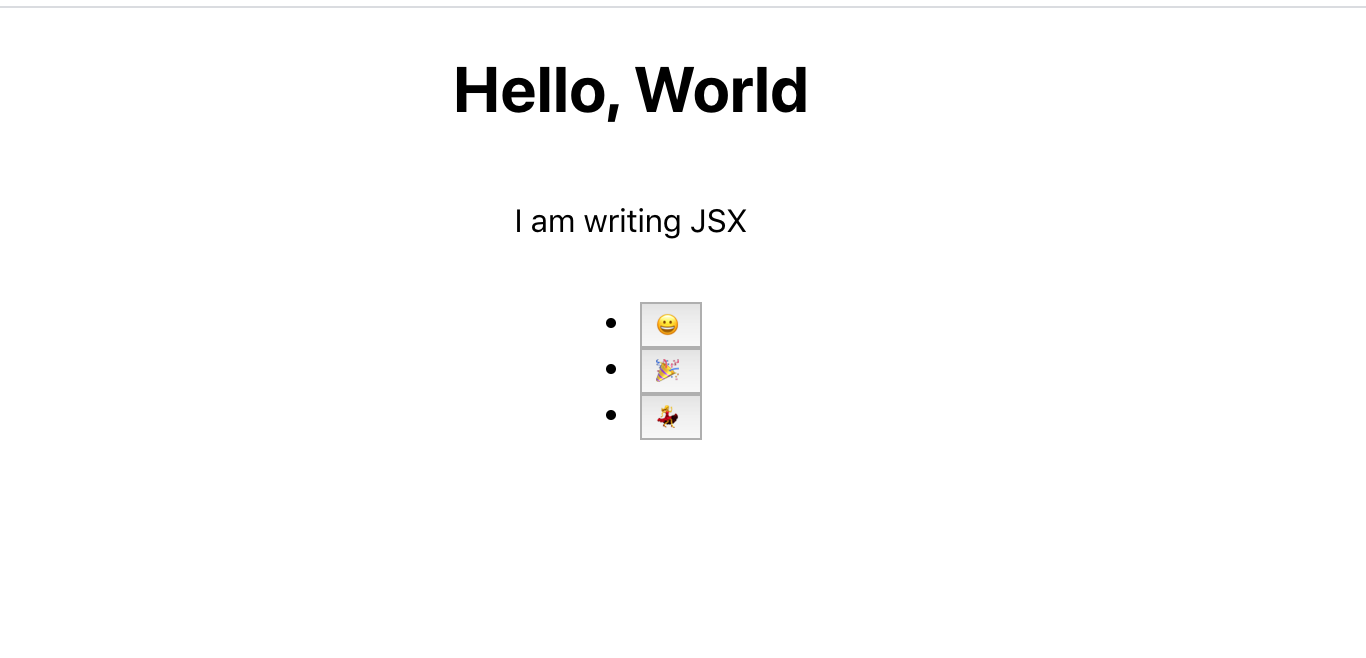
export default App;Here you have a tag.
- You created a list of emojis to hold. Each emoji is in an element.
- It is located separately and .
You can also use emoji with a tag. <span> You have surrounded it with a few other properties. Each span has a role attribute set to the img role. This signals to the accessing software that the element acts like an image. In addition, each <span> It has an aria tag and an id attribute named emoji. The aria tag tells visitors with screen readers what is being displayed. You will use the id when writing events later.
When you write code this way, you use semantic elements, which helps keep the page accessible and easy to parse for screen readers.
Save and exit the file. Your browser will refresh and you will see this:

Now add some styling. Open the CSS code in your text editor:
nano src/App.cssTo remove the default background and border of the buttons while increasing the font size, add the following highlighted code:
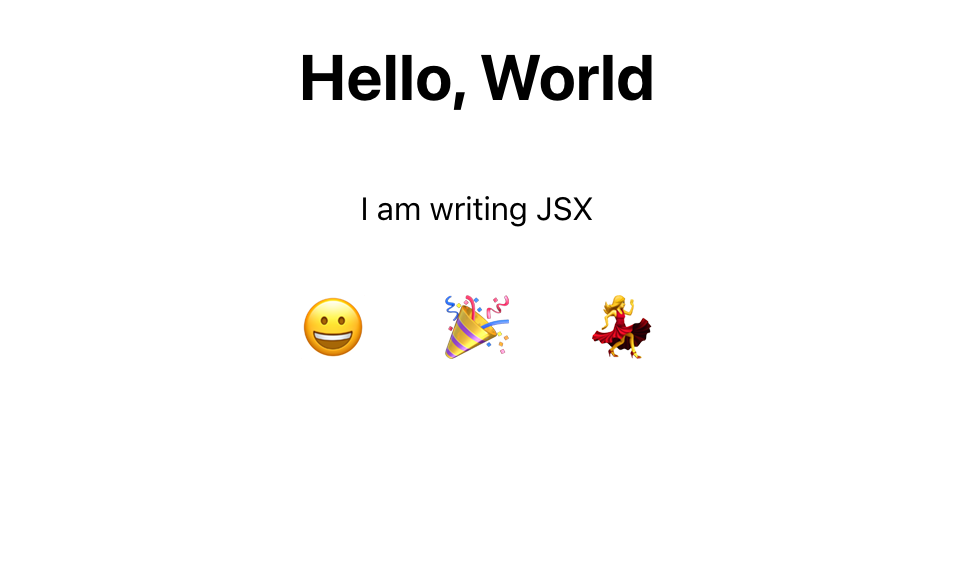
.container {
display: flex;
flex-direction: column;
align-items: center;
}
button {
font-size: 2em;
border: 0;
padding: 0;
background: none;
cursor: pointer;
}
ul {
display: flex;
padding: 0;
}
li {
margin: 0 20px;
list-style: none;
padding: 0;
}
In this code, you have used font size, margin, and other parameters to adjust the appearance of the buttons and change the font. You have also removed the list styles and added display: to the element.
- Bend over to make it horizontal.
Save and close the CSS file. Your browser will refresh and you will see this:
You've now worked with several JSX elements that look like regular HTML. You've added classes, IDs, and aria tags, and worked with data as strings and variables. But React also uses attributes to specify how your elements should respond to user events. Next, you'll start making the page interactive by adding events to the button.
Step 3 – Adding Events to Elements
In this step, you will add events to elements using specific attributes and record a click event on a button element. You will learn how to capture event information to send another action or use other information within the file scope.
Now that you have a main page with information, it's time to add some events to it. There are many event handlers that you can add to HTML elements. React gives you access to all of these. Since your JavaScript code is included with your markup, you can quickly add events while keeping your code well organized.
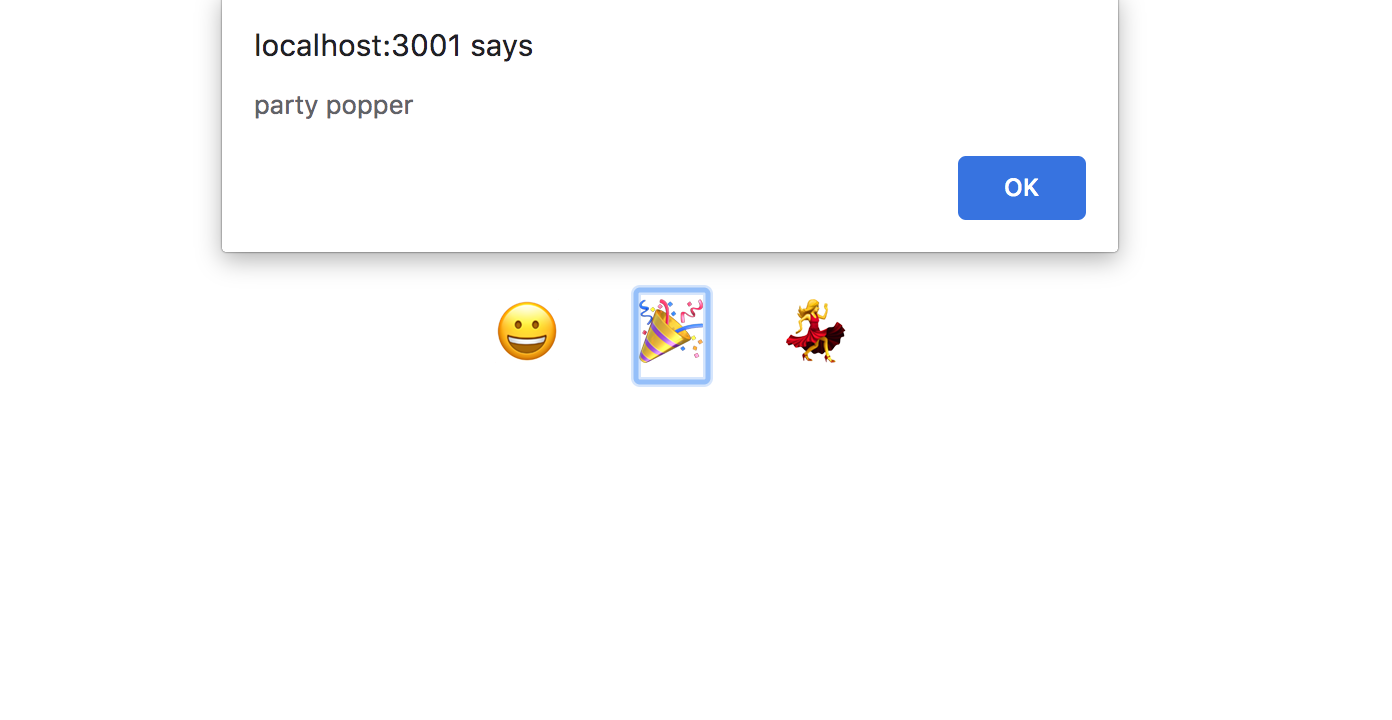
To get started, add an onclick event handler. This allows you to add some JavaScript code directly to your element instead of attaching an event listener:
import React from 'react';
import './App.css';
function App() {
const greeting = "greeting";
return(
<div className="container">
<h1 id={greeting}>Hello, World</h1>
<p>I am writing JSX</p>
<ul>
<li>
<button
onClick={event => alert(event.target.id)}
>
<span role="img" aria-label="grinning face" id="grinning face">😀</span>
</button>
</li>
<li>
<button
onClick={event => alert(event.target.id)}
>
<span role="img" aria-label="party popper" id="party popper">🎉</span>
</button>
</li>
<li>
<button
onClick={event => alert(event.target.id)}
>
<span role="img" aria-label="woman dancing" id="woman dancing">💃</span>
</button>
</li>
</ul>
</div>
)
}
export default App;
Since this is JSX, you have camelCased onclick, meaning you have added it as onClick. This onClick property uses an anonymous function to retrieve the information about the item that was clicked.
You have added an anonymous arrow function that receives the event from the clicked button and the event will have a target that is the element <span> The information you need is in the id property, which you can access with event.target.id . You can enable the alert with the alert() function.
Save the file. In your browser, click on one of the emojis and you will get an alert with the name.
You can reduce one iteration by declaring the function once and passing it to each onClick action. Since the function doesn't rely on anything other than input and output, you can declare it outside the main component function. In other words, the function doesn't need to access the component scope. The advantage of keeping them separate is that your component function is a little shorter, and you can move the function to a separate file later if you want.
In your text editor, create a function called displayEmojiName that catches the event and calls the alert() function with an identifier. Then pass the function to each onClick property:
import React from 'react';
import './App.css';
const displayEmojiName = event => alert(event.target.id);
function App() {
const greeting = "greeting";
return(
<div className="container">
<h1 id={greeting}>Hello, World</h1>
<p>I am writing JSX</p>
<ul>
<li>
<button
onClick={displayEmojiName}
>
<span role="img" aria-label="grinning face" id="grinning face">😀</span>
</button>
</li>
<li>
<button
onClick={displayEmojiName}
>
<span role="img" aria-label="party popper" id="party popper">🎉</span>
</button>
</li>
<li>
<button
onClick={displayEmojiName}
>
<span role="img" aria-label="woman dancing" id="woman dancing">💃</span>
</button>
</li>
</ul>
</div>
)
}
export default App;
Save the file. In your browser, click on an emoji and you will see the same warning.
In this step, you added events to each element. You also saw how JSX uses slightly different names for element events, and you started writing reusable code by taking a function and reusing it on multiple elements. In the next step, you write a reusable function that returns the JSX elements instead of writing each element by hand. This reduces duplication even further.
Step 4 – Mapping the data to create elements
In this step, you'll go beyond using JSX as simple markup. You'll learn to combine it with JavaScript to create dynamic markup that reduces code and improves readability. You'll turn your code into an array that you loop over to create HTML elements.
JSX doesn't limit you in the same way that HTML does. It also allows you to use JavaScript directly in your markup. You've already tried this a bit by passing functions to attributes. You've also used variables to reuse data. Now it's time to create JSX directly from data using standard JavaScript code.
In your text editor, you need to create an array of emoji data in the src/App.js file. If you closed the file, reopen it:
nano src/App.jsAdd an array containing objects that have the emoji and the emoji name. Note that the emojis must be surrounded by quotation marks. Create this array above the App function:
import React from 'react';
import './App.css';
const displayEmojiName = event => alert(event.target.id);
const emojis = [
{
emoji: "😀",
name: "grinning face"
},
{
emoji: "🎉",
name: "party popper"
},
{
emoji: "💃",
name: "woman dancing"
}
];
function App() {
...
}
export default App;
Now that you have the data, you can loop over it. To use JavaScript inside JSX, you need to surround it with curly braces: {}. This is similar to when you added functions to attributes.
To create React components, you need to convert data into JSX elements. To do this, you map the data and return a JSX element. There are a few things to keep in mind when writing the code.
First, a group of items must be represented by a container. <div> surrounded. Second, each item needs a special property called a key. The key should be a unique piece of data that React can use to keep track of the elements so it knows when to update the component. The key is removed from the compiled HTML, as it is for internal purposes only. You should add a simple string as the key whenever you work with loops.
Here is a simple example that shows a list of names in a <div> It maps:
...
const names = [
"Atul Gawande",
"Stan Sakai",
"Barry Lopez"
];
return(
<div>
{names.map(name => <div key={name}>{name}</div>)}
</div>
)
...
The resulting HTML will look like this:
...
<div>
<div>Atul Gawande</div>
<div>Stan Sakai</div>
<div>Barry Lopez</div>
</div>
...
The emoji list conversion will be similar. <ul> It will be a container. You map the data and a <li> Return the emoji short name key. Encode the data in the tags. <button> and <span> You will replace with the ring information.
In your text editor, add the following:
import React from 'react';
import './App.css';
const displayEmojiName = event => alert(event.target.id);
const emojis = [
{
emoji: '😀',
name: "test grinning face"
},
{
emoji: '🎉',
name: "party popper"
},
{
emoji: '💃',
name: "woman dancing"
}
];
function App() {
const greeting = "greeting";
return(
<div className="container">
<h1 id={greeting}>Hello, World</h1>
<p>I am writing JSX</p>
<ul>
{
emojis.map(emoji => (
<li key={emoji.name}>
<button
onClick={displayEmojiName}
>
<span role="img" aria-label={emoji.name} id={emoji.name}>{emoji.emoji}</span>
</button>
</li>
))
}
</ul>
</div>
)
}
export default App;
In the code, click on the emoji array in the tag <ul> Map and one <li> Return. In any <li> You used the emoji name as the primary key. The button will have the same functionality as normal. In the element <span>Replace aria-label and id with the name. Tag content <span> It must be an emoji.
Save the file. Your window will refresh and you will see the data. Note that the key is not present in the generated HTML.
Combining JSX with standard JavaScript gives you a lot of tools for dynamically generating content, and you can use any standard JavaScript you want. In this step, you replaced the hardcoded JSX with an array and a loop to dynamically generate HTML. In the next step, you conditionally display the information using shorthand.
Step 5 – Conditionally display short-circuited elements
In this step, you will use shortcodes to conditionally display HTML elements. This allows you to create components that can hide or show HTML based on additional information, giving your components the flexibility to handle different situations.
There are times when you need a component to display information in some cases and not in others. For example, you might only want to show a warning message to the user when certain things are true, or you might want to display some account information to an administrator that you don't want a regular user to see.
To do this, you use a short circuit. That is, you use a condition and if the first part is true, it returns the information of the second part.
Here's an example. If you want to show a button only if the user is logged in, you surround that element with curly braces and add a condition.
{isLoggedIn && <button>Log Out</button>}In this example, you use the && operator, which returns the last value if everything is true. Otherwise, it returns false, which tells React not to return any additional markup. If isLoggedIn is true, React displays the button. If isLoggedIn is false, it does not display the button.
To try this, add the following highlighted lines:
import React from 'react';
import './App.css';
...
function App() {
const greeting = "greeting";
const displayAction = false;
return(
<div className="container">
<h1 id={greeting}>Hello, World</h1>
{displayAction && <p>I am writing JSX</p>}
<ul>
...
</ul>
</div>
)
}
export default App;
In your text editor, you created a variable called displayAction with the value false. Then the tag <p> You surrounded displayAction with curly braces. At the beginning of the curly braces, you added && to create a condition.
Save the file and you will see that the element disappears in your browser. Importantly, it will not appear in the generated HTML either. This is not like hiding an element with CSS. It will not exist at all in the final markup.
Currently the displayAction value is hardcoded, but you can also store that value as a state or pass it as a base from a parent component.
In this step, you learned how to conditionally display elements. This allows you to create components that can be customized based on other information.
Result
At this point, you've created a custom application with JSX. You've learned how to add HTML-like elements to your component, add style elements to those elements, pass attributes to create semantic and accessible markup, and attach events to components. Then you've combined JavaScript with your JSX to reduce duplicate code and show and hide elements conditionally.
This is the foundation you need to build future components. Using a combination of JavaScript and HTML, you can build dynamic components that are flexible and allow your application to grow and change.