Specialized training for professional users
In this article from IT Piran, to review 5 Important Technical Topics in cPanel We believe that every professional website manager should be familiar with them.
1. Backup and Restore Tutorial in cPanel
Complete site backup
cPanel is a powerful tool called Backup Wizard It allows you to back up all hosting information (files, database, emails, and settings).
To take a backup:
Enter the section Backup Wizard Dill.
On Backup Click.
Option Full Backup Select.
Specify the save path (e.g. Home Directory or FTP Remote).
On Generate Backup Hit it.
💡 Note: Always take a backup before updating your site, theme, or plugins.
Restore data
To retrieve information:
Enter Backup Wizard → Restore Dill.
Select the desired data type (Home Directory, Database, Email).
Backup file in format
.tar.gzUpload.
On hosts cPanel IranDaily and automatic backups are performed so that your data is always safe.
📚 Official reference: cPanel Backup Documentation
2. How to install free SSL in cPanel?
SSL or Secure Sockets Layer It is a protocol that ensures the security of your users' data and your website. Enabling SSL will make your site open with HTTPS and make it appear more secure in the eyes of Google.
To install free SSL (Let's Encrypt):
Enter the section SSL/TLS Status Dill.
Select the desired domain.
On Run AutoSSL Click.
A few moments later, the SSL certificate will be automatically activated.
If from cPanel hosting Netherlands If you use SSL, installing it is usually also compatible with CDNs (like Cloudflare).
📚 Official reference: Enable AutoSSL in cPanel
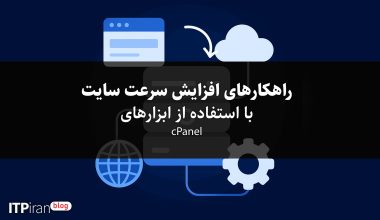
3. Increase site speed with optimization tools in cPanel
Site speed has a direct impact on user experience and SEO. cPanel offers several powerful tools to improve speed:
Optimize Website
In this section you can enable compression (GZIP) for site content:
Enter Software → Optimize Website Dill.
Option Compress All Content Select.
This makes pages load faster.
Select PHP Version
From this section, you can select a newer version of PHP (such as 8.2), which has better speed and security.
Cache Manager
Some services, such as WordPress Hosting IranThey have built-in caching tools that cache requests and reduce server response time by up to 50%.
📚 Official reference: Optimize Website in cPanel
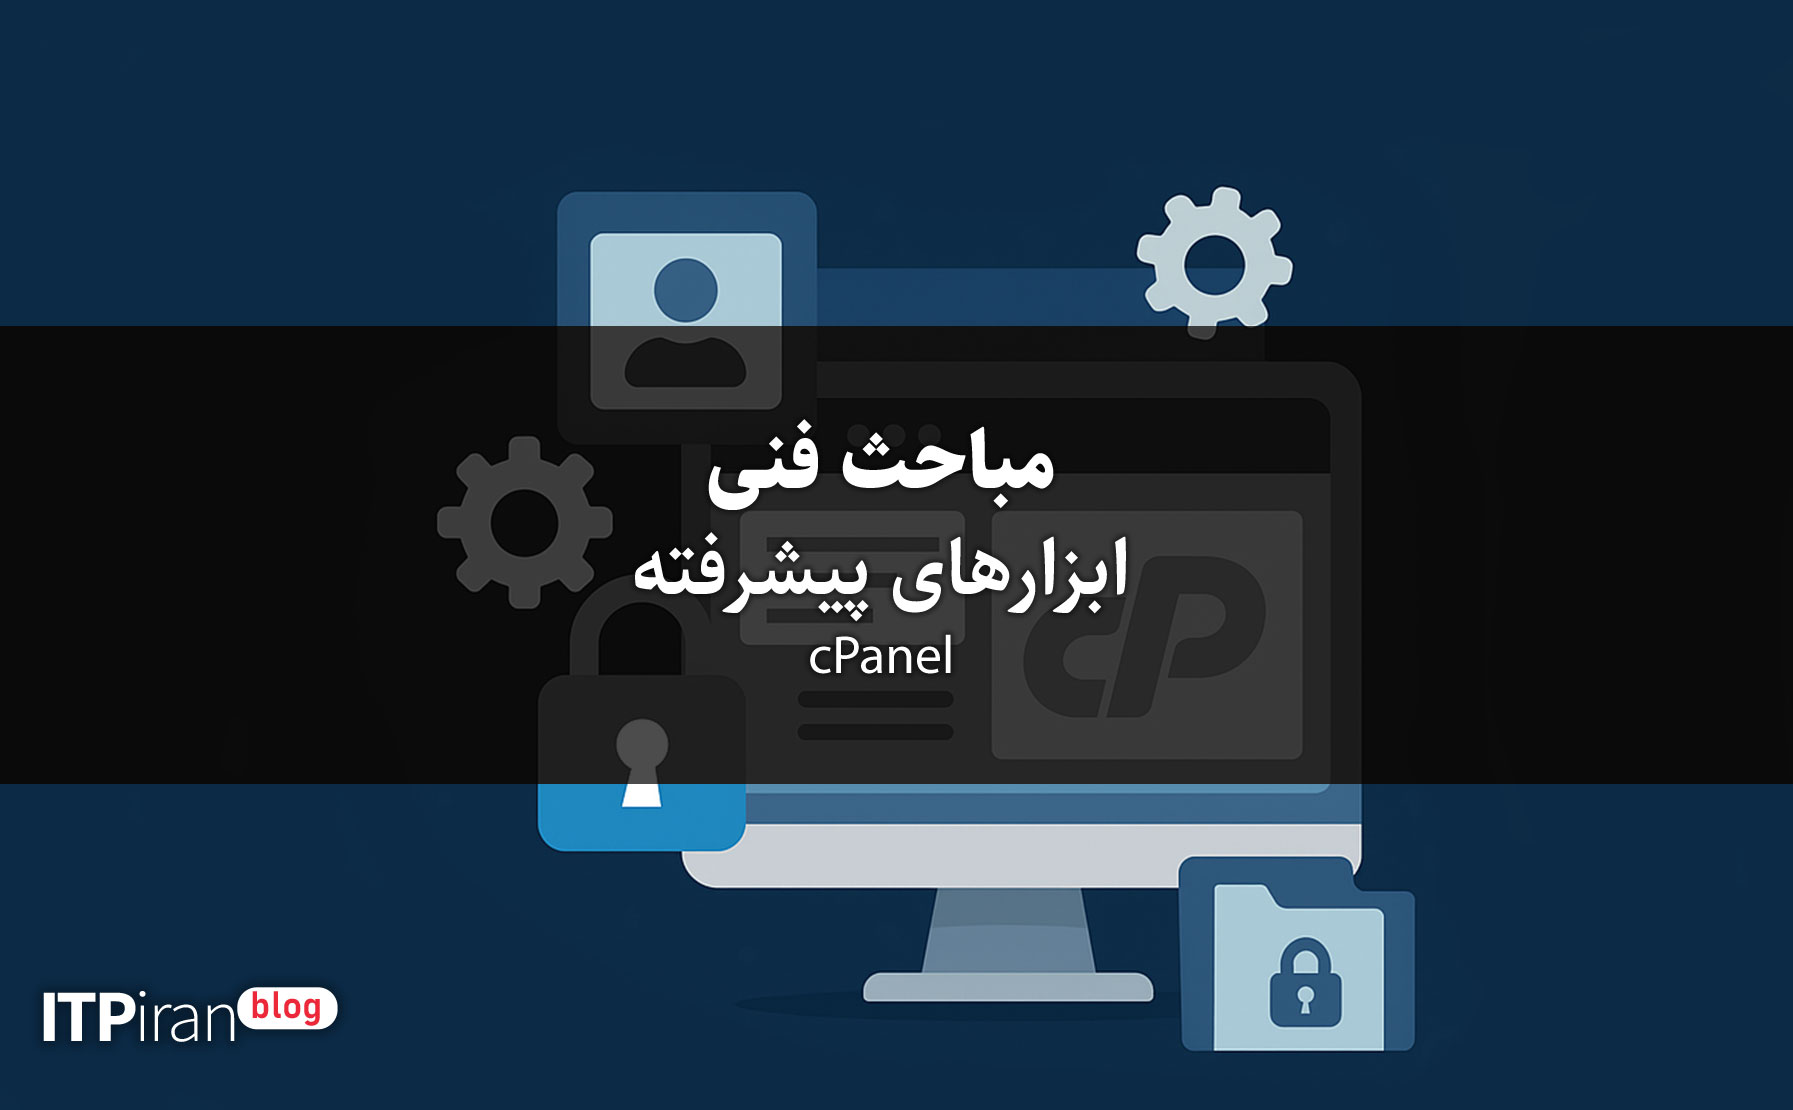
Security tools in cPanel
Website security is one of the most important issues that should not be ignored. cPanel provides a set of security tools to the server administrator to prevent unauthorized access, brute-force attacks, and possible abuse. Below, we will take a detailed and specialized look at four key tools in the cPanel security section. .
1. Directory Privacy — Protect sensitive folders
Directory Privacy (formerly known as “Password Protect Directories”) is a tool for encrypting folders inside public_html or other hosting directories.
Main application:
When you want a part of the site (for example, the /admin or /private folder) to be accessible only to certain people, you can use this tool to set a password for that section.
How to set:
Enter the section Files → Directory Privacy Dill.
Click on the desired folder.
Option Password protect this directory Activate.
Set a username and password for access.
Technical notes:
Configuration file in the path
/home/user/.htaccessIt is saved.For proper activation, the module must be
mod_authBe enabled in Apache.This feature is also fully compatible with LiteSpeed-based hosts.
📚Official Document:cPanel Directory Privacy Docs
2. IP Blocker — Block unwanted access
IP Blocker A tool to block specific IPs from accessing your website. This feature is especially useful when you are facing brute-force attacks, bots, or annoying users.
How it works:
Enter Security → IP Blocker Dill.
Enter the IP or IP range (e.g. 192.168.0.0/24).
On Add Hit it.
This command writes a line to the file in the background. .htaccess You add:
Deny from 192.168.0.1نکته فنی:
cPanel از فرمتهای IPv4، IPv6 و CIDR پشتیبانی میکند.
میتوانید برای بلاک کردن کل کشور یا ISP از فایروال نرمافزاری (CSF یا ModSecurity) در سطح WHM استفاده کنید.
📚 مستند رسمی: cPanel IP Blocker Documentation
۳. Leech Protection — جلوگیری از استفاده غیرمجاز کاربران
Leech Protection One of the lesser known but very important security tools in cPanel is this tool to prevent Unauthorized sharing of user passwords Designed.
Practical example:
Suppose a part of your site is reserved for special members and users log in with a specific username and password. If one of these users publishes their information in a public space (forum, telegram, community, etc.), other people can also log in to their account.
This is where Leech Protection It goes into action 👇
How to activate:
Enter the section Security → Leech Protection Dill.
The folder related to the membership system (e.g.
/members/Select ).Set a limit on the number of logins per user (within a specified time period).
You can determine if the rules are violated:
User locked out
His password will be changed automatically.
Send email alert
Expert tip:
Through file
.htaccessUser behavior is monitored.For greater security, you can combine Leech Protection with ModSecurity Rules Used.
📚 Official Document: Leech Protection Documentation
4. Two-Factor Authentication (2FA) — Two-step login
Two-factor authentication (2FA) It is one of the most vital security tools in cPanel. Even if your password is compromised, an attacker will not be able to log in without the security code generated on your mobile phone.
How to activate:
Enter Security → Two-Factor Authentication Dill.
On Set Up Two-Factor Authentication Click.
Using software such as Google Authenticator Or AuthyScan the displayed QR Code.
Enter the generated code to verify.
Technical advantages:
Based on protocol TOTP (Time-based One-Time Password) It works.
A new code is generated every 30 seconds.
It works completely independently of an internet connection (the code is generated on the user's phone).
💡 Security tip:
Along with enabling 2FA, be sure to also restrict logins from specific IPs to provide the maximum level of security.
Be sure to enable two-step login so that even if your password is leaked, no one can access your account.
In services cPanel Netherlands locationThe hardware firewall and default IP filtering are also enabled.
📚 Official reference: cPanel Security Tools
These four security tools — Directory Privacy, IP Blocker, Leech Protection, and 2FA — The basic foundations of security in cPanel hosting.

5. How to set up DNS and Zone Editor in cPanel
To connect a domain to a server or set up specific records (like email or CDN), use the tool Zone Editor It is used.
DNS setup steps:
Enter the section Zone Editor Dill.
Choose your domain.
Add new record:
A Record: Connecting a domain to a server IP
CNAME Record: Connecting a subdomain to another domain
MX Record: Setting up email routing
💡 If you are using Cloudflare or an external DNS, be sure to synchronize the settings with your current DNS to prevent site downtime.