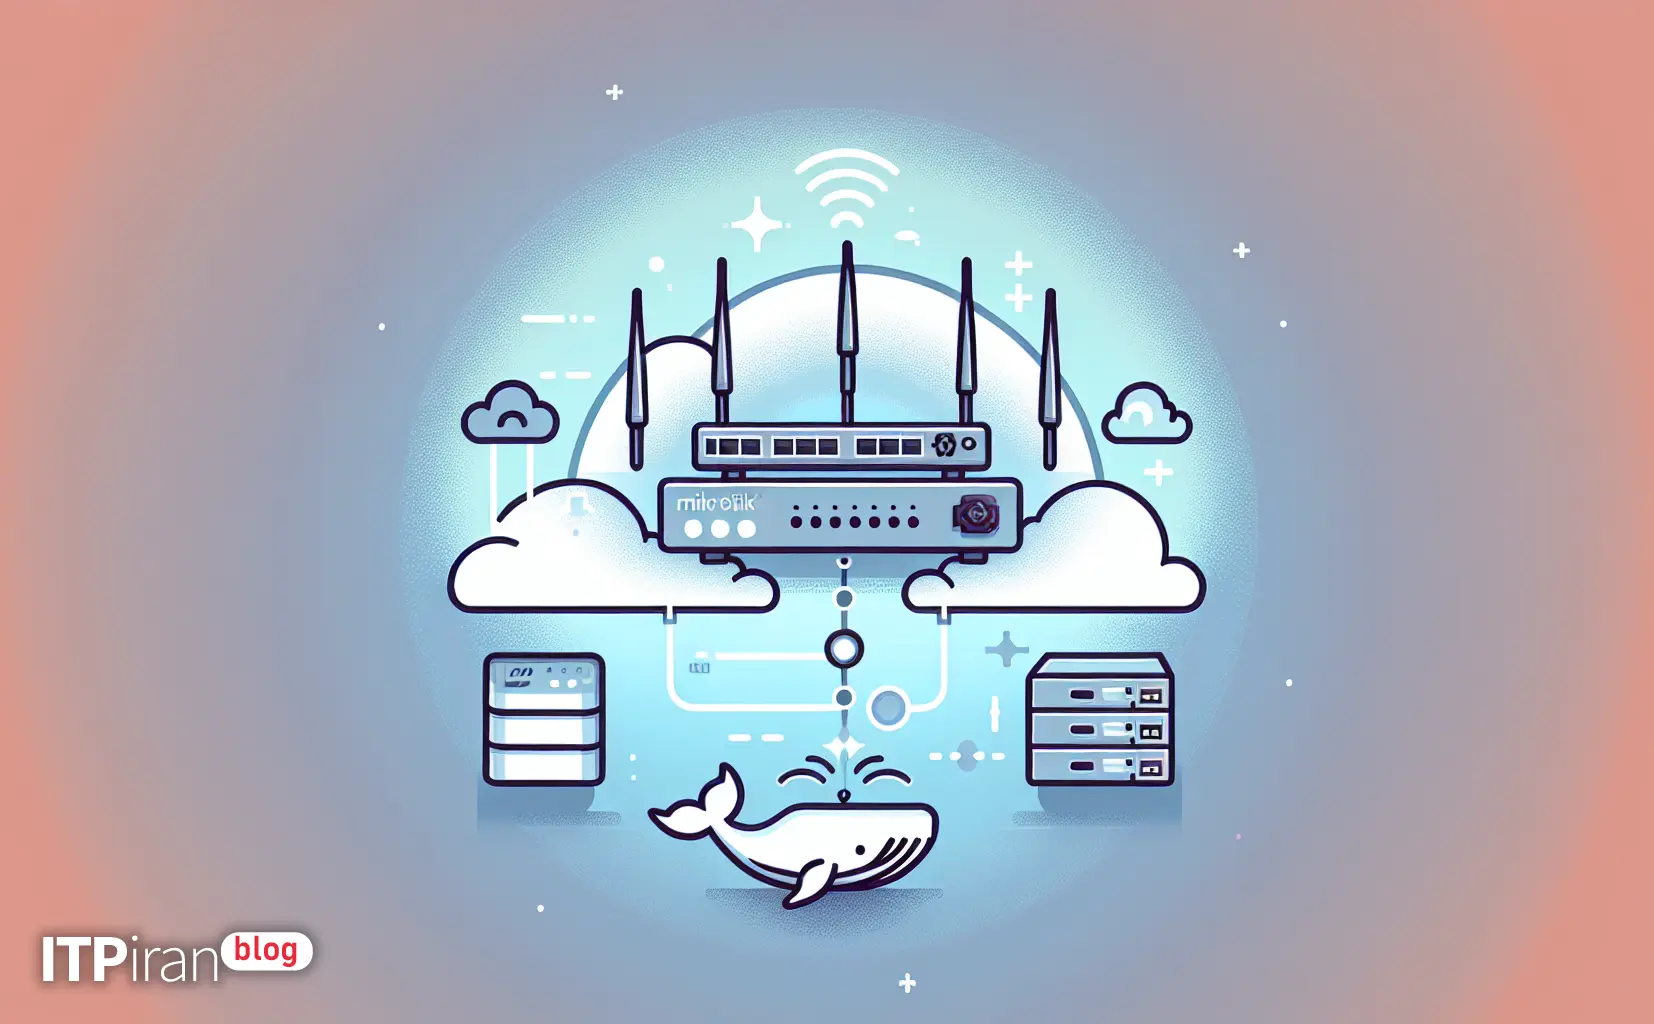
- How to convert Docker image to rootfs and run it on MikroTik?
- Prerequisites and important points
- Part 1 — Creating a container rootfs in Ubuntu (example with Docker)
- Part 2 — Transferring Files to MikroTik
- Part 3 — Importing Containers into RouterOS
- Part 4 — Creating and Running a Container
- Section 5 — IP Assignment and Port Forwarding (Port Forward / NAT)
- Part 6 — Practical Example: Installing Nginx and Port Forwarding
- Section 7 — Common Problems and Solutions
- Section 8 — Security and Restrictions
- Section 9 — When is it better not to use MikroTik for containers?
- Section 10 — Practical tips and final recommendations
- Contact us for our services
- Frequently Asked Questions
How to convert Docker image to rootfs and run it on MikroTik?
In this practical and expert guide, we'll walk you through the step-by-step process of downloading a Docker image on Ubuntu, extracting it, and rootfs, transferring it to the RouterOS (MikroTik) device, importing it as an image, building and running the container, and finally configuring NAT/Firewall to access the service from outside the network are explained.
Prerequisites and important points
Basic technical tips:
RouterOS must be version 7.x or higher And closed container be enabled on the device. To check the version via CLI or Winbox:
/system package printEnsure sufficient storage space on MikroTik; use external NAS or NFS if needed.
Review Processor architecture Device (e.g. arm, arm64, mipsbe, x86_64):
/system resource printSSH/FTP or Winbox access is also required to upload files.
Part 1 — Creating a container rootfs in Ubuntu (example with Docker)
On Ubuntu we use Docker to download the image and extract the filesystem. If you need a specific architecture, use --platform Use.
Example: Extracting rootfs from Alpine image for arm/v7 architecture
sudo apt update
sudo apt install -y docker.io
docker pull --platform linux/arm/v7 alpine:latest
docker create --name tmp-alpine alpine:latest
docker export tmp-alpine > alpine-rootfs.tar
docker rm tmp-alpine
gzip alpine-rootfs.tar # optional -> alpine-rootfs.tar.gzExplanation: docker export Creates a tar of the container filesystem suitable for importing into RouterOS as rootfs. If you need OCI layers, you can use docker save Use but many routers Raw rootfs They want.
Part 2 — Transferring Files to MikroTik
Method 1 — SCP (Command Line)
scp -P 22 alpine-rootfs.tar.gz admin@MIKROTIK_IP:/Method 2 — Winbox/WebFig
Drag & drop the tar.gz file into the Files window in Winbox. The upload path can be seen in Files or /file-store.
Part 3 — Importing Containers into RouterOS
Graphical method (Winbox/WebFig): To the section Container Go to the Images tab and click Import. Select the tar.gz file and enter a suitable name (e.g. alpine-armv7).
Command line method (RouterOS CLI):
/container image import file-name=alpine-rootfs.tar.gz name=alpine-armv7Part 4 — Creating and Running a Container
After importing the image, build and run the container. Examples are provided for both Winbox and CLI.
CLI example:
/container create image=alpine-armv7 name=my-alpine command="/bin/sh"
 /container start my-alpine
In Winbox you can use the tab Console Use to connect to the container shell or enter the shell with the attach command.
Section 5 — IP Assignment and Port Forwarding (Port Forward / NAT)
There are two common ways to access a service inside a container from the outside: Dedicated IP allocation to the container and use NAT, or Direct port release If RouterOS supports it.
NAT example for HTTP service: Let's assume the public IP of the router 203.0.113.10 and container IP 172.18.0.2 We want to forward port 8080 on the router to port 80 inside the container.
/ip firewall nat add chain=dstnat dst-address=203.0.113.10 protocol=tcp dst-port=8080 action=dst-nat to-addresses=172.18.0.2 to-ports=80 comment="NAT -> container nginx"For UDP, create a similar one with protocol=udp and the appropriate dst-port. Also use IP firewall filter Use to restrict access (e.g., only specific IPs) to increase security.
Part 6 — Practical Example: Installing Nginx and Port Forwarding
Summary steps to create rootfs from nginx, import to Mikrotik and run:
docker pull --platform linux/arm/v7 nginx:stable
docker create --name tmp-nginx nginx:stable
docker export tmp-nginx > nginx-rootfs.tar
gzip nginx-rootfs.tar
Then upload and import the file and create a container with the nginx executable command:
/container create image=nginx-arm name=nginx1 command="/usr/sbin/nginx -g 'daemon off;'"
 /container start nginx1
Next, find the container IP and create a NAT rule similar to the example in the previous section so that the service is accessible from the Internet.
Section 7 — Common Problems and Solutions
Architectural problem: If RouterOS has an ARM architecture and your image is x86_64, you must build the image for ARM or use multi-arch. Multi-arch build methods include using qemu-user-static and docker buildx It is.
Lack of resources: Containers consume machine resources; use cloud servers or dedicated servers for heavy services.
Low storage space: Use FTP/NAS or a cloud server to host large files.
Service not starting: Check the logs with the Console inside the container and make sure the init or systemd is appropriate for the image.
Section 8 — Security and Restrictions
Security benefits and recommendations:
Use official, up-to-date images and scan before importing.
Resource throttling (CPU, memory) to prevent local DoS.
Use VPN or TLS and two-factor authentication for sensitive services.
Use CDN and Anti-DDoS for public services.
Section 9 — When is it better not to use MikroTik for containers?
For heavy, latency-sensitive applications like AI models or rendering, use GPU servers or cloud servers.
In high-traffic production environments, it is better to host containers on cloud servers or orchestration environments like Kubernetes.
For trading applications with very low ping, use a dedicated trading VPS with a suitable location.
Section 10 — Practical tips and final recommendations
Always test in a staging environment first before moving to production.
If you want to automate containers, use a proper CI/CD.
Use Cloud graphics services to avoid burdening MikroTik for GPU requirements.
Contact us for our services
For projects that require powerful infrastructure, dedicated trading VPS, GPU, or DDoS protection, we offer global locations, BGP networking, and cloud security services. If you need technical advice on location selection, network setup, and security, please contact our support team.