
Introduction
Vue.js is a front-end JavaScript framework for building user interfaces. It is designed from the ground up to be incrementally adoptable and to integrate well with other libraries or existing projects. This approach makes it suitable for small projects as well as complex single-page applications when used with other tools and libraries.
An API, or Application Programming Interface, is a software interface that allows two applications to talk to each other. An API often exposes data that other developers can consume in their applications, without worrying about databases or differences in programming languages. Developers often fetch data from an API that returns data in JSON format, which they then integrate into front-end applications. Vue.js is well-suited for consuming these types of APIs.
In this tutorial, you'll create a Vue application that uses the Cryptocompare API to display current prices for two leading cryptocurrencies: Bitcoin and Ethereum. In addition to Vue, you'll use the Axios library to make API requests and process the returned results. Axios is great because it automatically converts JSON data into JavaScript objects and supports Promises, which results in code that's easier to read and debug. And to make everything look good, we'll use the CSS Foundation framework.
Prerequisites
- A text editor that supports JavaScript syntax highlighting, such as Atom, Visual Studio Code, or Sublime Text. These editors are available on Windows, macOS, and Linux.
- Familiarity with using HTML and JavaScript together. Learn more in How to Add JavaScript to HTML.
- Getting to know the JSON data format where you can learn more about how to work with JSON in JavaScript.
- Getting Started with API Requests For a comprehensive tutorial on working with APIs, take a look at How to Use Web API in Python3. While it's written for Python, it still helps you understand the core concepts of working with APIs.
Step 1 – Create a Basic Vue App
In this step, you will create a basic Vue application. We will create a single HTML page with some mock data that we will eventually replace with live data from the API. We will use Vue.js to display this mocked data. For this first step, we will keep all the code in a single file.
Using your text editor, create a new file called index.html.
In this file, add the following HTML markup, which defines an HTML skeleton and pulls the CSS Foundation framework and Vue.js library from a content delivery network (CDN). By using a CDN, there is no additional code to download to start building your app.
<!DOCTYPE html>
<html lang="en">
<head>
<link rel="stylesheet" href="https://cdnjs.cloudflare.com/ajax/libs/foundation/6.3.1/css/foundation.min.css">
<meta charset="utf-8">
<title>Cryptocurrency Pricing Application</title>
</head>
<body>
<div class="container" id="app">
<h3 class="text-center">Cryptocurrency Pricing</h3>
<div class="columns medium-4" >
<div class="card">
<div class="card-section">
<p> BTC in USD </p>
</div>
<div class="card-divider">
<p>{{ BTCinUSD }}</p>
</div>
</div>
</div>
</div>
<script src="https://unpkg.com/vue@3"></script>
</body>
</html>
The {{ BTCinUSD }} line is a placeholder for data that Vue.js provides, allowing us to declaratively present data in the UI. Let's define that data.
Right below the tag با Vue، این کد را برای ایجاد یک برنامه جدید Vue اضافه کنید و یک ساختار داده برای نمایش در صفحه تعریف کنید:
...
<script>
const { createApp } = Vue

createApp({
data() {
return {
BTCinUSD: 3759.91
}
}
}).mount('#app')
</script>
This code creates a new Vue app instance and binds the instance to the element with the app ID. Vue calls this process mounting the app. We define a new Vue instance and configure it by passing it a configuration object. We pass the createApp instance a data object that returns the value BTCinUSD. Additionally, we call the createApp instance's mount method with an argument of #app , which specifies the element ID on which we want to mount this app and a data option containing the data we want to make available in the view.
In this example, our data model contains a single key-value pair that has a dummy value for the price of Bitcoin: { BTCinUSD: 3759.91}. This data is displayed in our HTML page or view, where we enclose the key in double curly braces, like this:
<div class="card-divider">
<p>{{ BTCinUSD }}</p>
</div>
We will eventually replace this encrypted value with live data from the API.
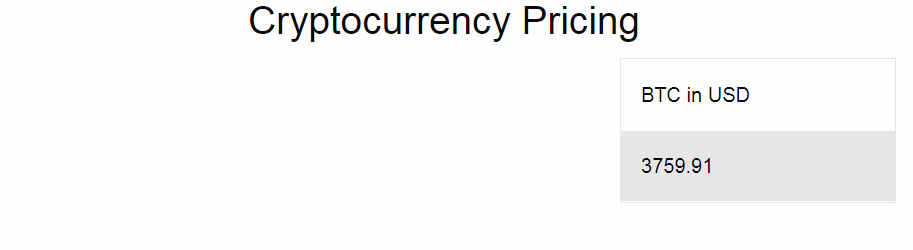
Open this file in your browser. You will see the following output on your screen, displaying the dummy data:
We're displaying the price in US dollars. To display it in an additional currency, such as euros, we'll add another key-value pair to our data model and add another column in the markup. First, add the Euro row to the data model:
<script>
const { createApp } = Vue

createApp({
data() {
return {
BTCinUSD: 3759.91,
BTCinEURO: 3166.21
}
}
}).mount('#app')
</script>
Then the section <div class> Replace the existing one with the following lines.
<div class="container" id="app">
<h3 class="text-center">Cryptocurrency Pricing</h3>
<div class="columns medium-4" >
<div class="card">
<div class="card-section">
<p> BTC in USD </p>
</div>
<div class="card-divider">
<p>{{ BTCinUSD }}</p>
</div>
</div>
</div>
<div class="columns medium-4" >
<div class="card">
<div class="card-section">
<p> BTC in EURO </p>
</div>
<div class="card-divider">
<p>{{ BTCinEURO }}</p>
</div>
</div>
</div>
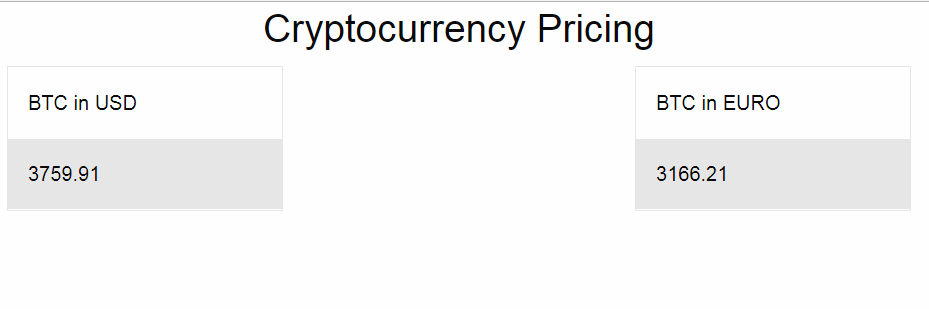
</div>Now save the file and reload it in your browser. The app will now display the Bitcoin price in both Euros and US Dollars.
In this step, you create your Vue app with sample data to make sure it loads. So far we've done everything in a single file, so now we'll split things into separate files to improve maintainability.
Step 2 – Separating JavaScript and HTML for Clarity
To learn how it works, we put all the code in one file. In this step, you separate the application code into two separate files: index.html and vueApp.js. The index.html file handles the markup, and the JavaScript file contains the application logic. We keep both files in the same directory.
First, modify the index.html file and remove the JavaScript code and replace it with a link to the vueApp.js file.
Find this section of the file:
...
<script src="https://unpkg.com/vue@3"></script>
<script>
const { createApp } = Vue

createApp({
data() {
return {
BTCinUSD: 3759.91,
BTCinEURO: 3166.21
}
}
}).mount('#app')
</script>
...
And change it to look like this:
...
<script src="https://unpkg.com/vue@3"></script>
<script src="vueApp.js"></script>
...
Then create the vueApp.js file in the same folder as the index.html file.
In this new file, paste the same JavaScript code that was originally in the index.html file, without the <code> tag. قرار دهید:
const { createApp } = Vue createApp({ data() { return { BTCinUSD: 3759.91, BTCinEURO: 3166.21 } } }).mount('#app')Save the file and reload index.html in the browser. You will see the same result as before.
Here, you have separated the application from the markup. Next, you will add more data to support more cryptocurrencies than Bitcoin.
Step 3 – Using Vue to Iterate Over Data
In this step, you will reconstruct the data and change its view to show Bitcoin and Ethereum prices.
Open the vueApp.js file and change the return part of the data model to look like this:
const { createApp } = Vue

createApp({
data() {
return {
results: {"BTC": {"USD":3759.91,"EUR":3166.21}, "ETH": {"USD":281.7,"EUR":236.25}}
}
}
}).mount('#app')
Our data model has become a bit more complex with a nested data structure. We now have a key called results that contains two records: one for the Bitcoin price and one for the Ethereum price. This new structure allows us to reduce some of the duplication in our view. It also resembles the data we get from the Cryptocompare API.
Save the file.
Now let's change our markup to process the data in a more planned way.
Open the index.html file and find this section of the file where we display the Bitcoin price:
...
<div class="columns medium-4" >
<div class="card">
<div class="card-section">
<p> BTC in USD </p>
</div>
<div class="card-divider">
{{BTCinUSD}}
</div>
</div>
</div>

<div class="columns medium-4" >
<div class="card">
<div class="card-section">
<p> BTC in EURO </p>
</div>
<div class="card-divider">
{{BTCinEURO}}
</div>
</div>
</div>

</div>
...
Replace it with this code, which iterates over the dataset you defined.
...
<div class="columns medium-4" v-for="(result, index) in results">
<div class="card">
<div class="card-section">
<p> {{ index }} </p>
</div>
<div class="card-divider">
<p>$ {{ result.USD }}</p>
</div>
<div class="card-section">
<p> € {{ result.EUR }}</p>
</div>
</div>
</div>
...This code uses the v-for statement, which acts like a for loop. It iterates over all the key-value pairs in our data model and displays the data for each one.
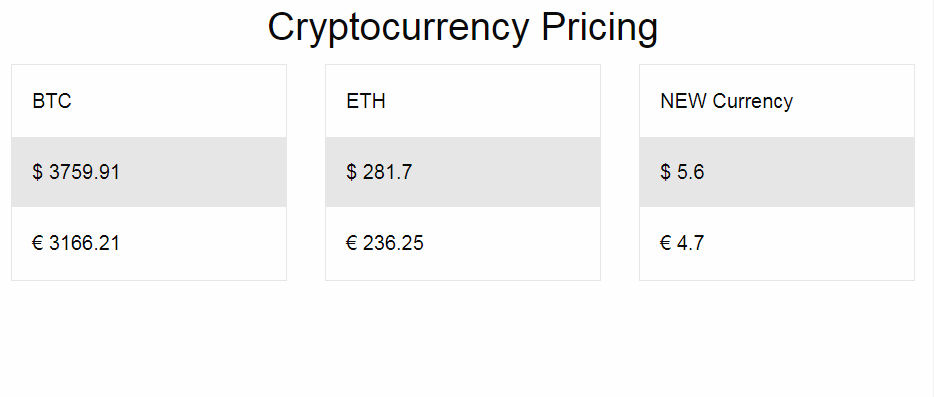
When you reload in the browser, you will see the ridiculous prices:

This modification allows us to add a new currency to the results data in vueApp.js and display it on the screen without further changes.
Add another mocked entry to the dataset with highlighted information to try this out:
const { createApp } = Vue

createApp({
data() {
return {
results: {"BTC": {"USD":3759.91,"EUR":3166.21},
"ETH": {"USD":281.7,"EUR":236.25},
"NEW Currency":{"USD":5.60,"EUR":4.70}}
}
}
}).mount('#app')
Enter the trailing comma after the Ethereum entry. Save the file.
If you now load the page in a web browser, you will see the new entry displayed:
When we examine data programmatically, we don't need to manually add new columns in the markup.
Here, you used sample data to view the pricing of several currencies. Now let's fetch the actual data using the Cryptocompare API.
Step 4 – Get data from the API
In this step, you replace the simulated data with live data from the Cryptocompare API to display Bitcoin and Ethereum prices on the web page in US dollars and euros.
To get the data for our page, we request https://min-api.cryptocompare.com/data/pricemulti?fsyms=BTC,ETH&tsyms=USD,EUR which requests Bitcoin and Ethereum in USD and EUR. This API returns a JSON response.
Use curl to send a request to the API to view the response in a terminal session:
curl 'https://min-api.cryptocompare.com/data/pricemulti?fsyms=BTC,ETH&tsyms=USD,EUR'You will see the output like this:
Output
{"BTC":{"USD":21694.18,"EUR":21407.64},"ETH":{"USD":1504.02,"EUR":1485.99}}
This result is similar to the encoded data model you used in the previous step, but with the current values of Bitcoin and Ethereum. Now all we need to do is modify the data by requesting this URL from our application.
For the request, we use Vue's mounted() function in combination with the Axios library's GET function to fetch the data and store it in the results array in the data model. The mounted function is called when the Vue app is mounted on an element. After the Vue app is mounted, we send the request to the API and store the results. The web page is notified of the change and the values appear on the page.
First, open index.html and load the Axios library by adding a script below the line where you placed Vue:
...
<script src="https://unpkg.com/vue@3"></script>
<script src="https://unpkg.com/axios/dist/axios.min.js"></script>
<script src="vueApp.js"></script>
...
Save the file, then open vueApp.js.
Modify and update vueApp.js to request the API and populate the data model with the results.
const url = "https://min-api.cryptocompare.com/data/pricemulti?fsyms=BTC,ETH&tsyms=USD,EUR";
const { createApp } = Vue

createApp({
data() {
return {
results:[]
}
},
mounted() {
axios.get(url).then(response => {
this.results = response.data
})
}
}).mount('#app')
Notice that we have removed the default value of results and replaced it with an empty array. When our app is first loaded, we will have no data, but the HTML view expects some data to be repeated when it is reloaded.
The axios.get function uses a Promise. When the API successfully returns data, the code inside the block is then executed and the data is stored in our results variable.
Save the file and reload the index.html page in your web browser. This time, you will see the current price of the cryptocurrencies.
If you don't see anything, you can review How to Use the JavaScript Developer Console and use the JavaScript Console to debug your code. It may take a minute for the page to refresh with API data.
You can also check out this Github repository which contains html and js files that you can download for cross-validation. You can also clone the repository.
At this point, you've modified your application to call live data for review.
Result
In less than fifty lines, you created an API consuming application using just three tools: Vue.js, Axios, and the Cryptocompare API. You learned how to display data on a page, iterate over results, and replace static data with API results.
Now that you understand the basics, you can add additional functionality to your application. Modify this application to display additional currencies, or use the techniques you learned in this tutorial to create other web applications using a different API.